


First Steps in the C4C7OPS Console as a New User
The purpose of this post is to show the options you can use as a new developer on our platform and guide you through your first steps. Here’s a preview of the points we will cover.
-
How to deploy or create a new service
-
How to view the logs of a service
-
How to create a resource and/or requirement
With this guide, you will understand a bit more about how this wonderful platform works and make your work easier with our help.
1. How to Deploy or Create a Service
1.1. How to Deploy a Service
This may be the activity you use our platform for the most, and it is quite simple, so we will go step by step.
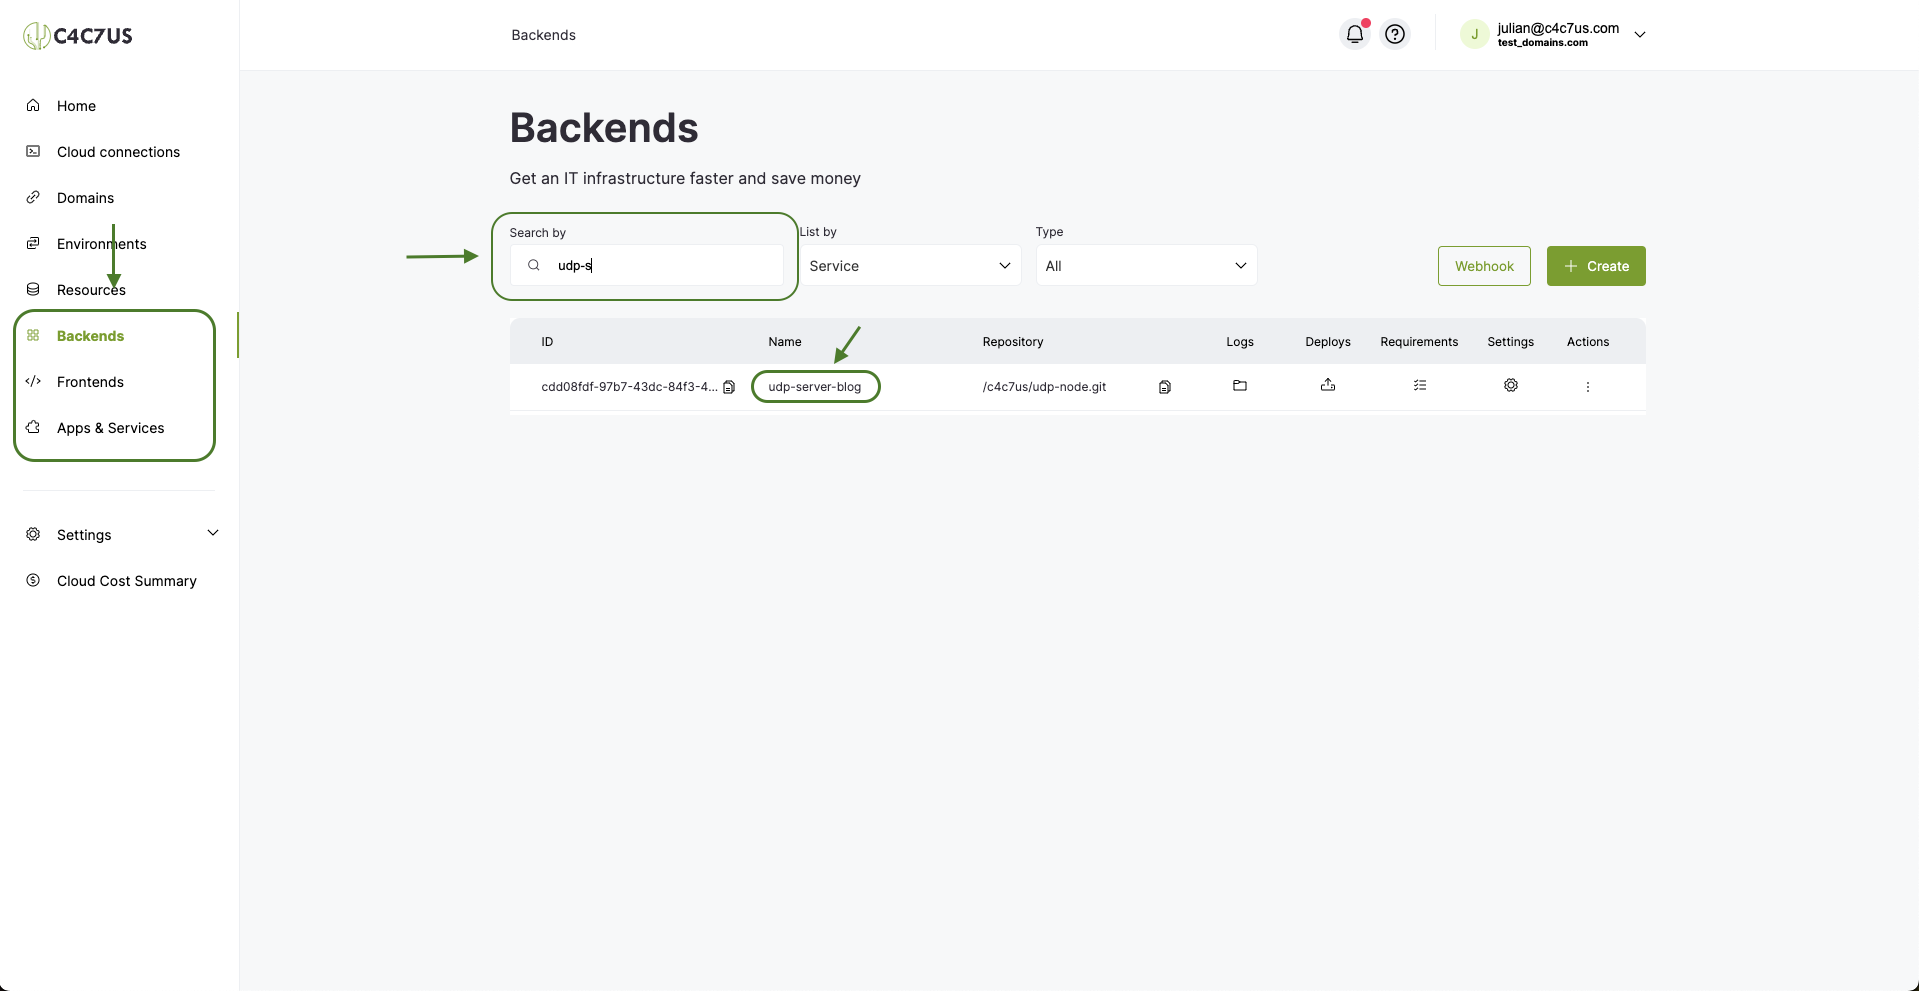
1.1.1. Navigate to the type of service you want to deploy (Backend, Front, or App) and find your target.
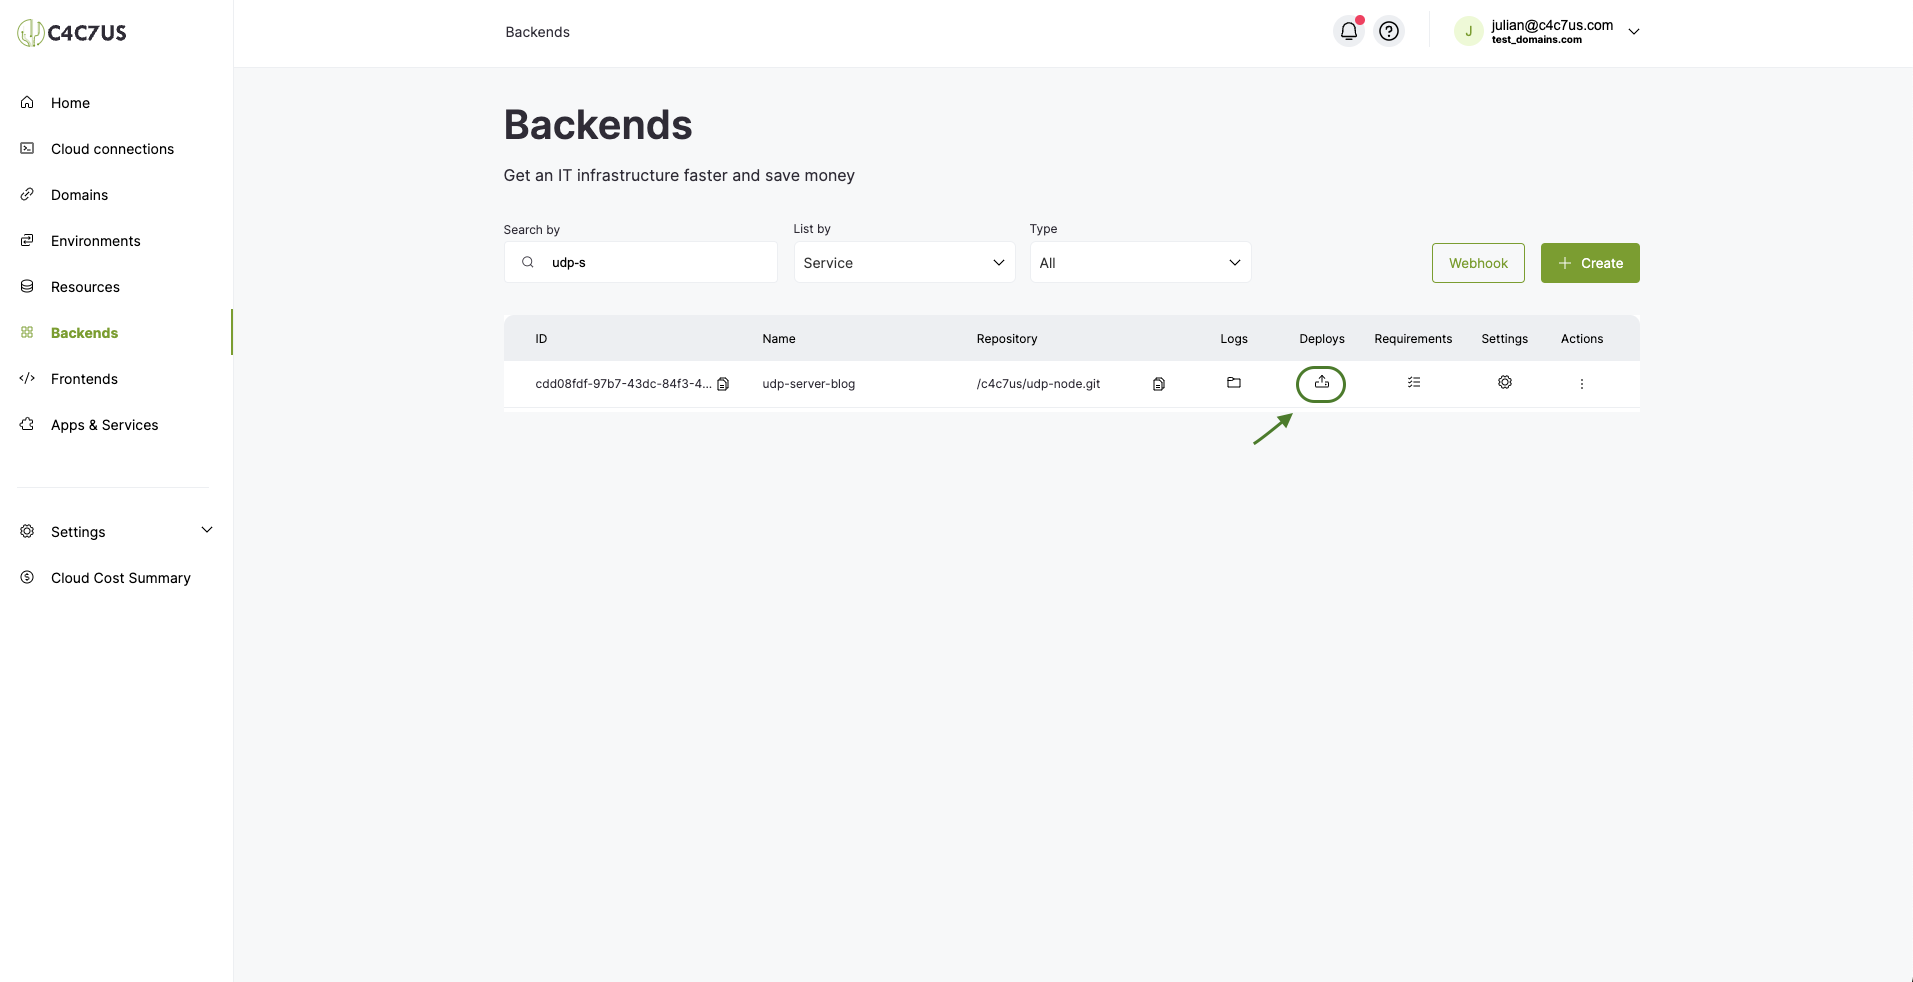
1.1.2. Click on Deploys and then Create.
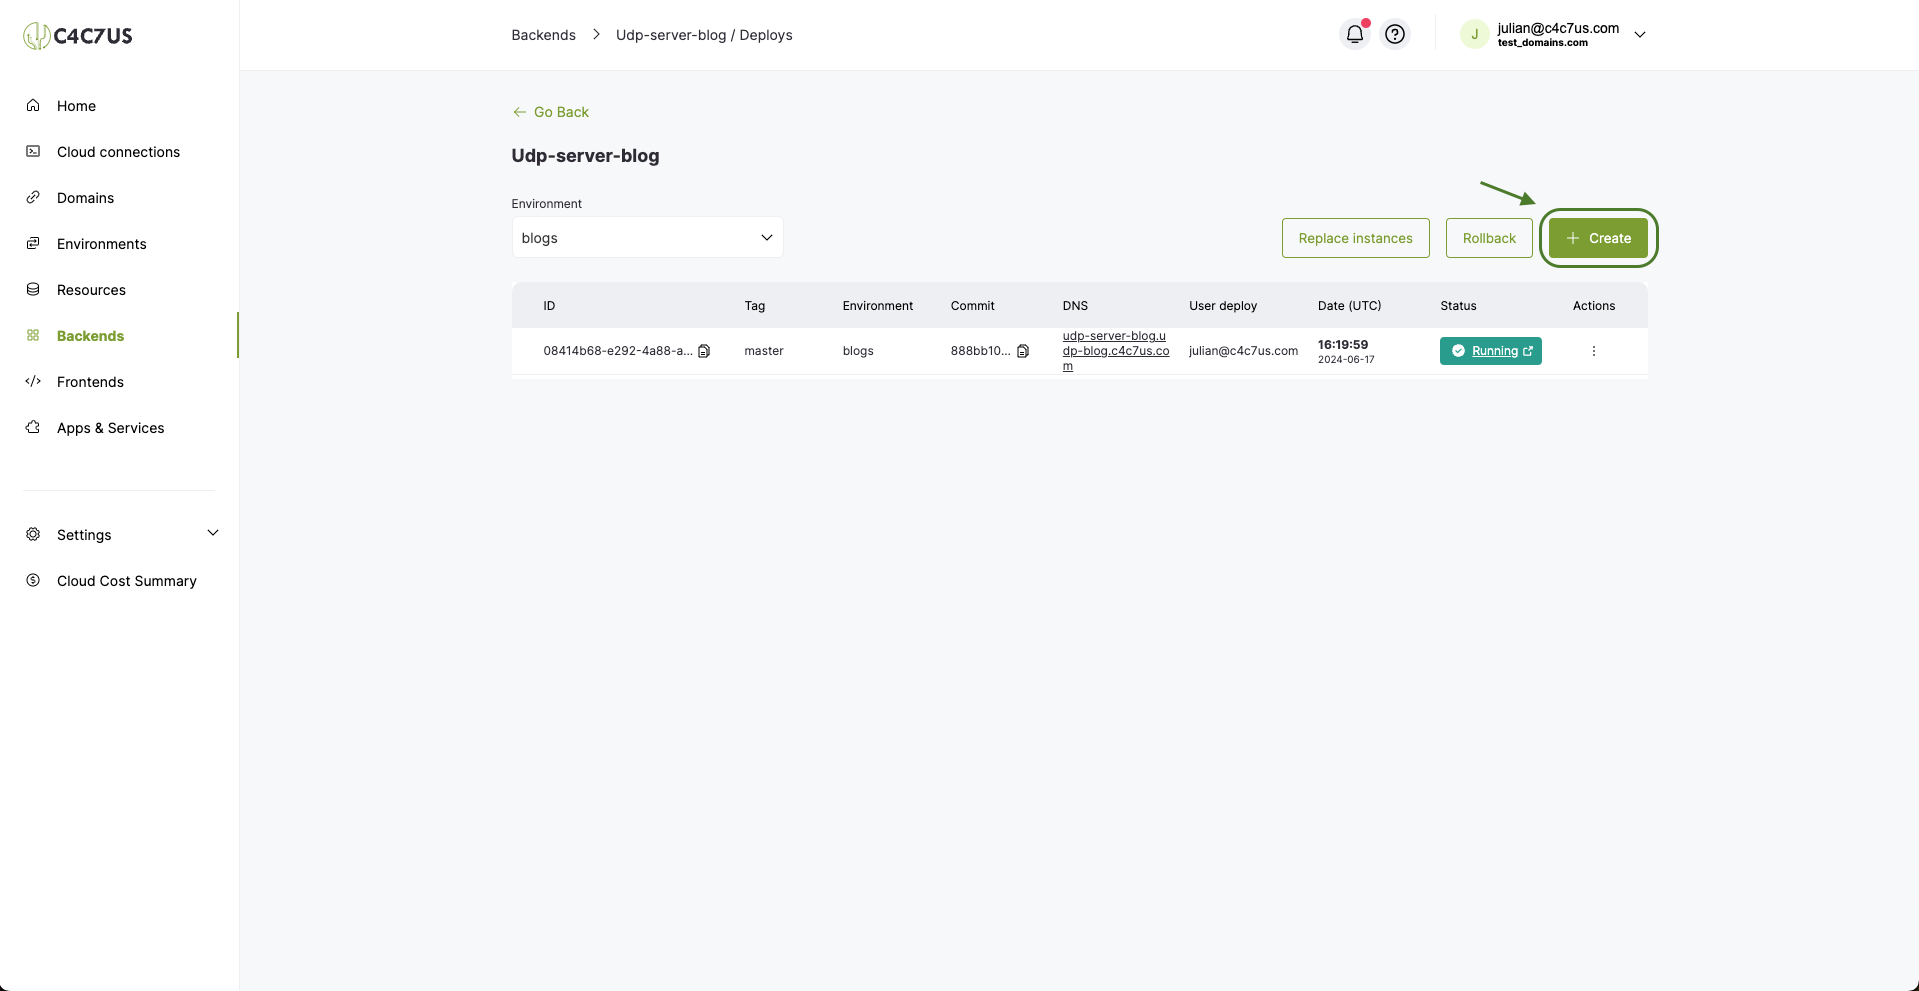
1.1.3. A modal will open where we will configure the Deploy.
Here we will write the name of our Branch or Tag that we want to deploy. In this case, we will use the master Branch and press Launch.
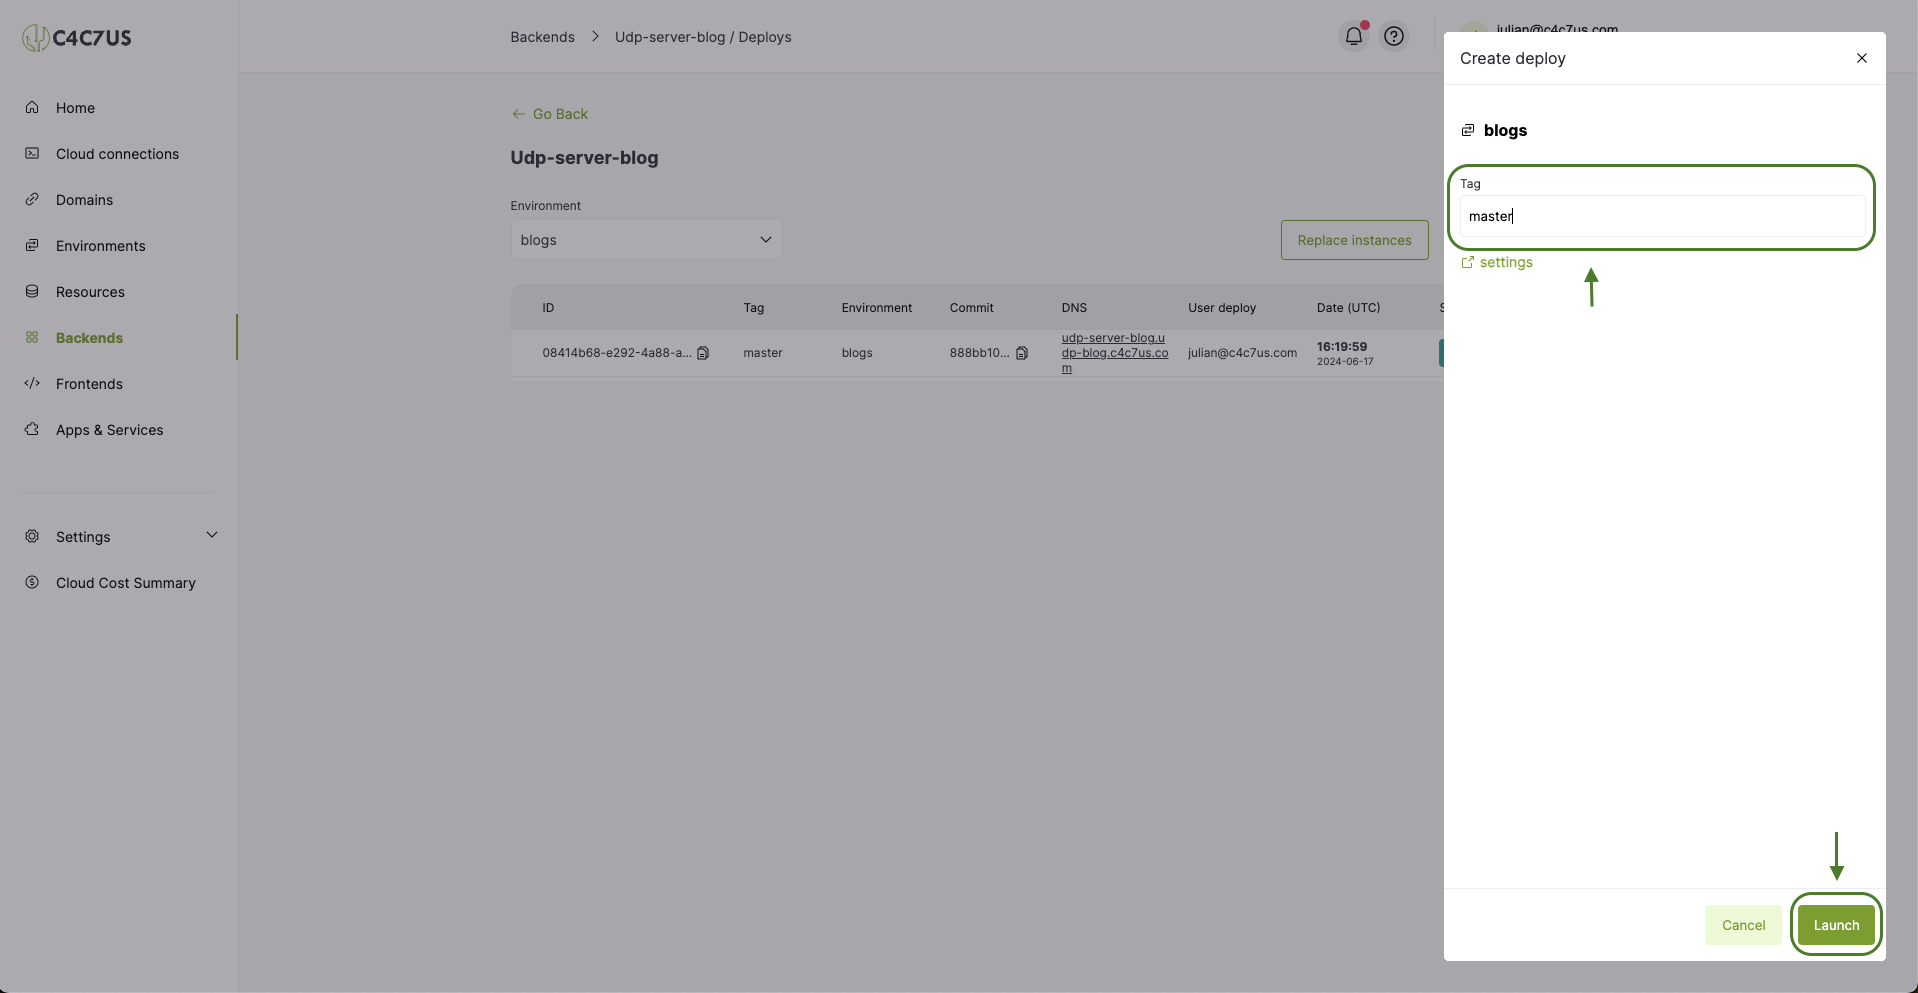
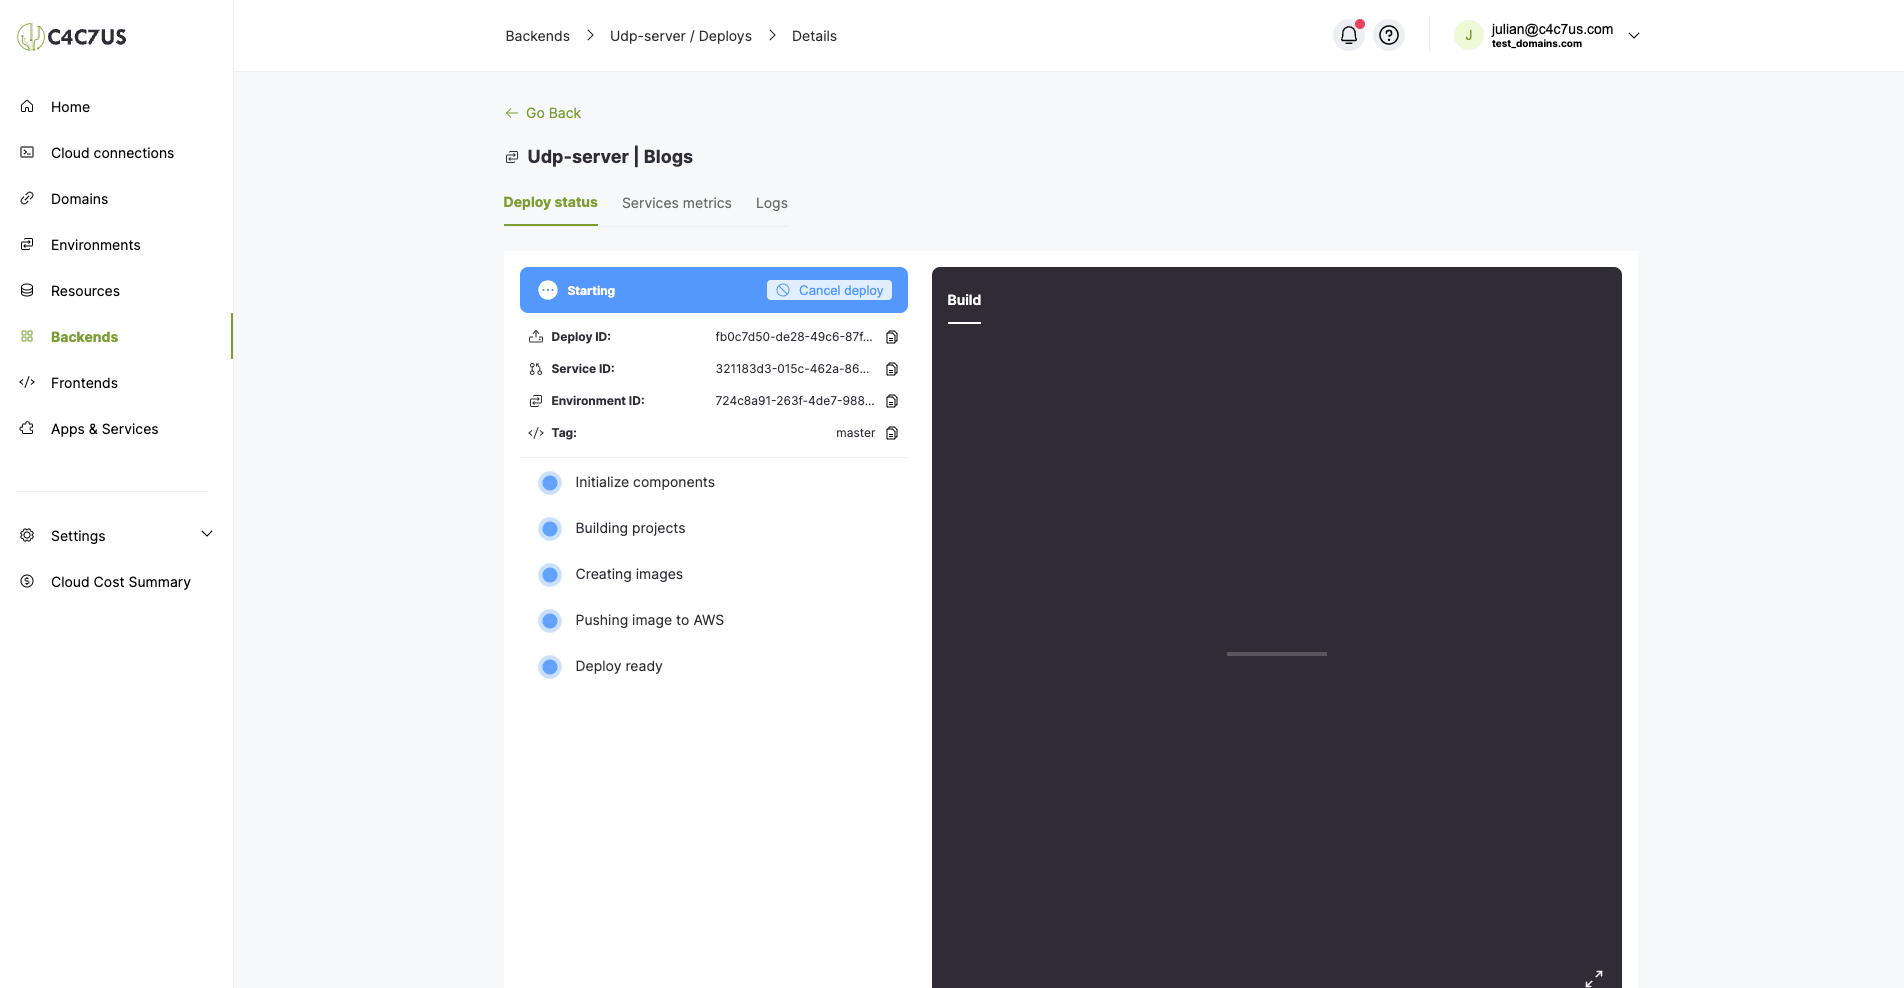
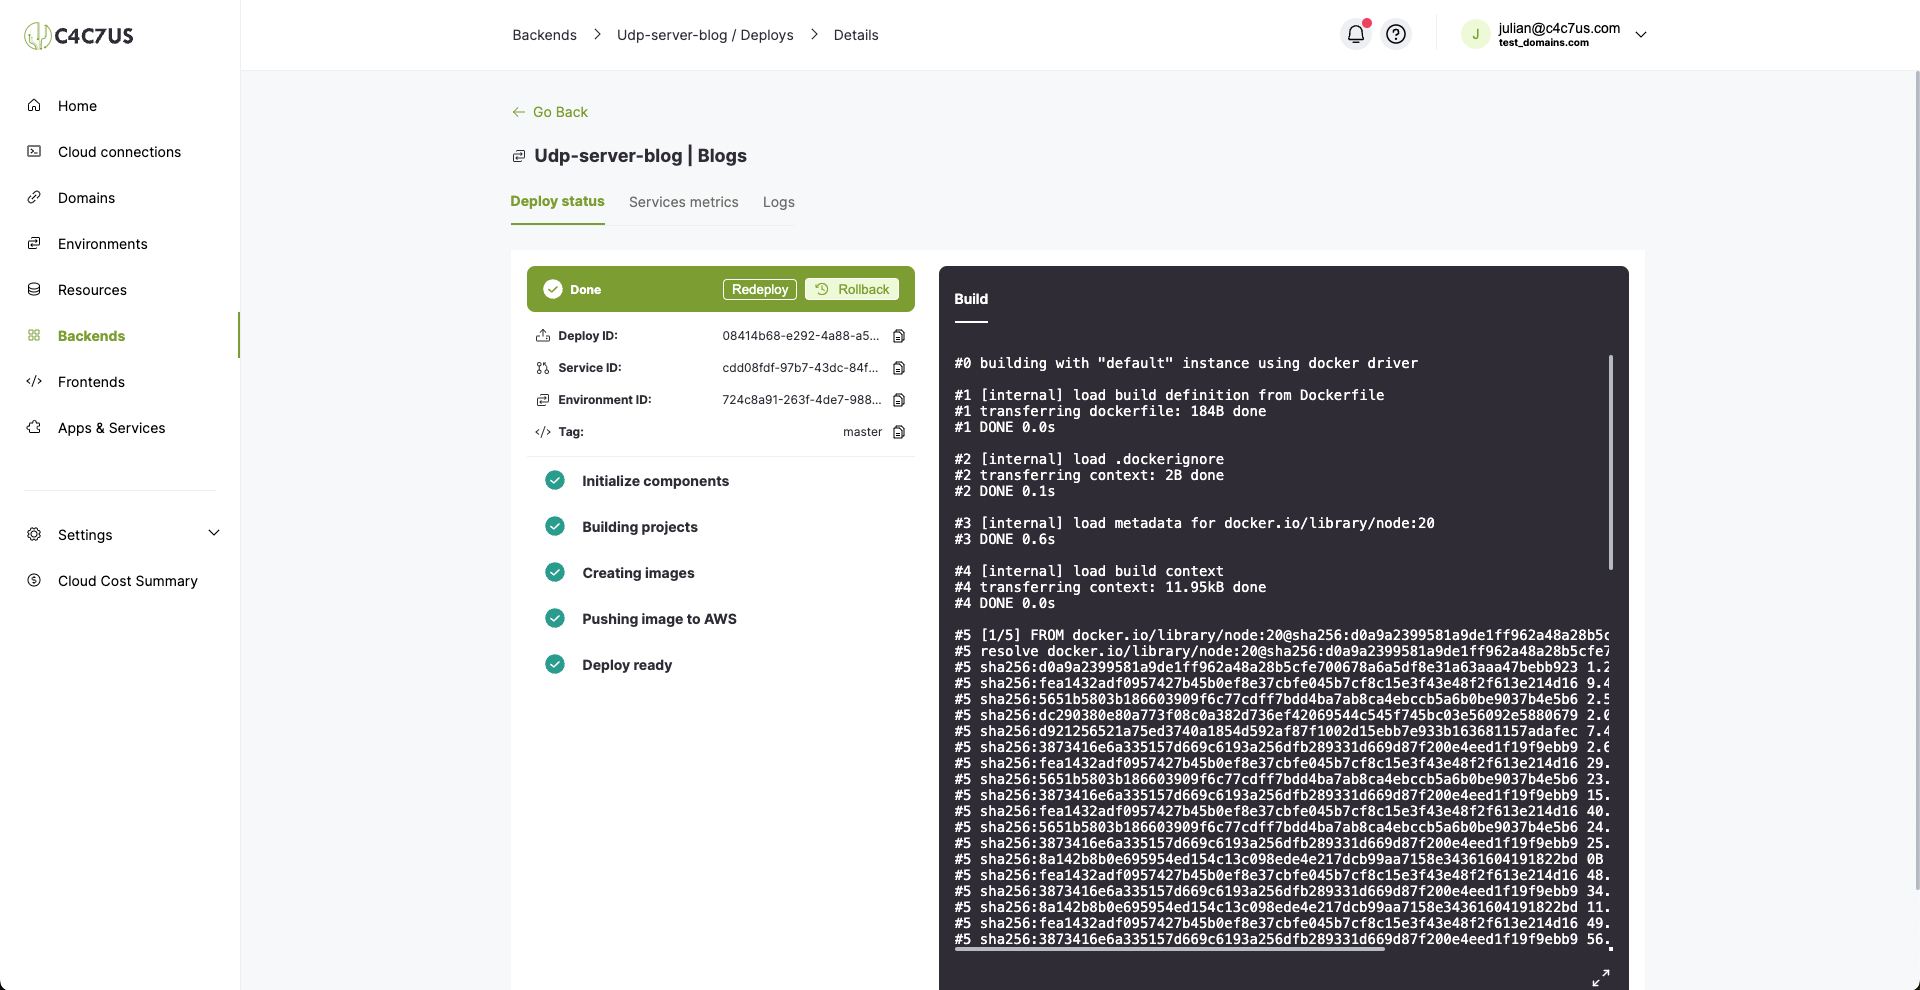
After this, we will see our deployment start, and we just have to wait for its status to change to Done.
1.1.4. If our deploy fails:
If a deploy fails, there are two possible cases we can easily check:
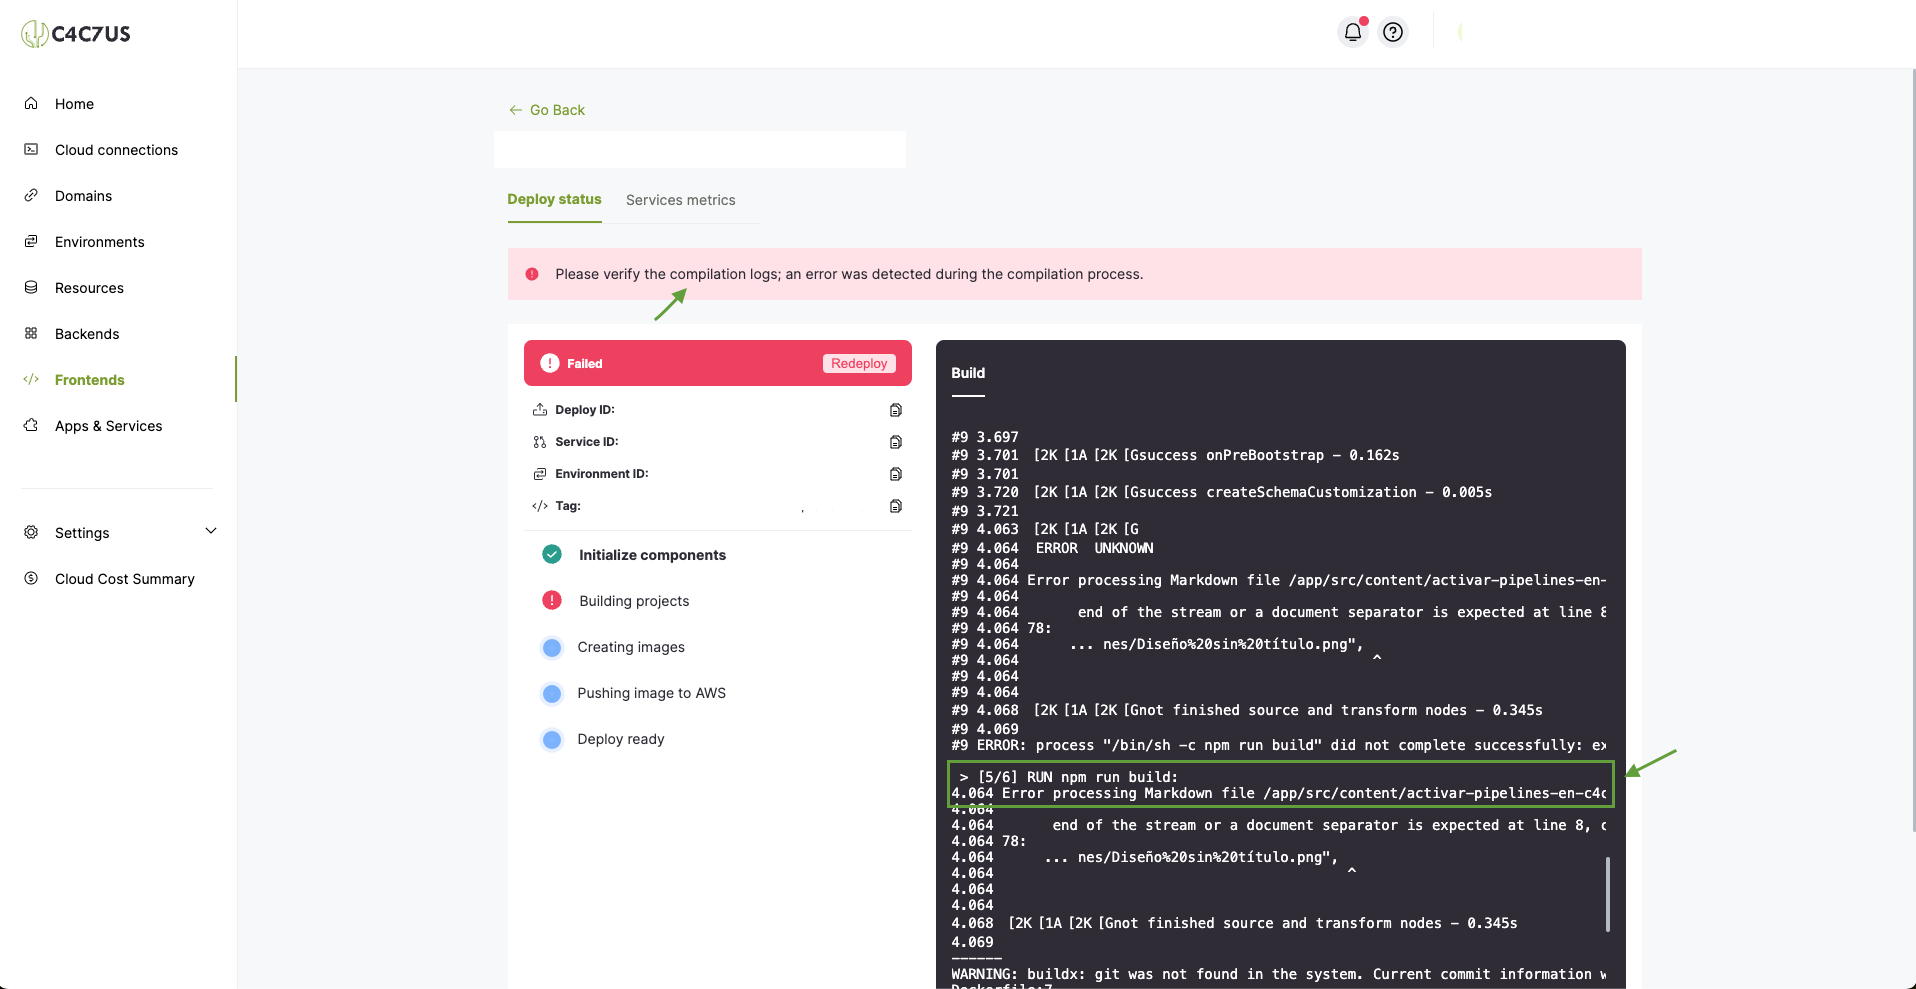
- Compilation failure in the build or dockerfile: Here we can see how the error occurred during project compilation. In this case, we will check the deploy logs to find possible errors causing the failure and correct them.
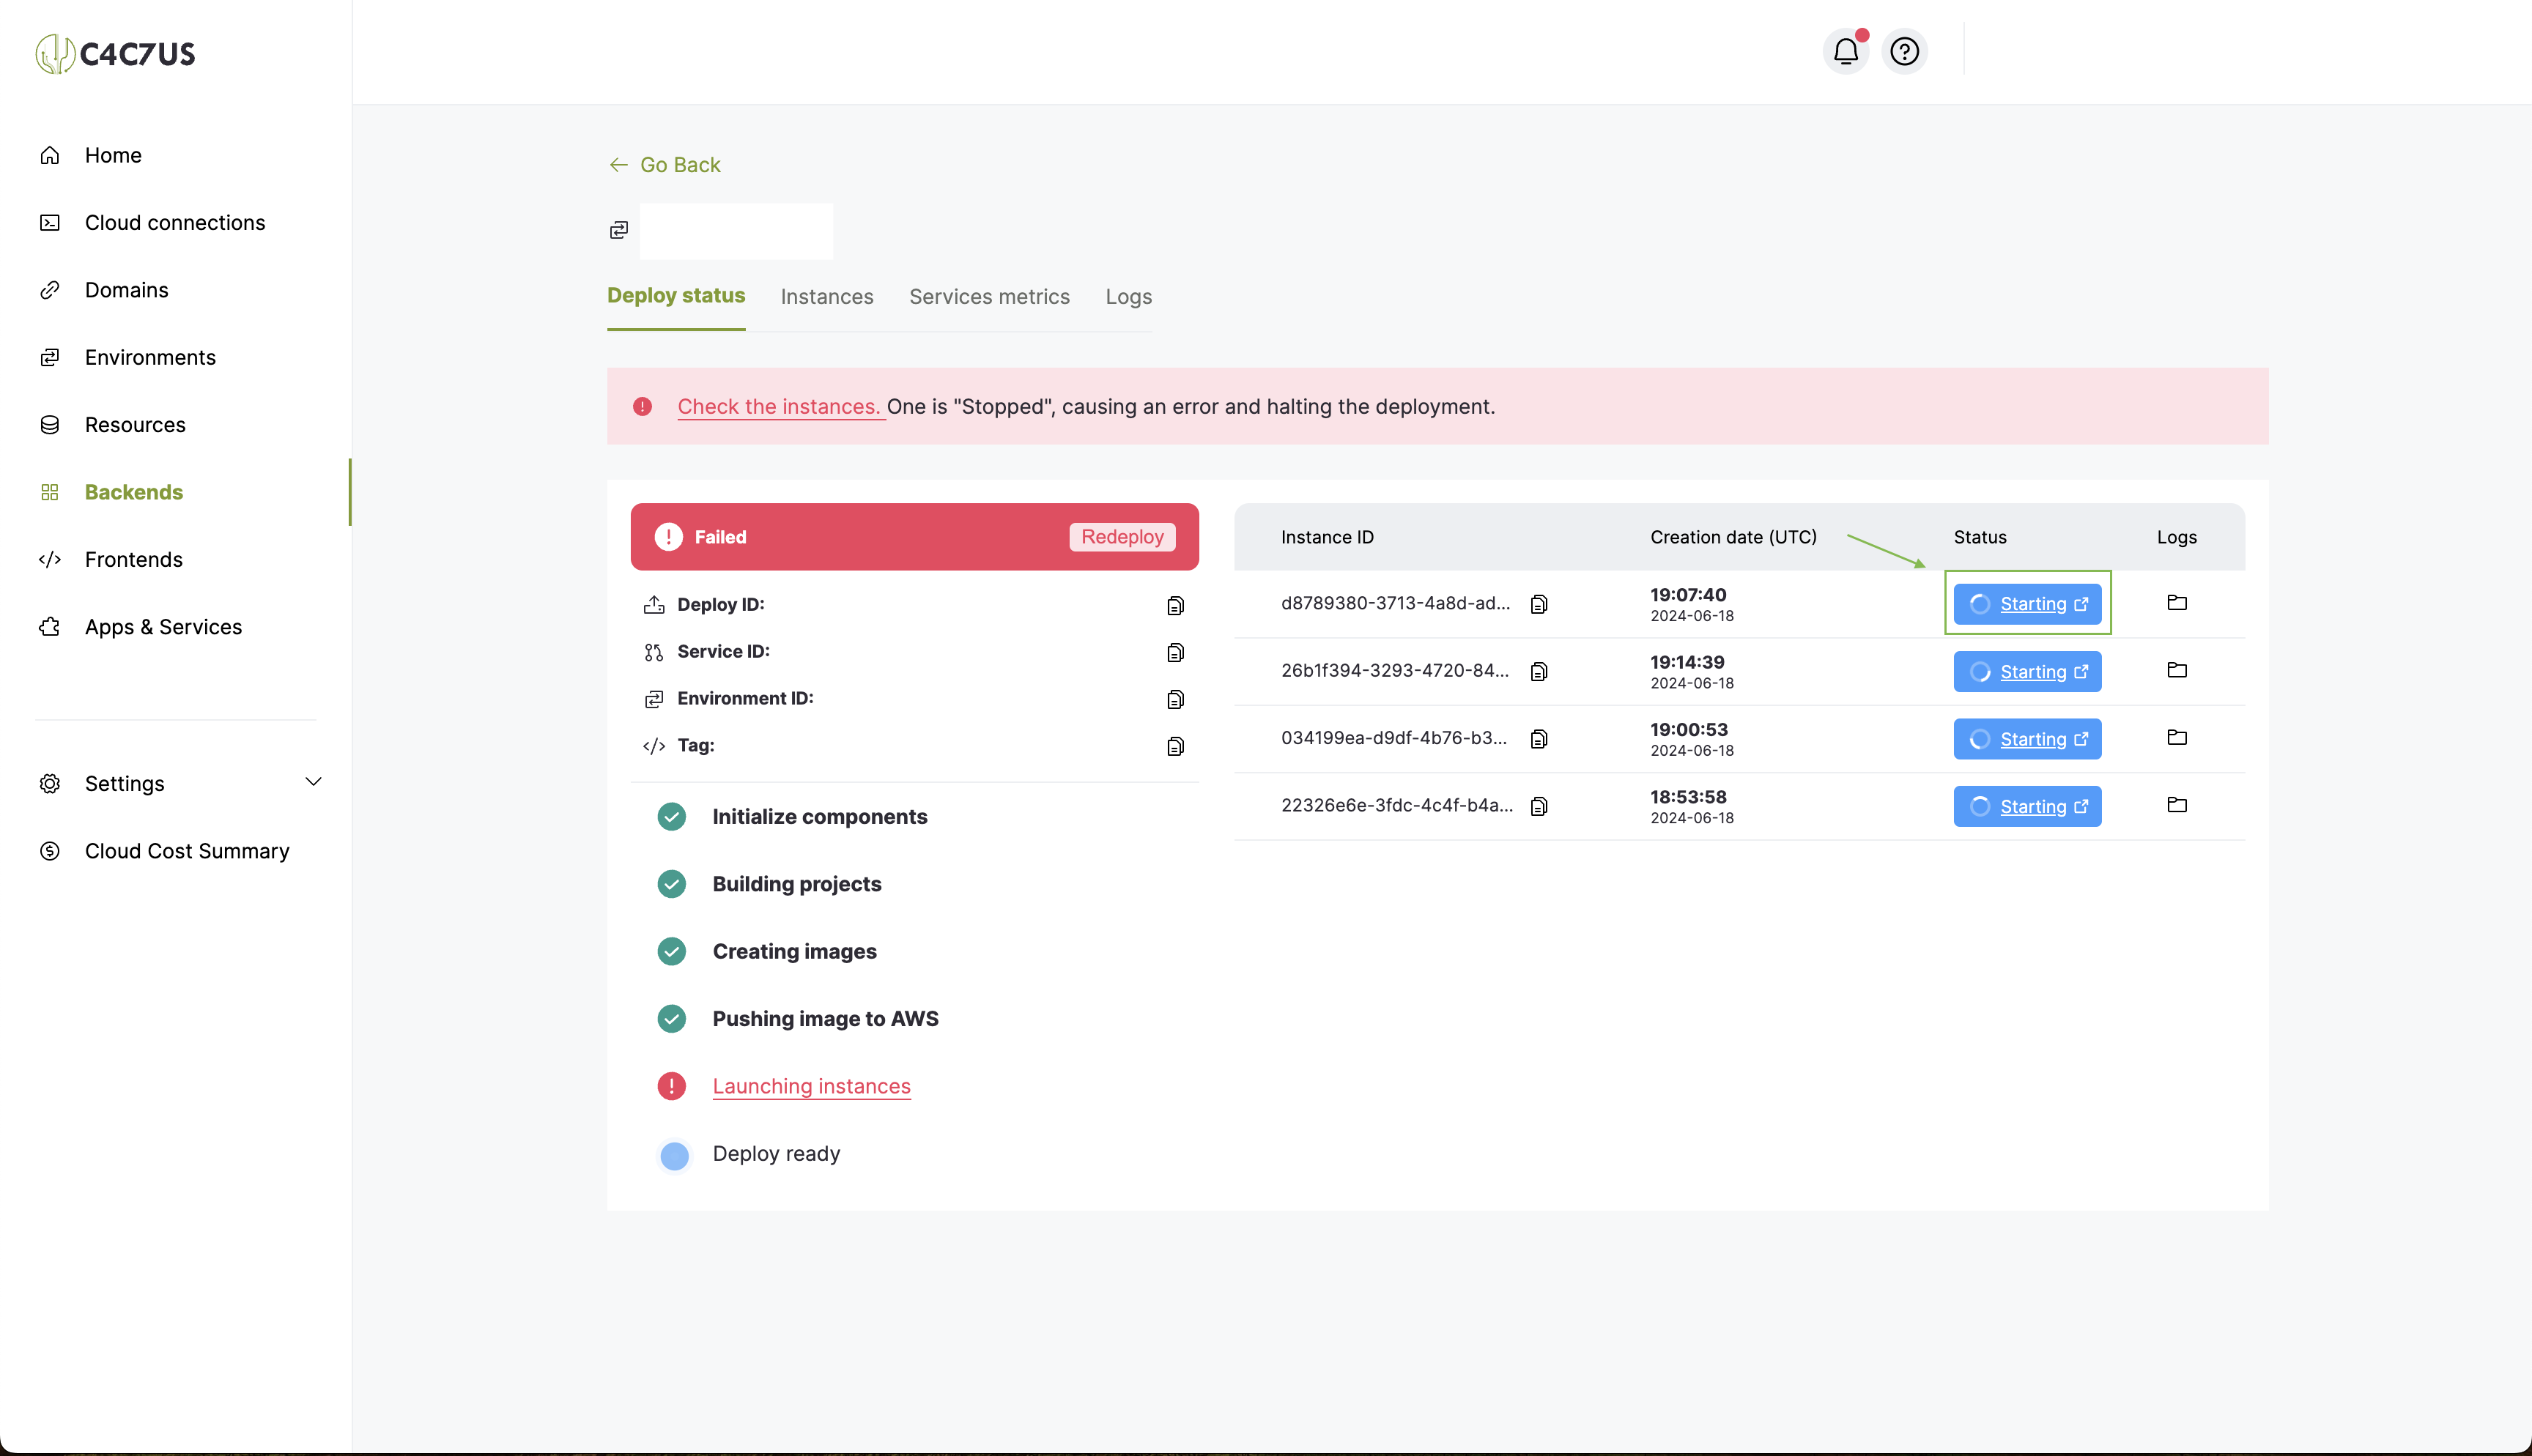
- Failure due to one or more instances crashing: This occurs when the project compiles and passes the build but crashes during instance creation. This error would look like this:
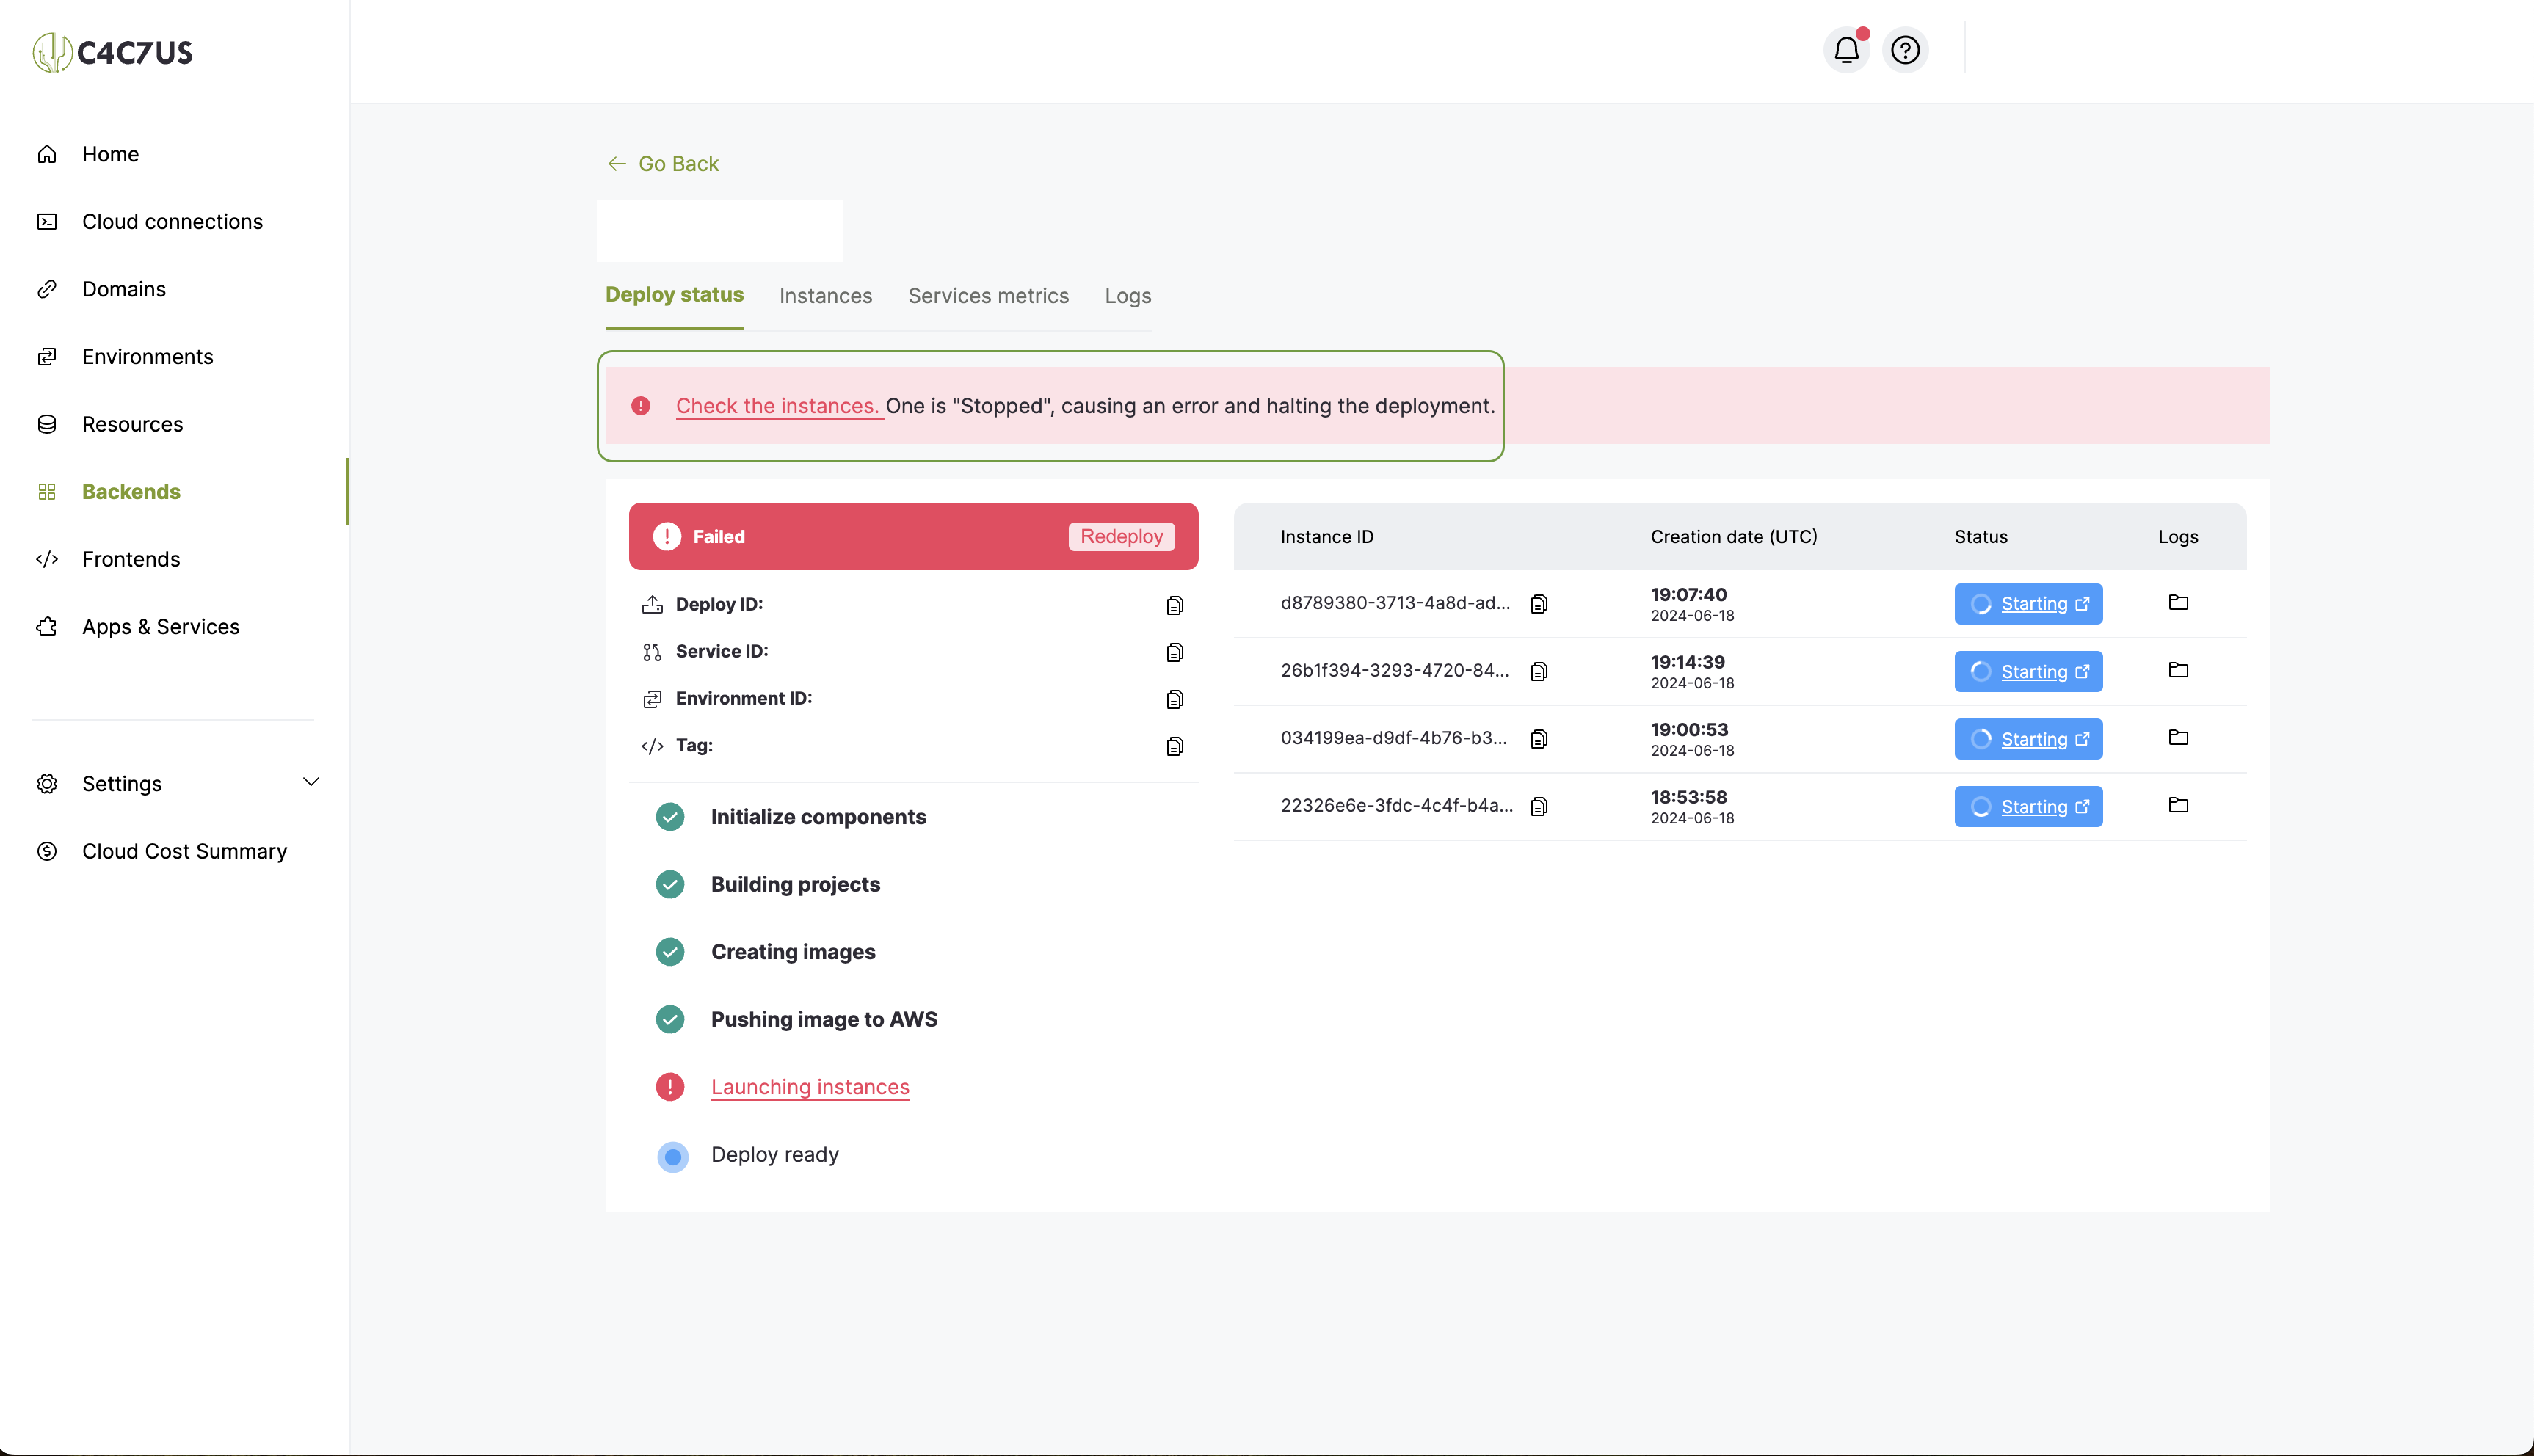
Click the status button of an instance to see its details.
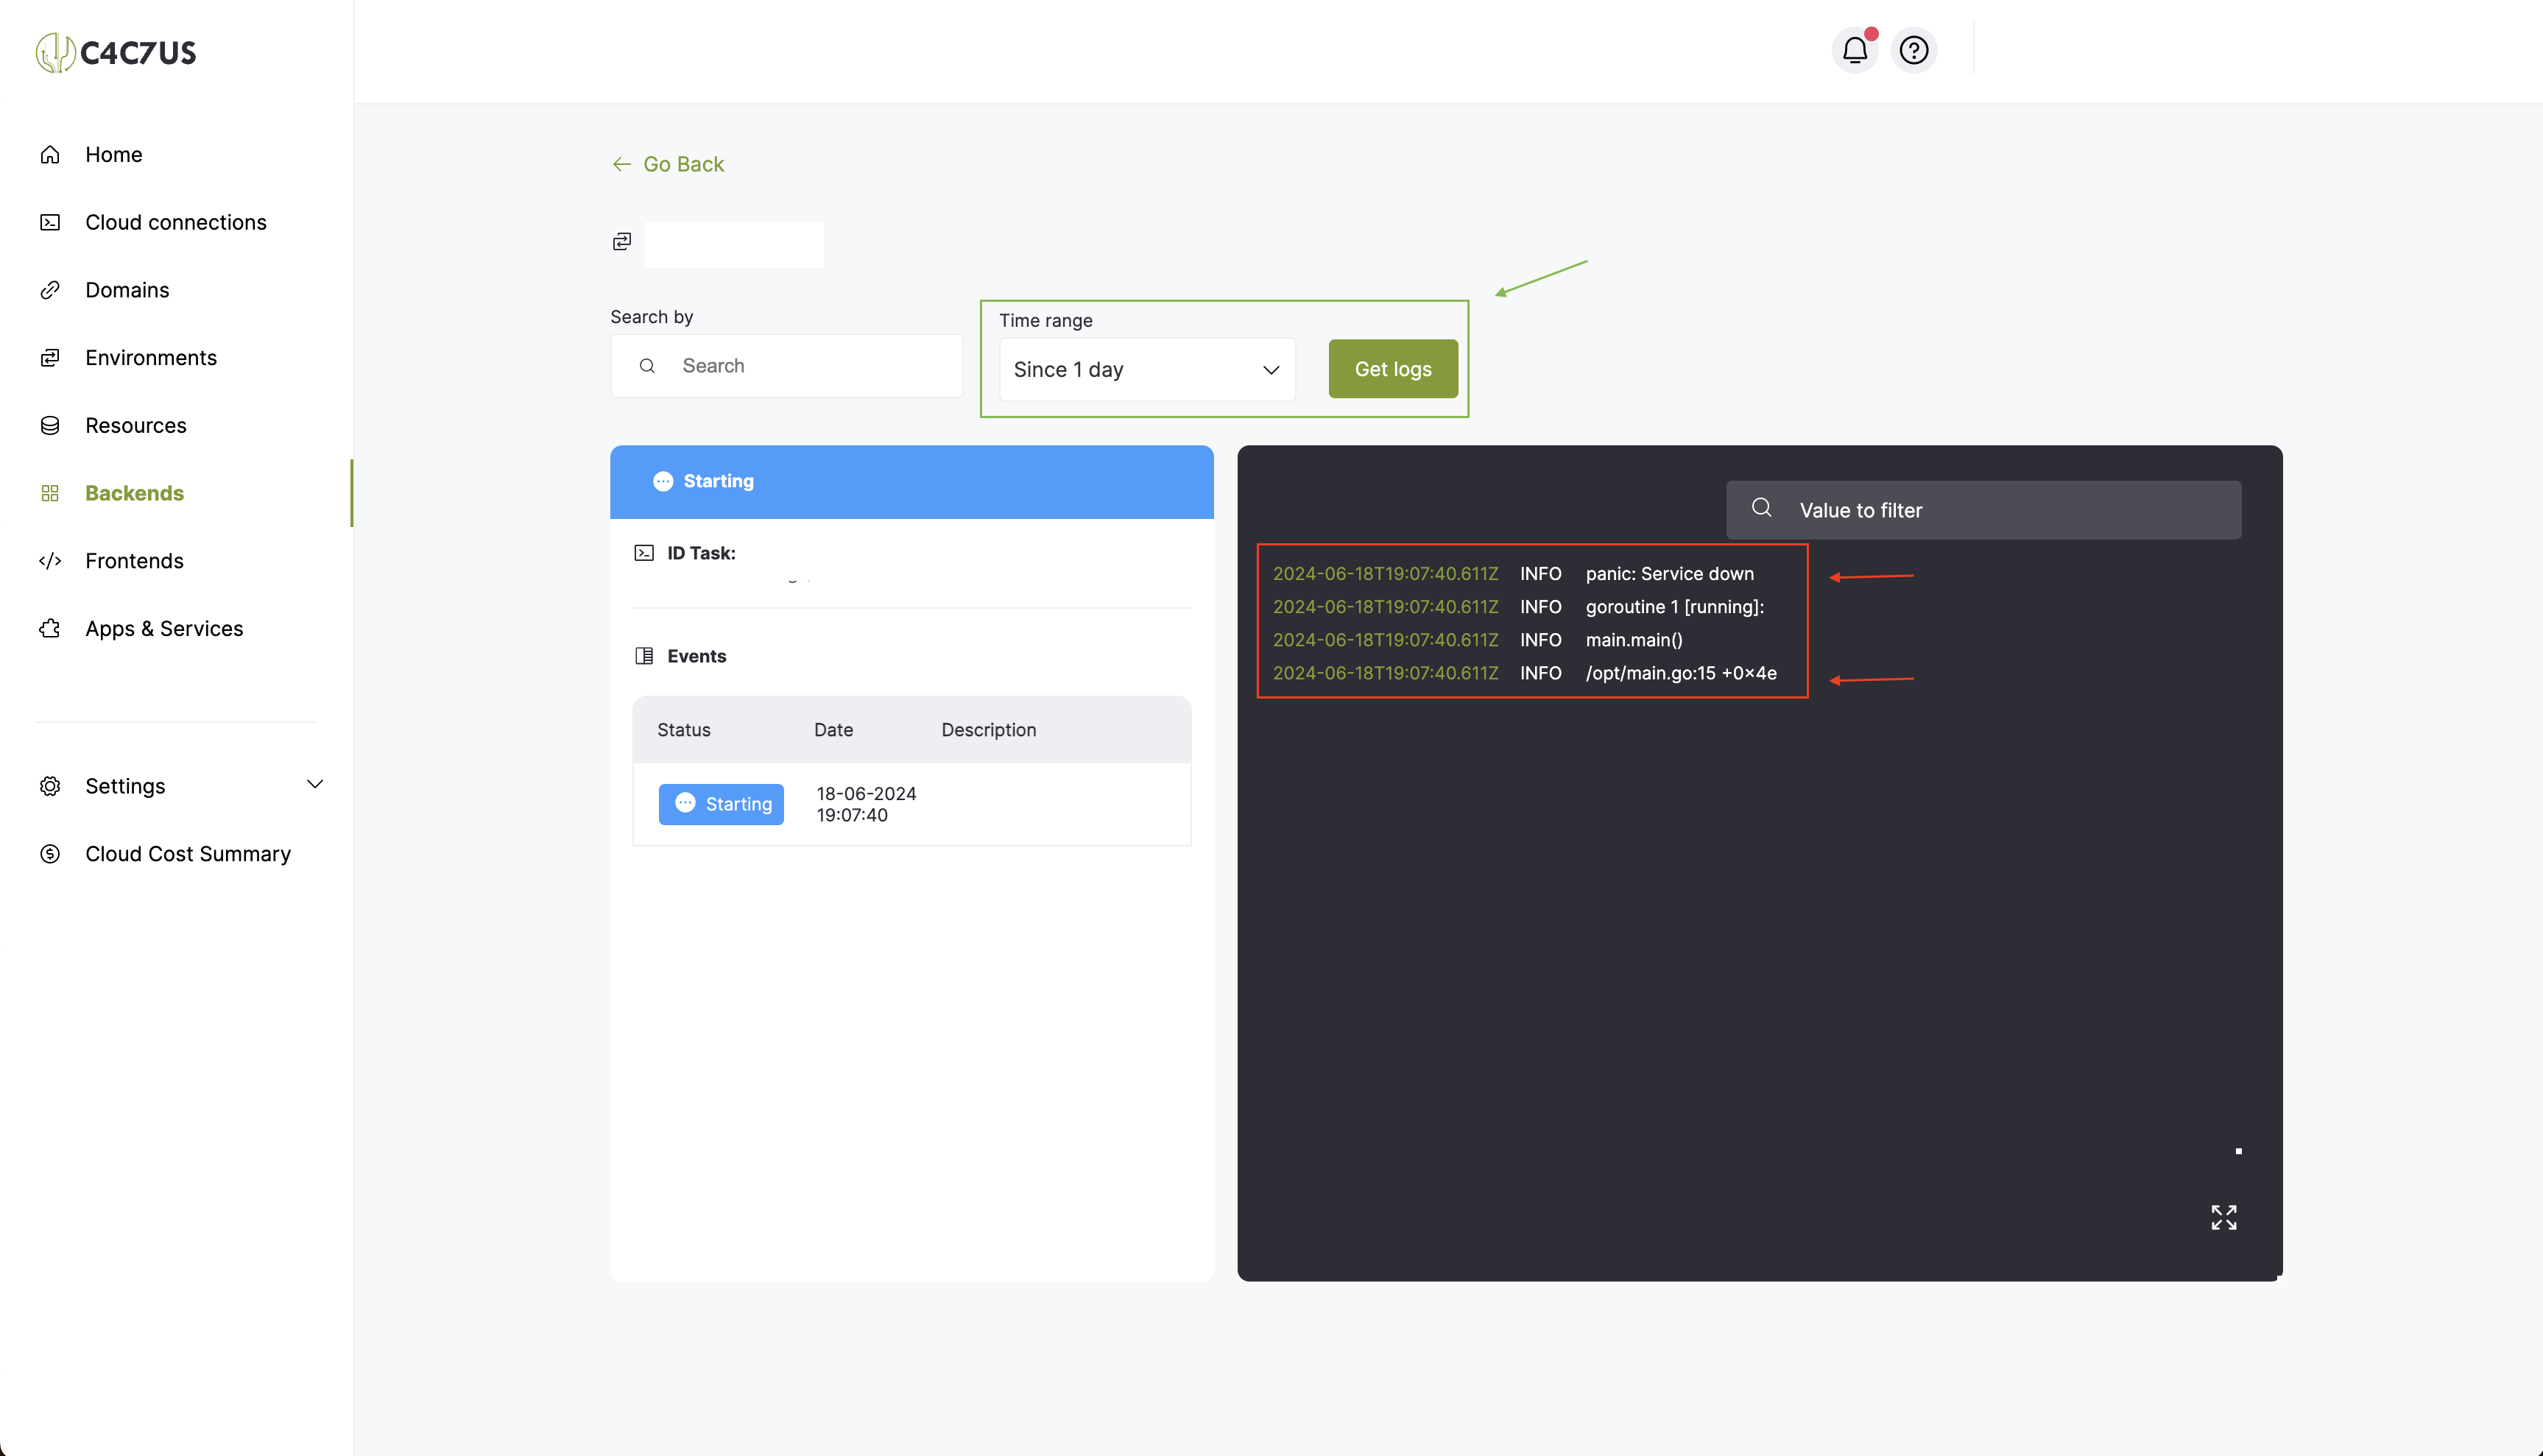
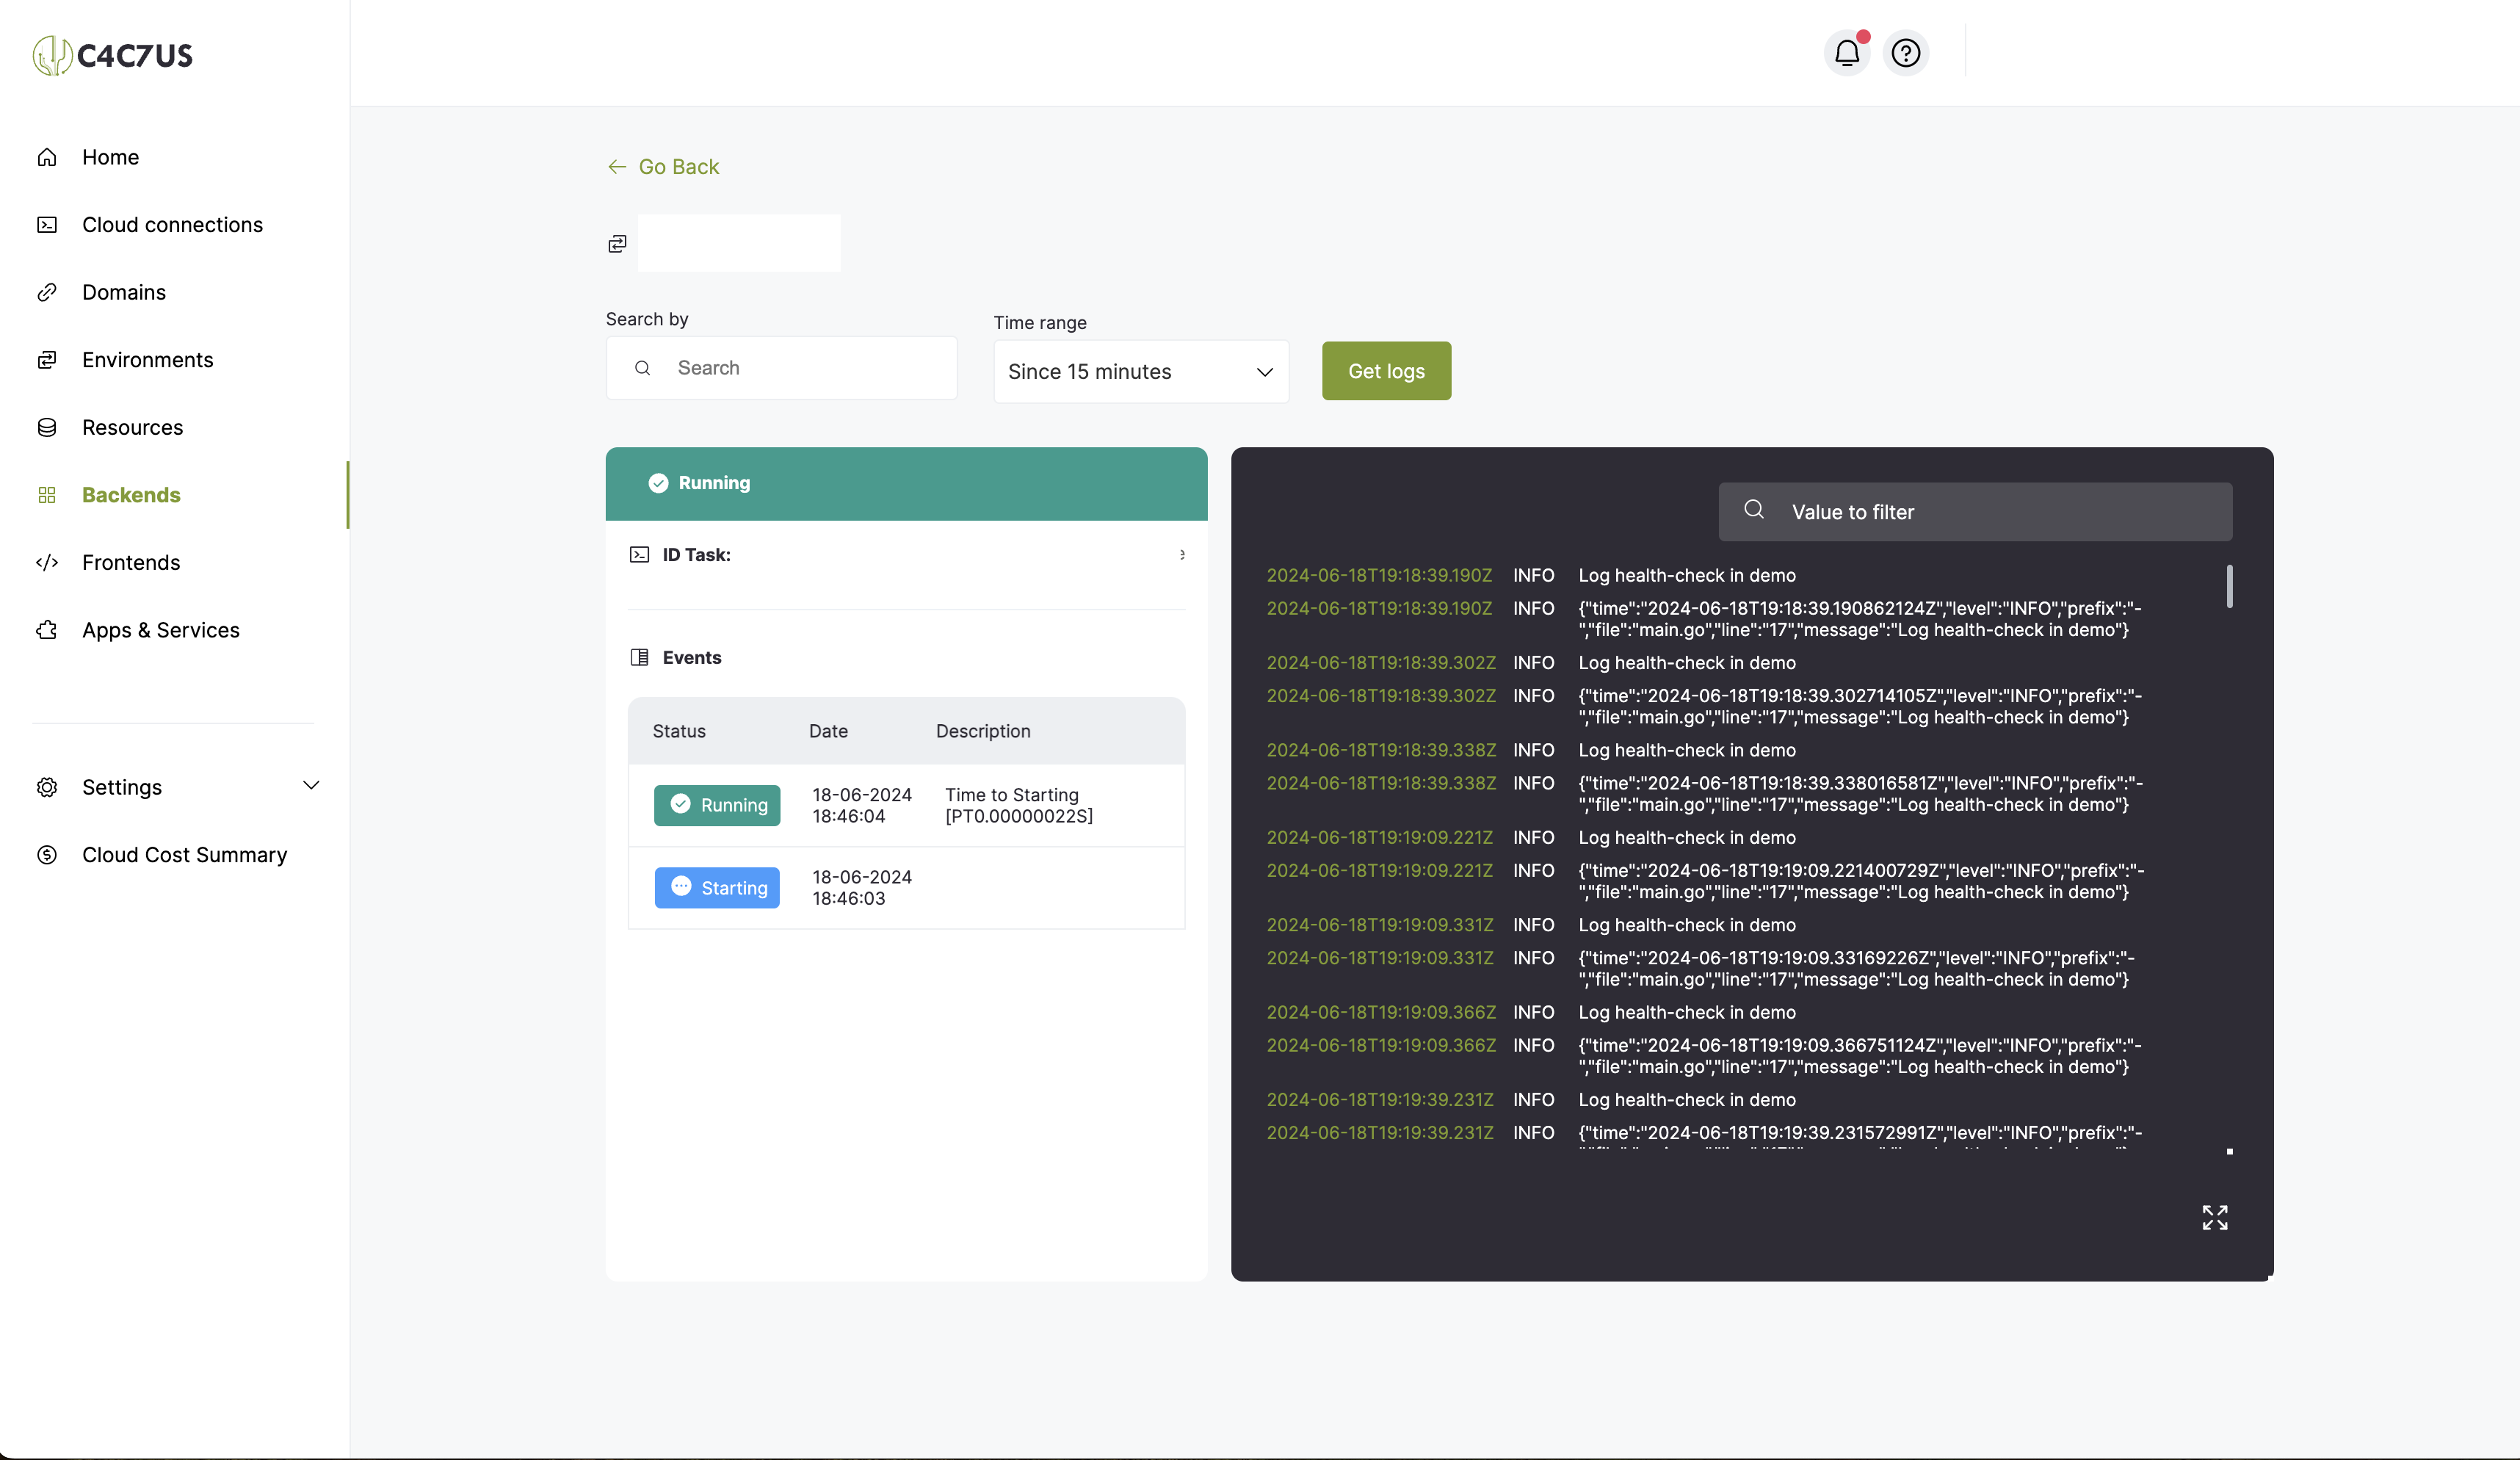
Set the time range for the logs of the selected instance and press Get Logs.
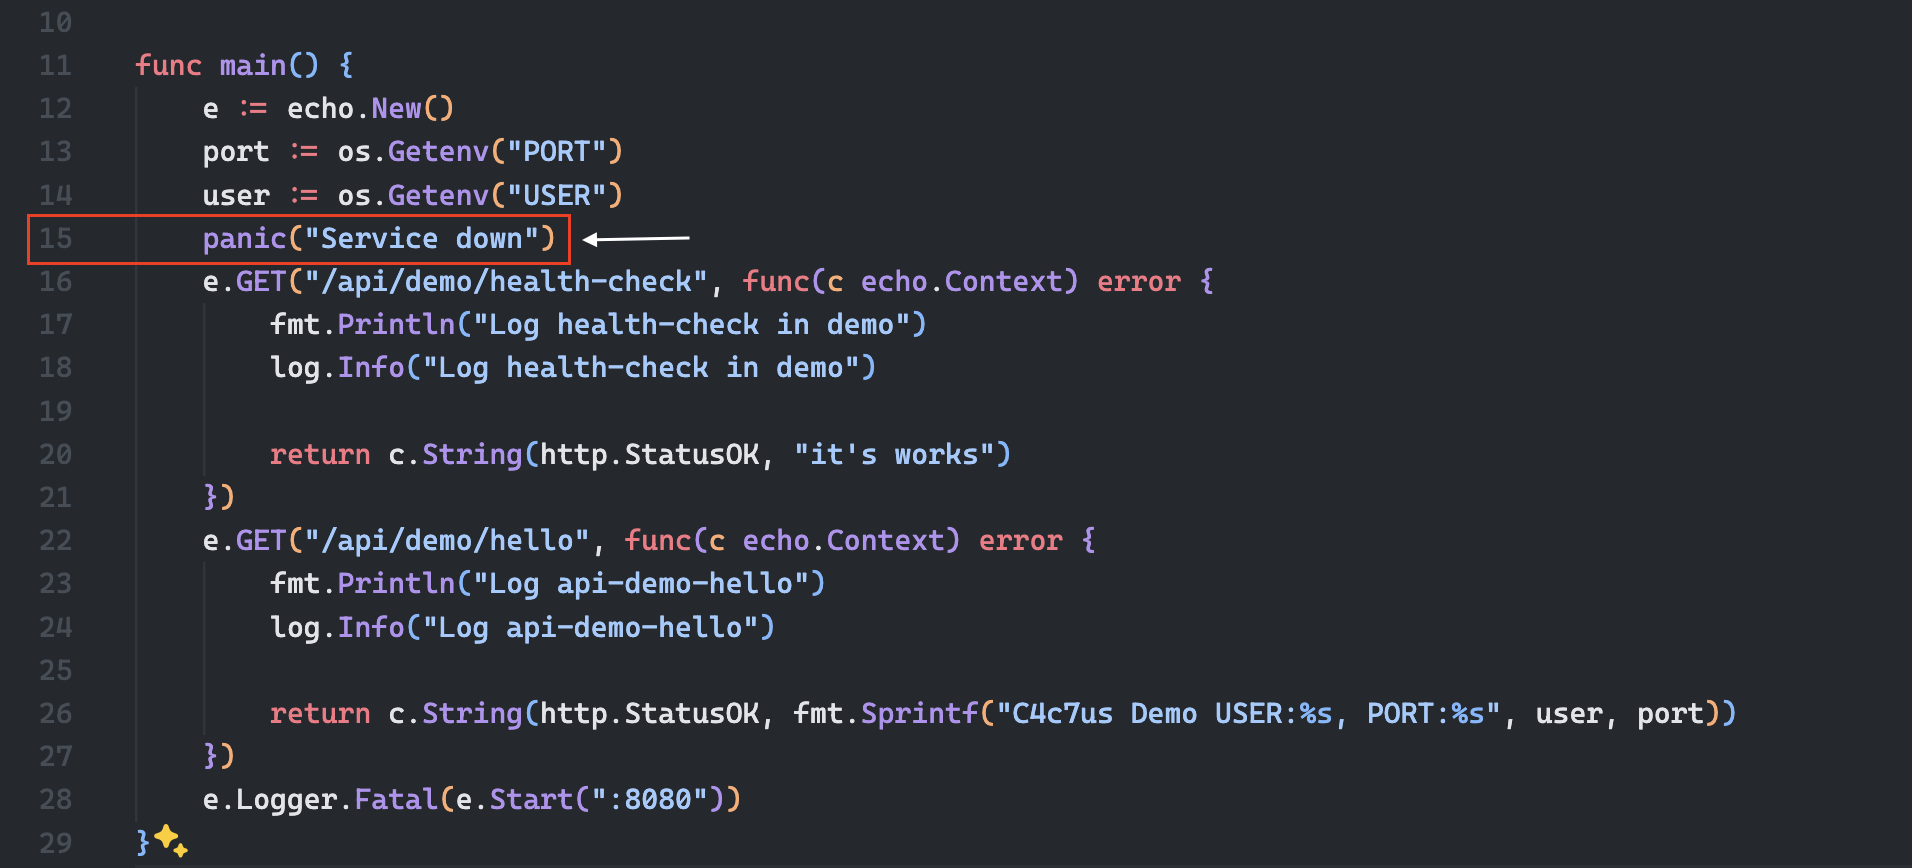
In this particular case, our service is programmed in GoLang, and we can see that a panic stopped its execution at line 15 of the main.go file. By checking the code of this service, we can see where the error is and correct it:
Once corrected, just push our change to git and deploy again:
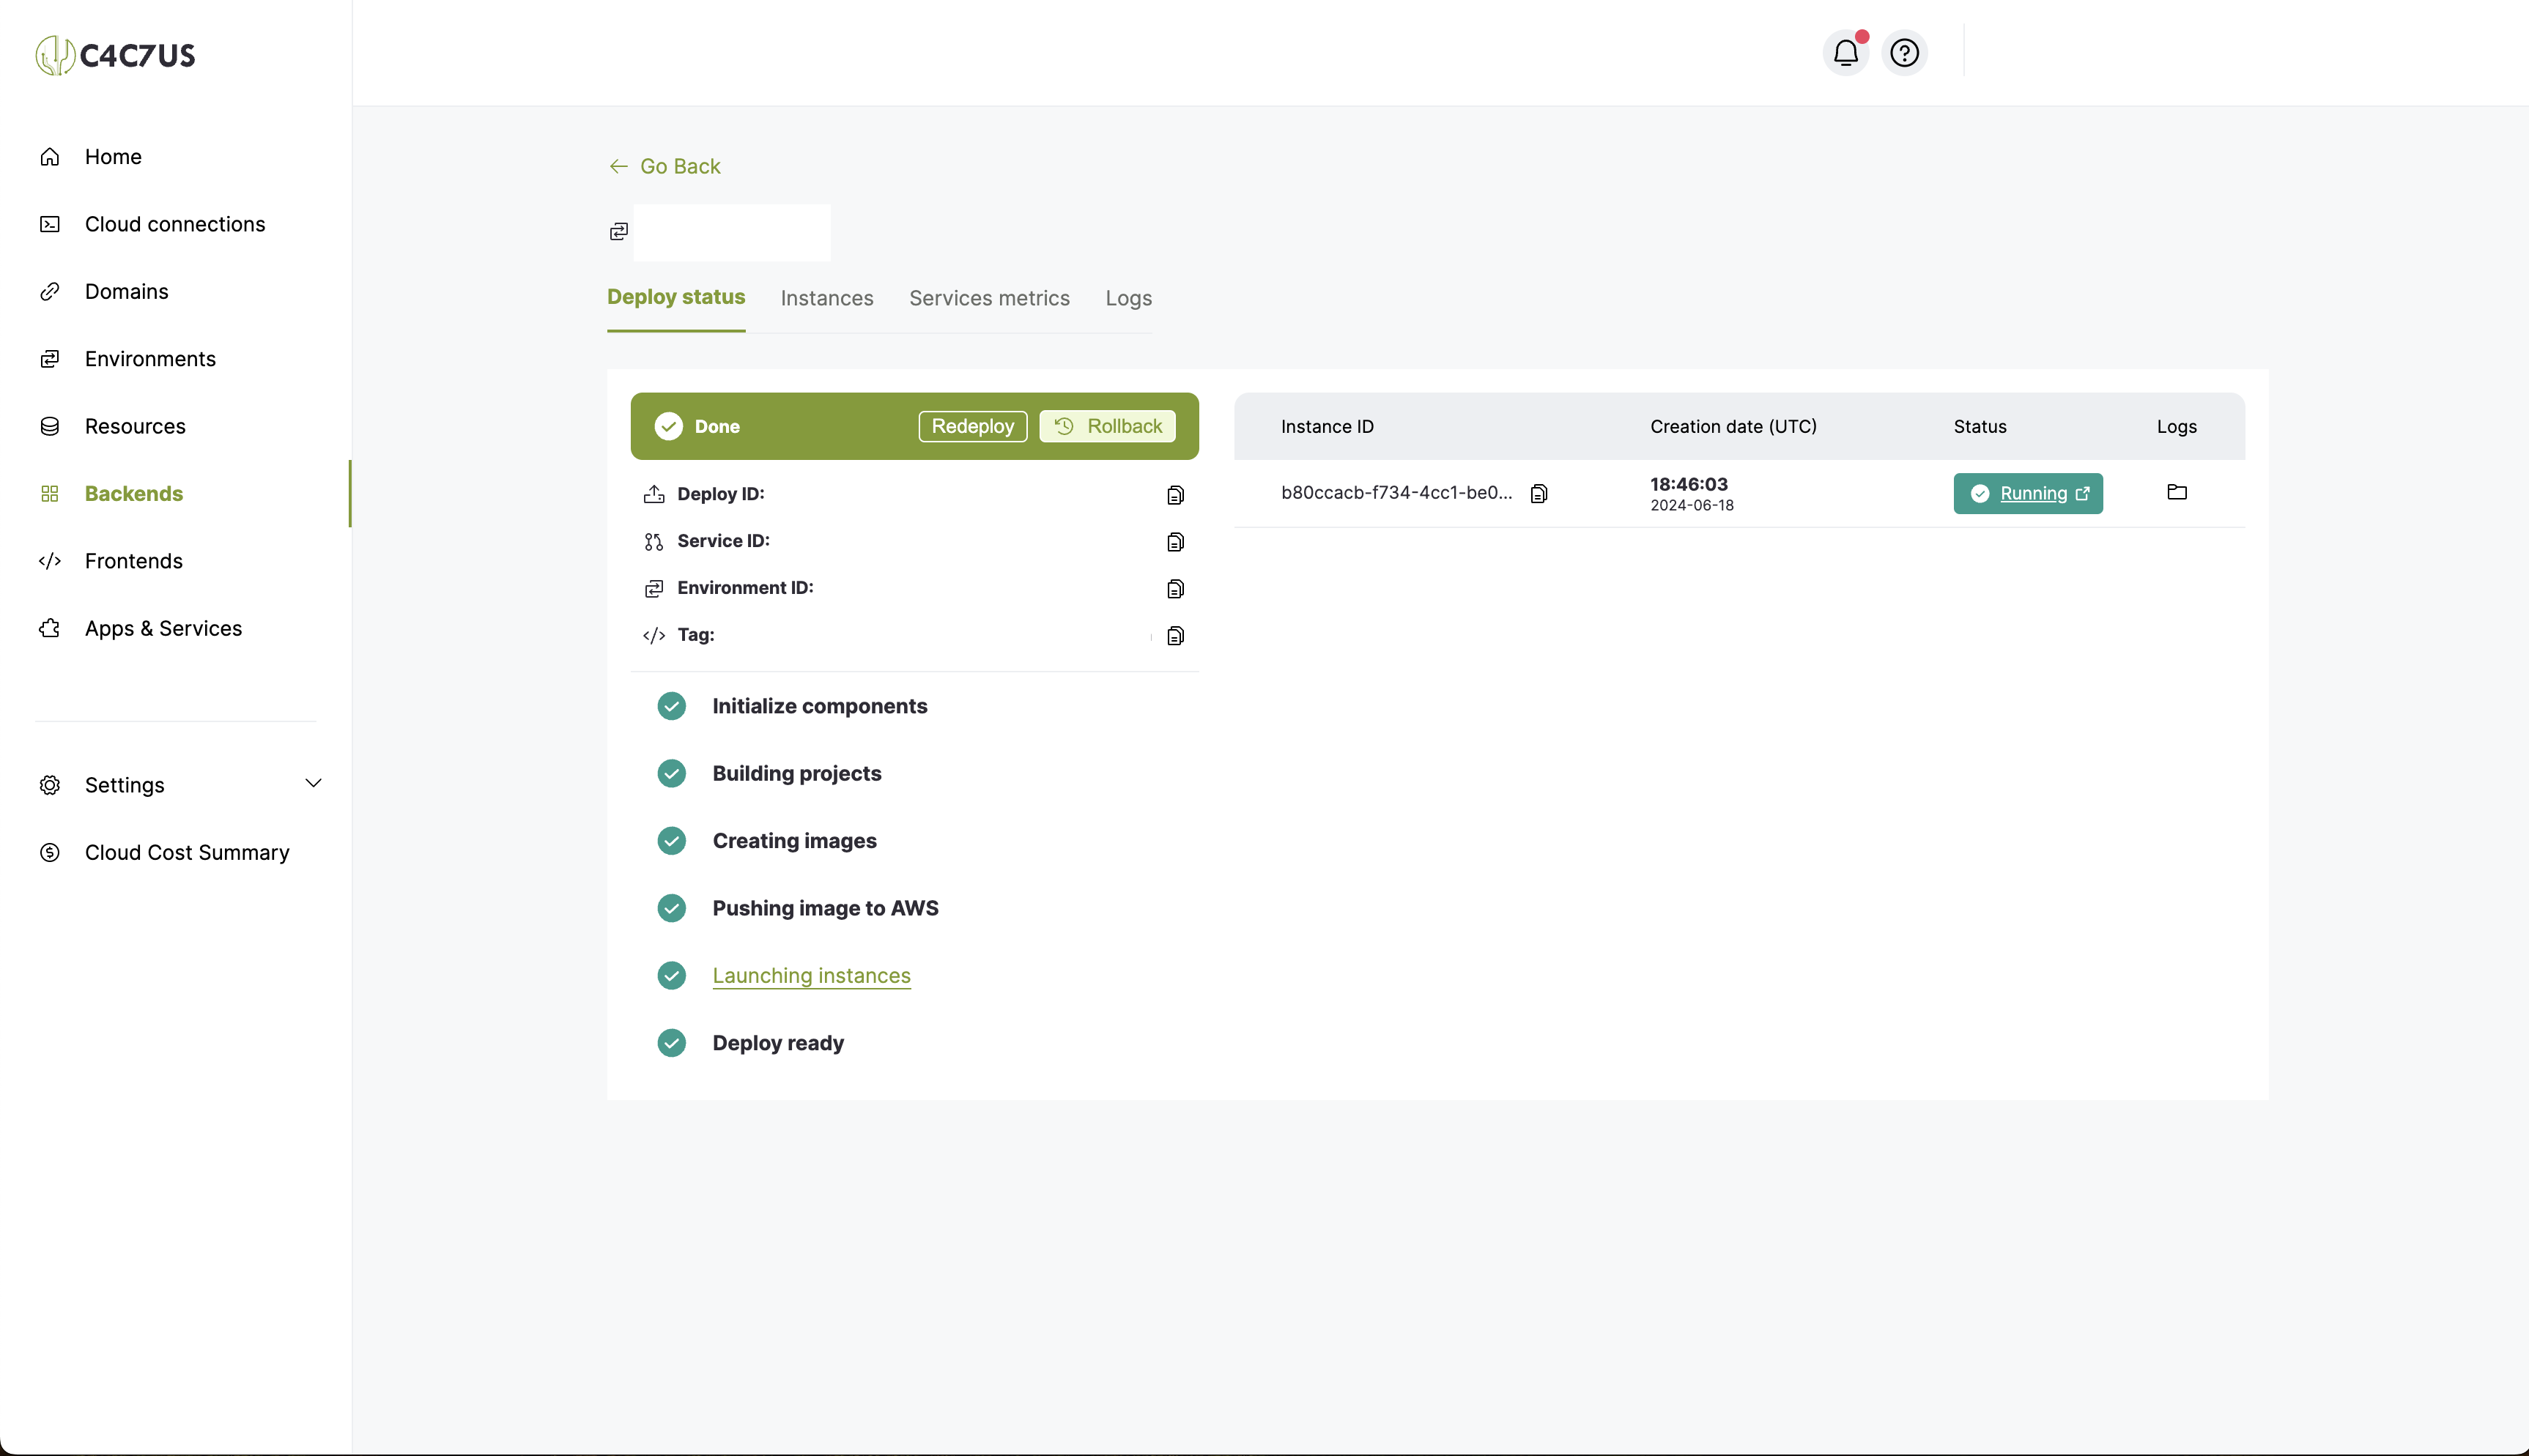
If we enter the details of the instance that is Running, we can see that our service is running successfully. ✅
1.2. How to Create a Service
The process of creating a service is quite extensive and can vary depending on needs, so we will cite the most common ones and leave links to their own guides 😉.
2. How to View the Logs of a Service
Along with deploys, the second thing you’ll probably do most is view their Logs for debugging or testing purposes.
2.1. Find the service you want to inspect and go to its Logs.
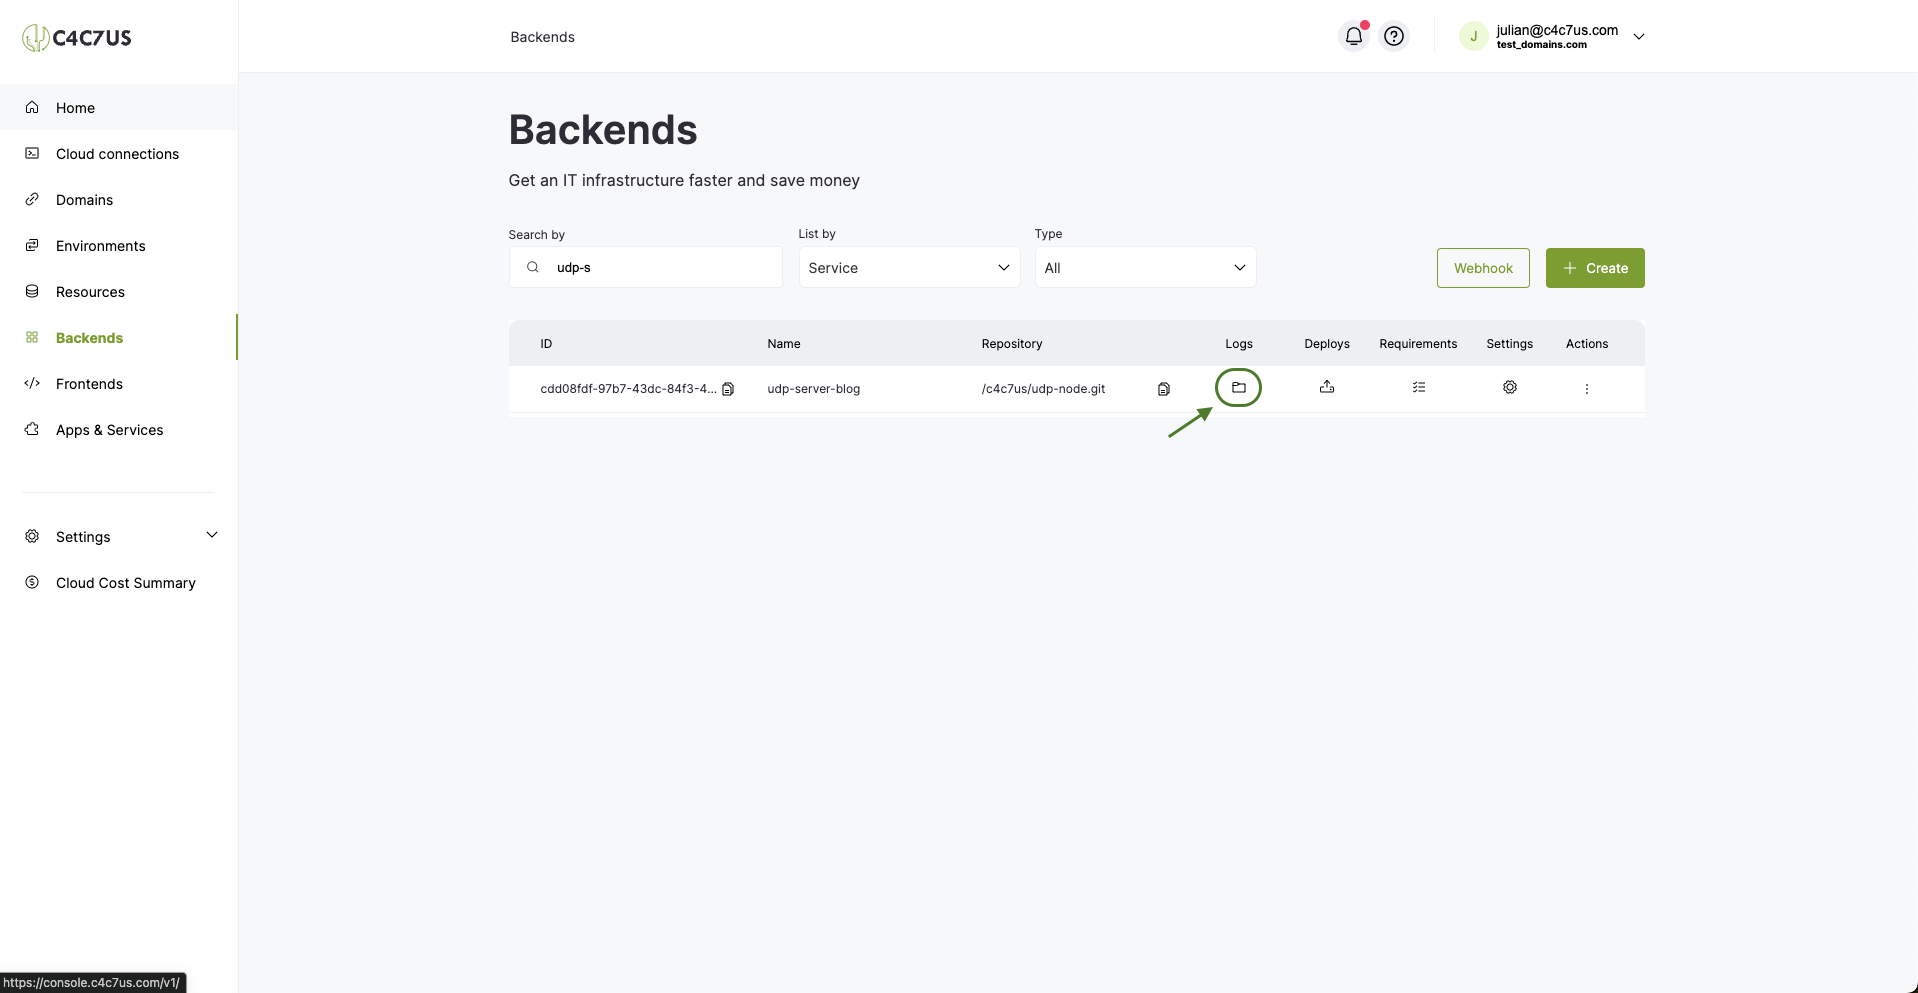
Once here, set the date range of the logs you want to see and press Get Logs.
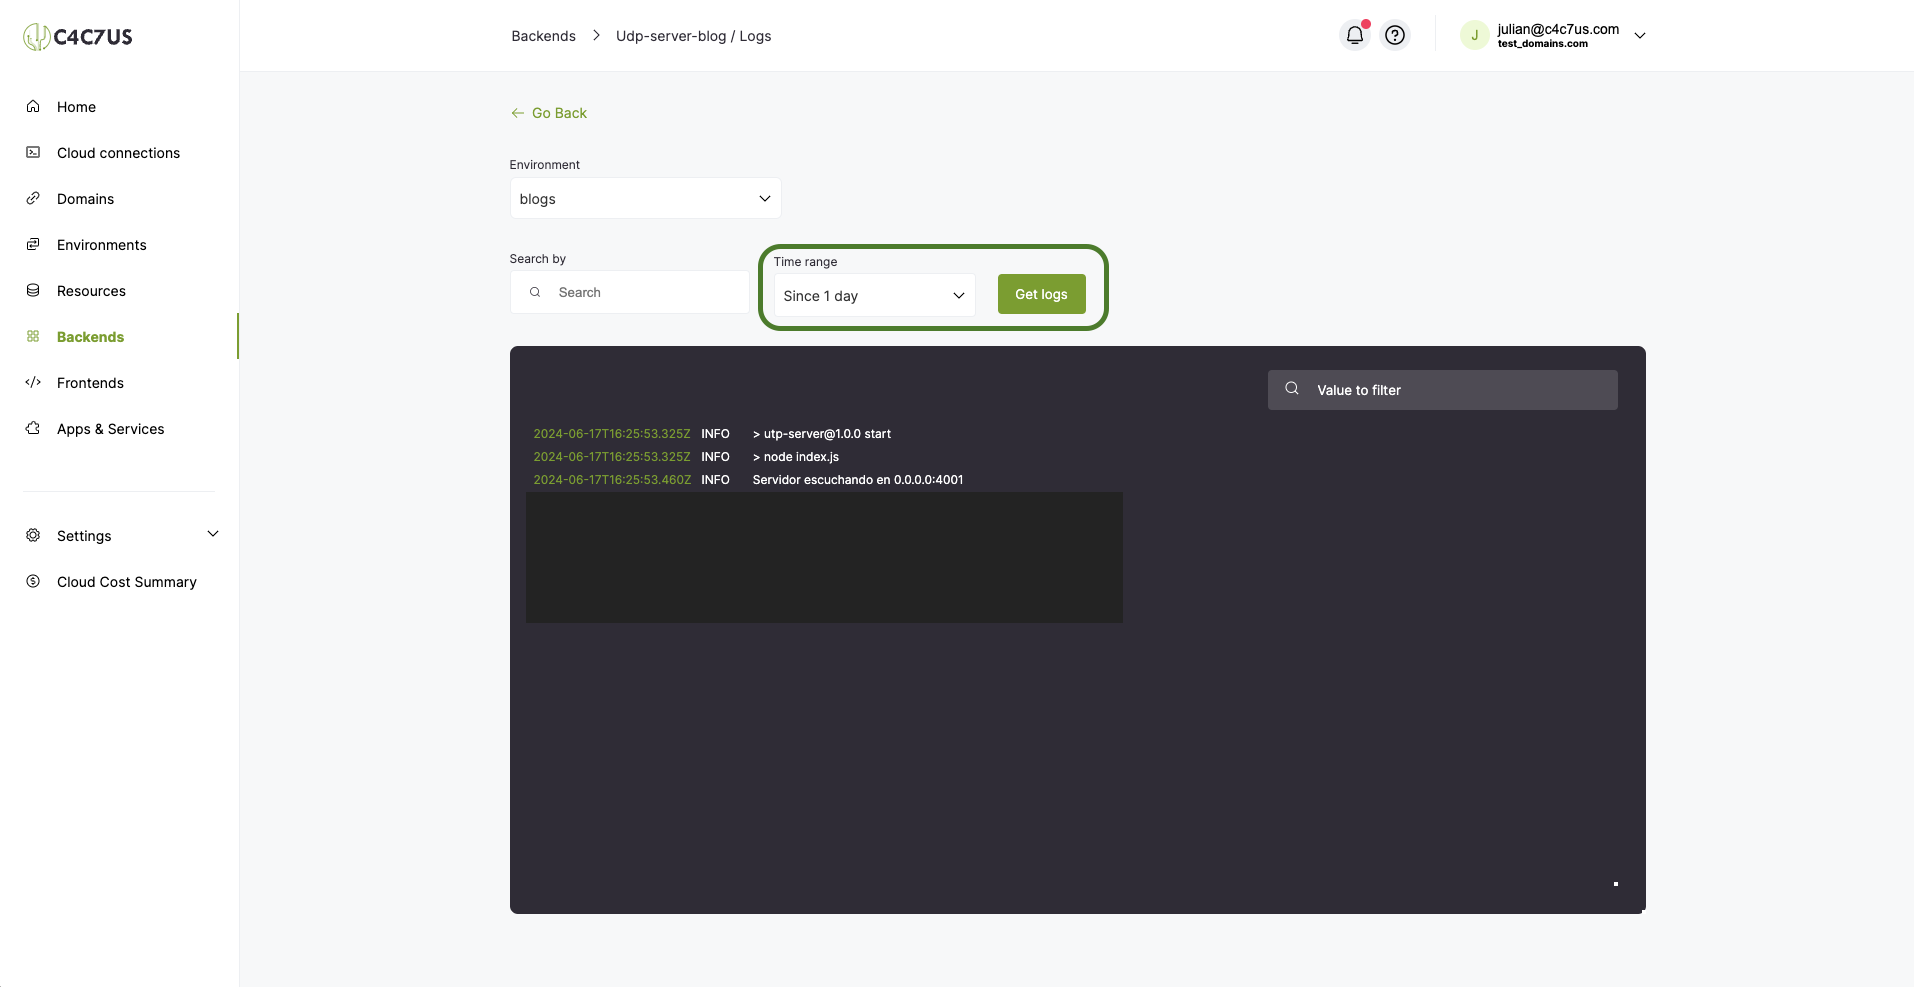
Here we can see all the screen prints our service has.
3. How to Create a Resource and/or Requirement
A resource is understood as a Cluster to create an instance of Databases, S3 Buckets, among other resources provided by our cloud provider, and a Requirement is the instance of the database that a service can consume, meaning the one we configure when creating and deploying it.
This configuration process is somewhat extensive, so I leave you the link to its own Guide so you can explore the concept in more depth with practical examples 😎.
Create a Requirement and Connect it to a Resource
Conclusion
With this information, you can start working and extend your projects within our C4C7OPS console, minimizing the friction of going to production with a cloud 😎. Additionally, here is the link to our Help Center where you can explore more guides to exploit all the possibilities we offer 🌵.