


Deploying a Frontend Repository Using C4c7us Console
Welcome to our web development blog! In this article, we will explore how to deploy a frontend repository using the C4c7us console. If you're interested in learning how to take your web application to the next level and make the most of the power of C4c7us, you've come to the right place.
The frontend of a web application is the visible face for users, the user interface they interact with, the styles that bring the application to life, and the logic that enables a smooth user experience. Proper deployment of a frontend repository is crucial to ensure your application is available and runs smoothly.
In this article, we will guide you step by step through the creation and deployment process using the C4c7us console.
We previously created our first development environment on AWS. If you missed it, visit our article on integrating git, AWS, and c4c7us.
Creating the Frontend Service
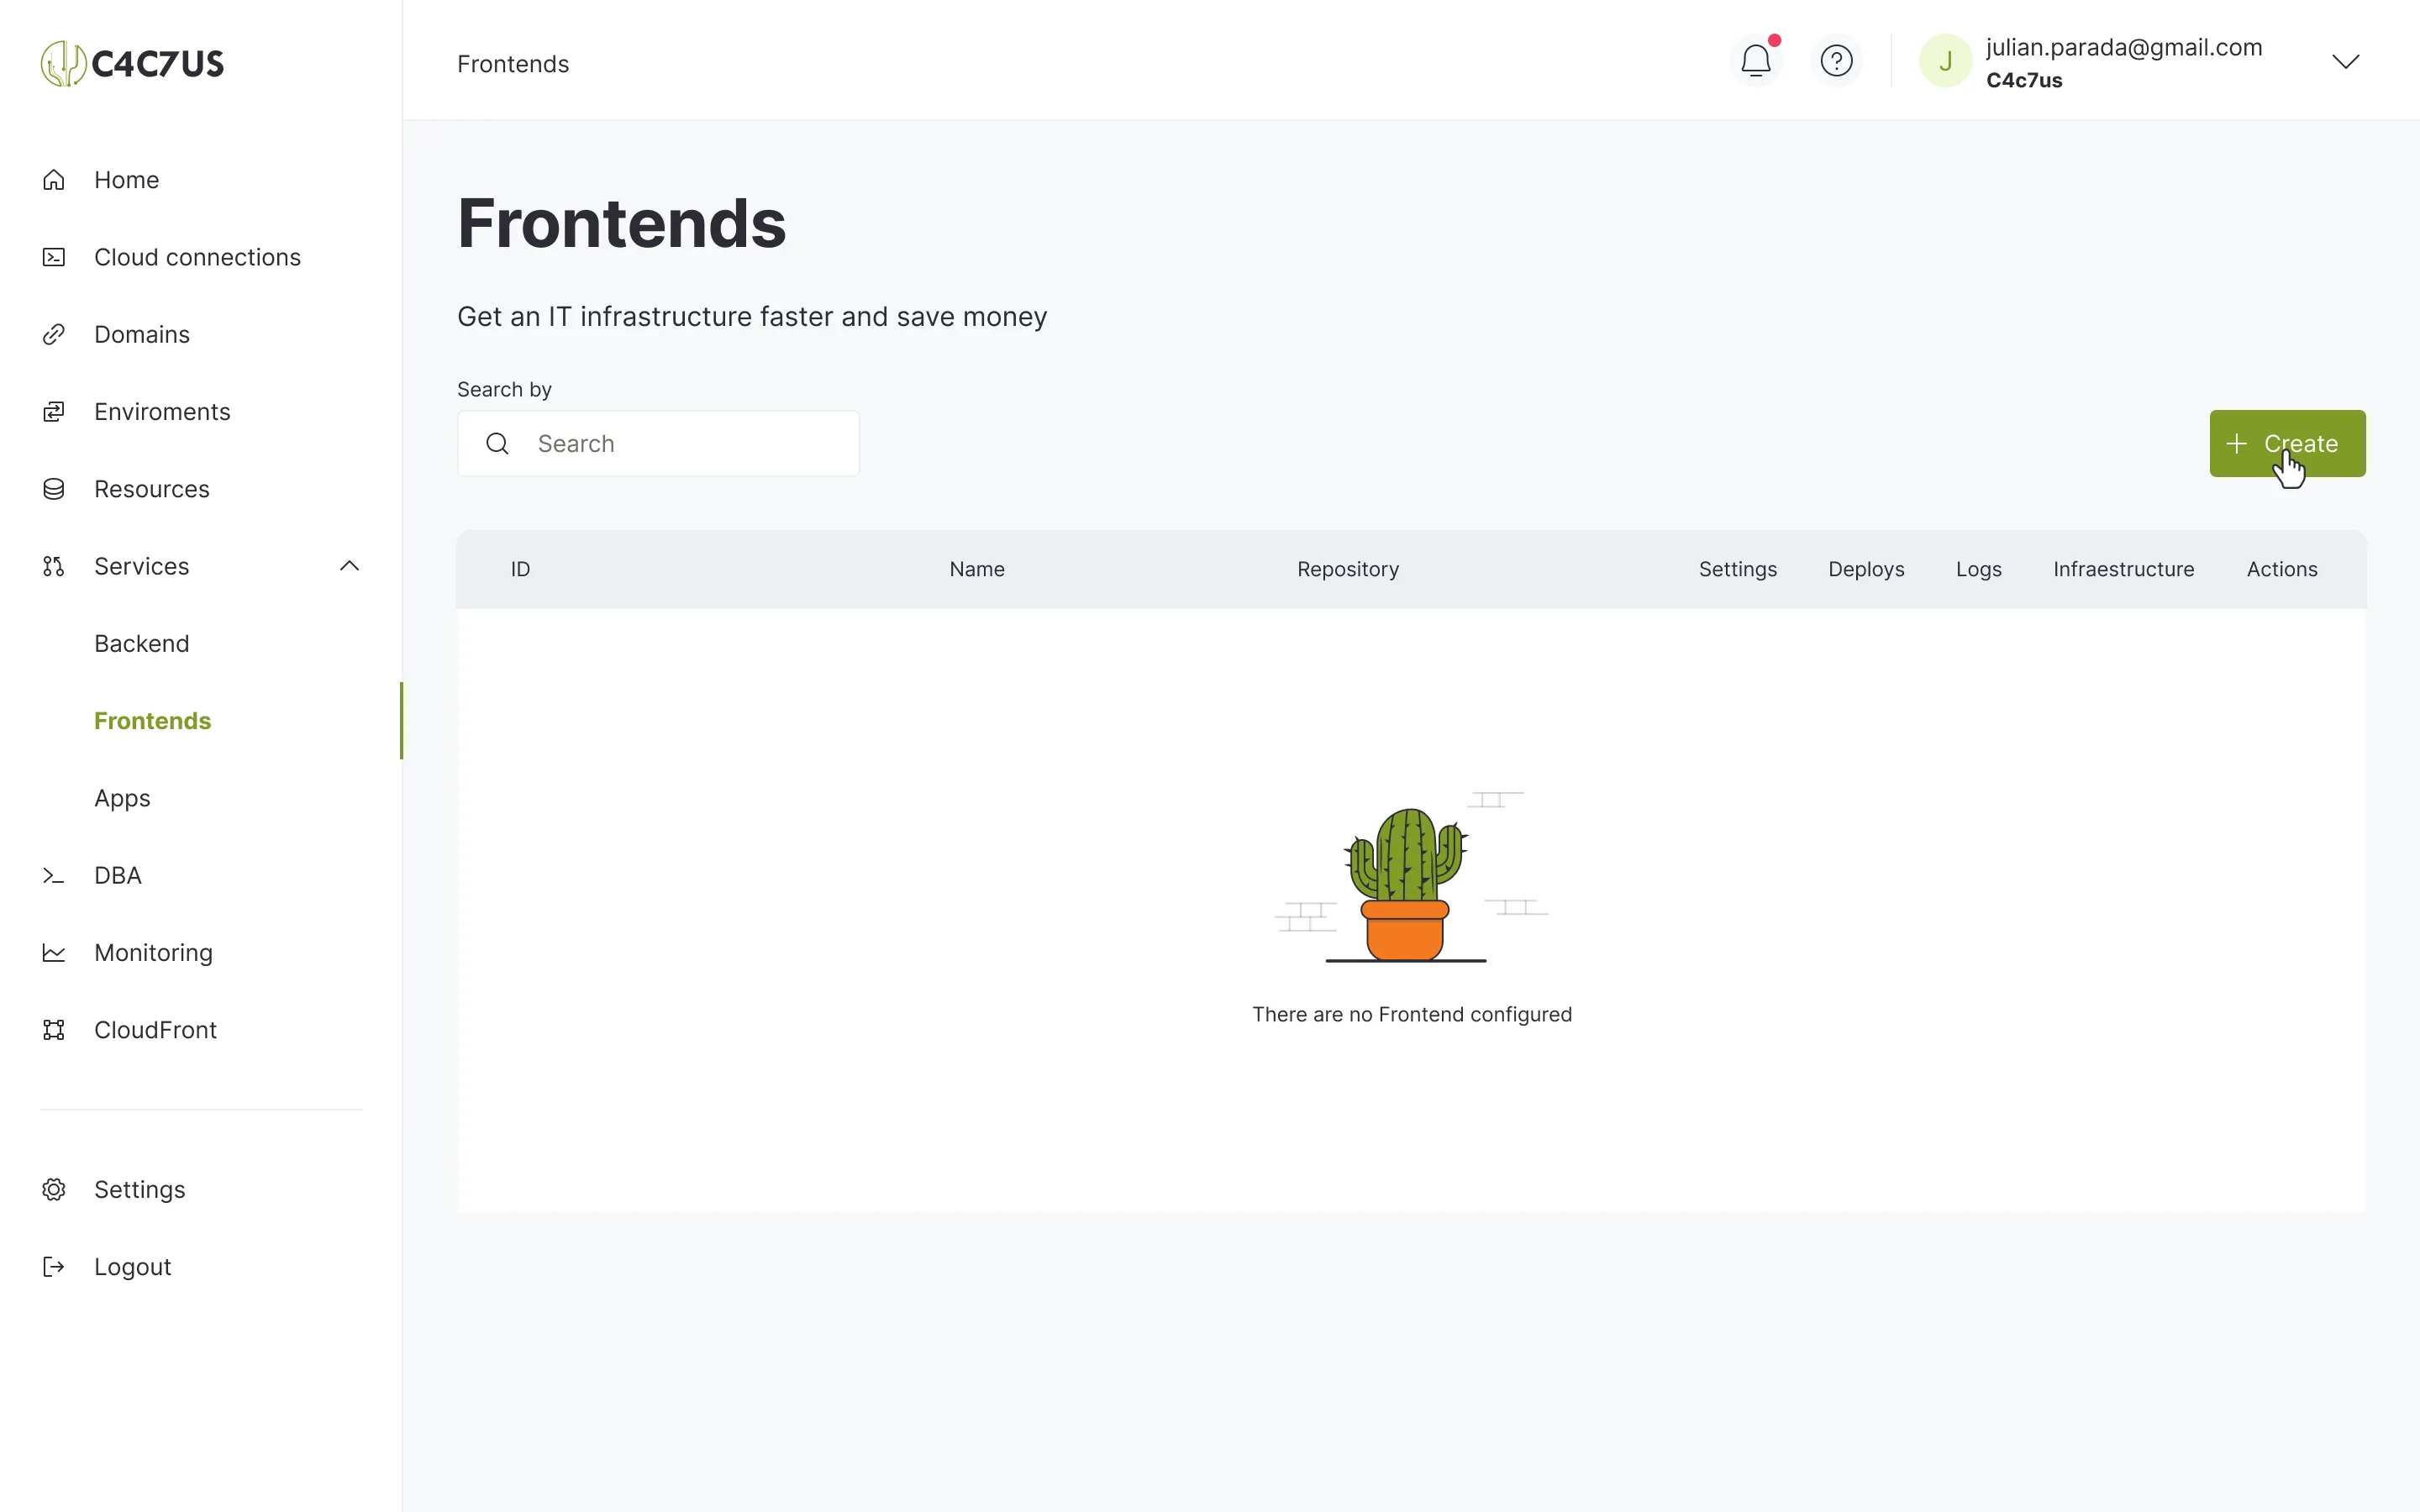
With the previous creation of the environment, we will now create a frontend service and deploy it. To do this, we will start by going to the "Frontends" window and clicking on the create button.
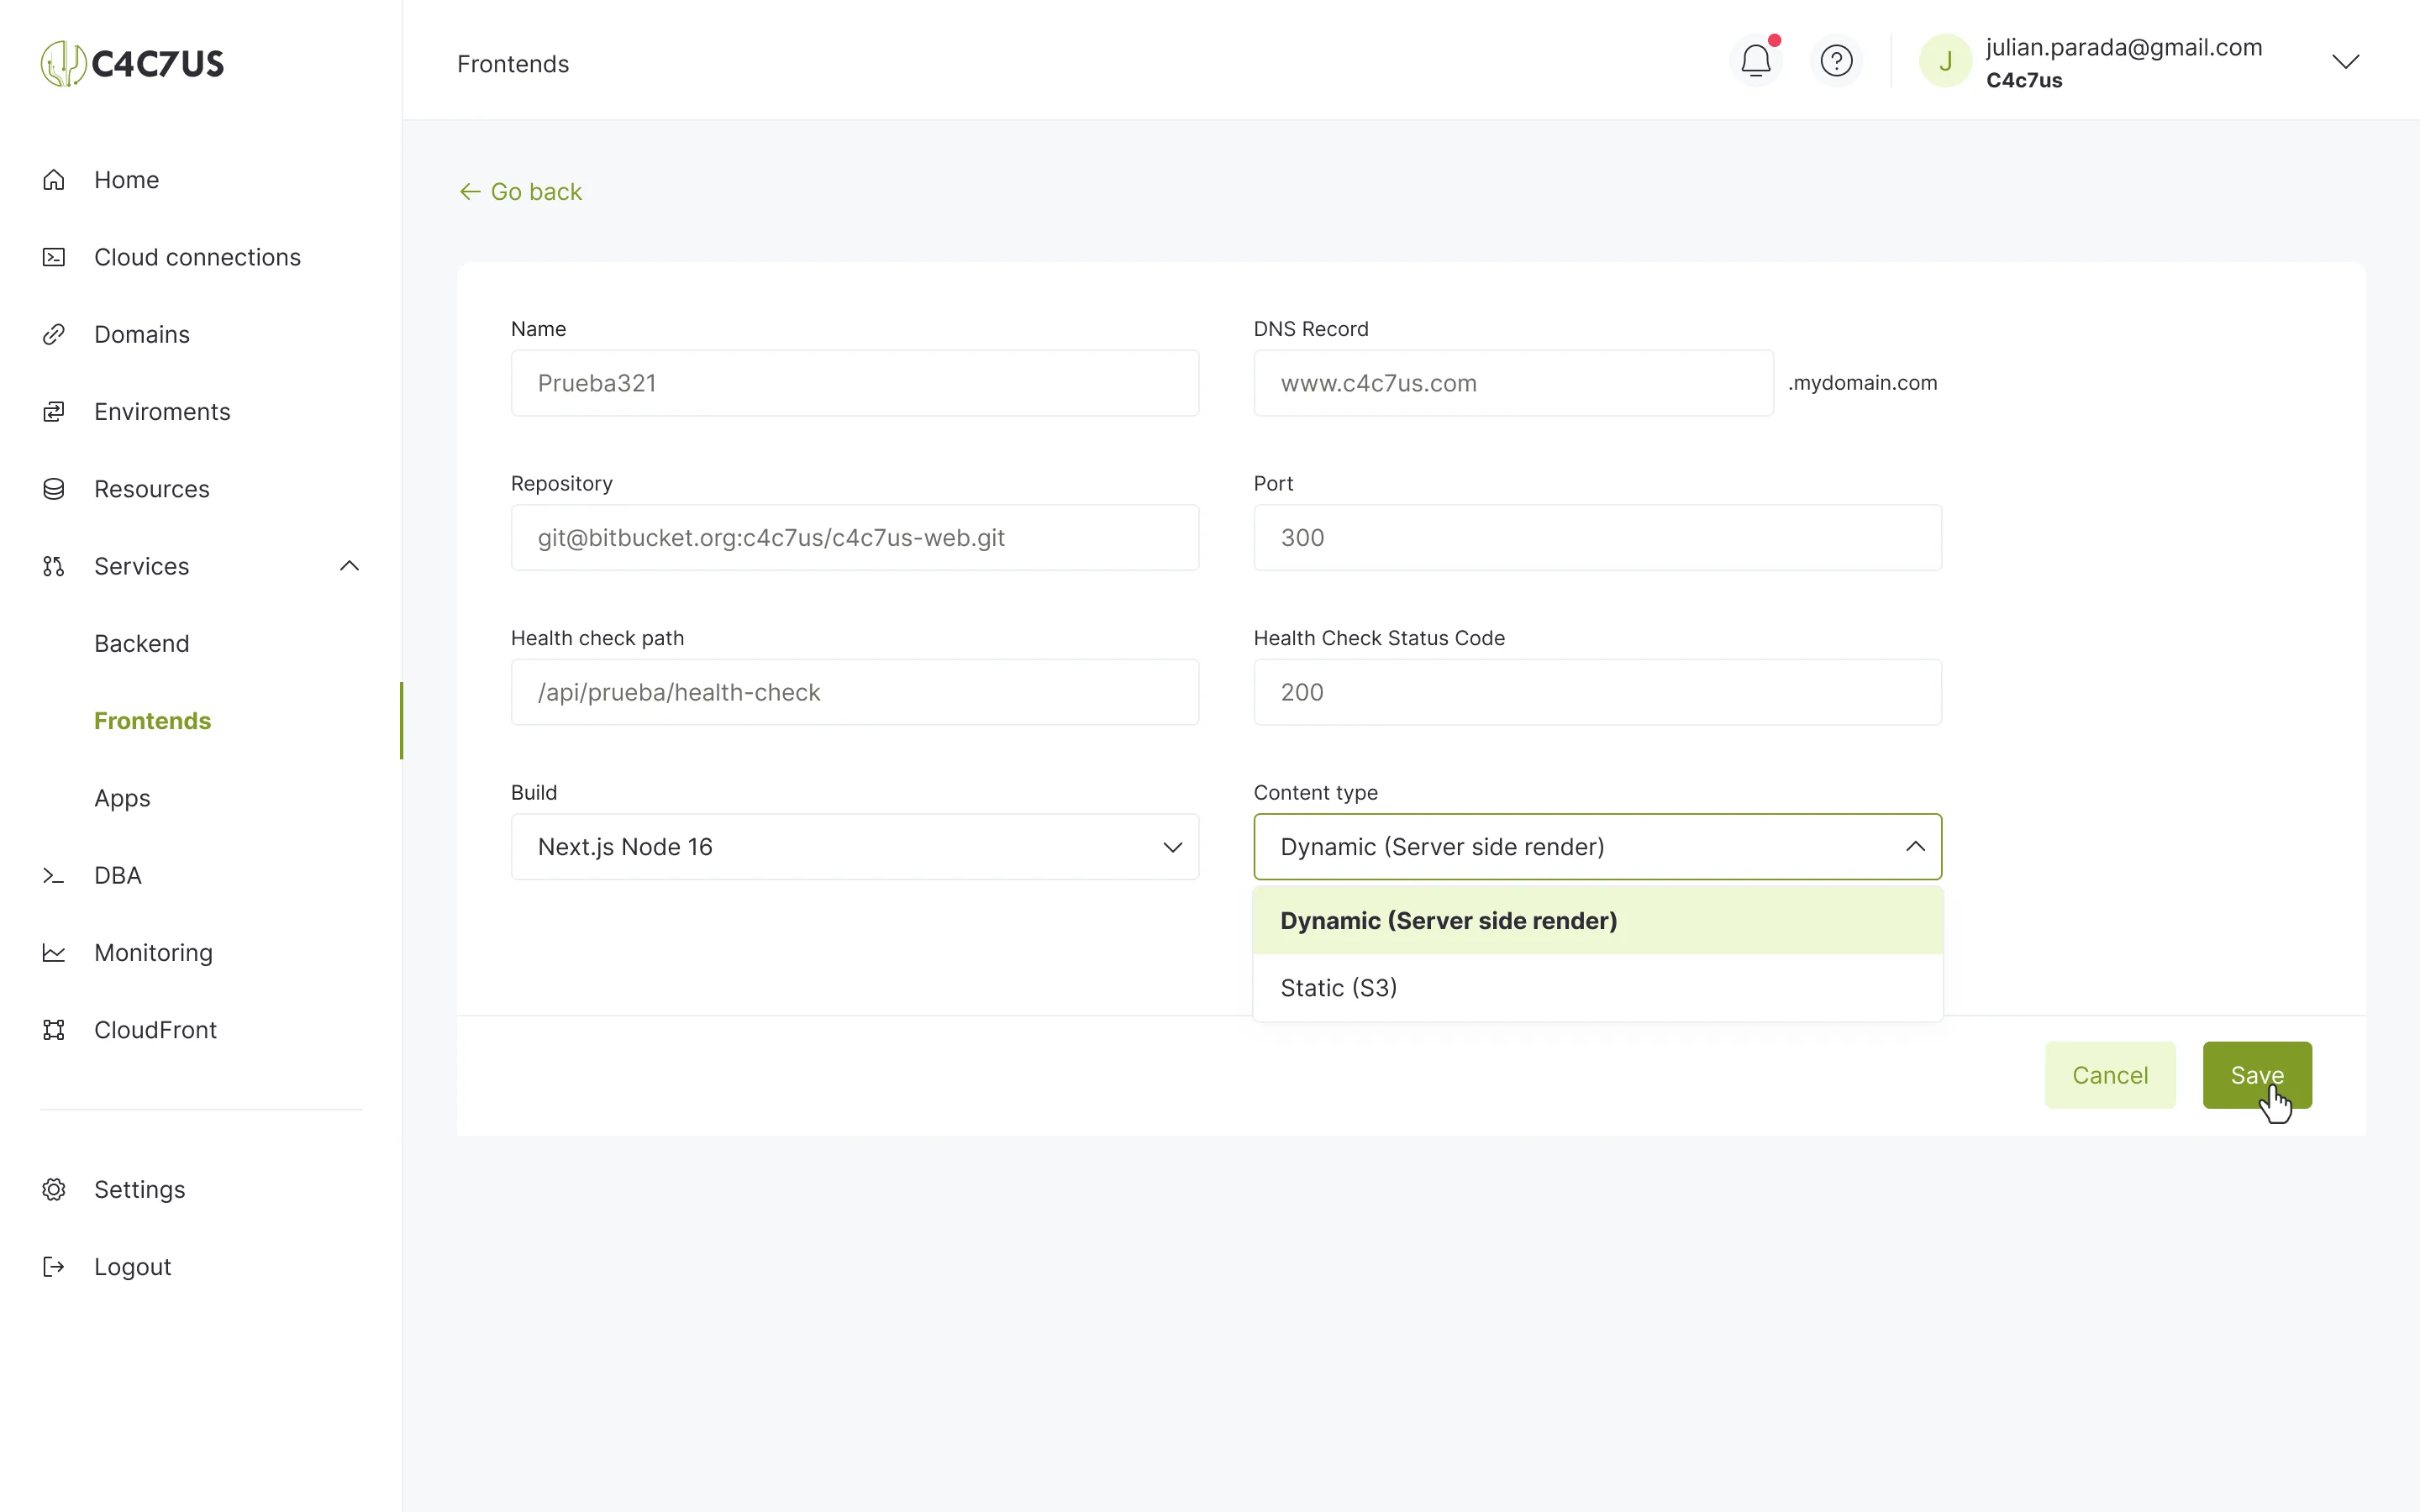
This will display a screen to enter the corresponding information for our service. Here are the fields:
- Name: This will be the name by which we identify our service.
- DNS record: This value will be the prefix we expect to be assigned to the host depending on the environment where the deployment will take place.
- Repository: The URL of the repository where the frontend service we want to deploy is located, for example, "git@bitbucket.org:user/user-repo.git".
- Health check path: The path where the service's health check is located.
- Health check status code: The response code of the status of the request expected from the previously defined path. (We recommend using status 200)
- Build: We will select the language in which our project is defined, and if necessary, we can select to build using a Dockerfile.
- Content type: In this case, we have two options.
- If the content needs to be rendered from the server, Dynamic (Server Side Render) is required. - If the content generated in the build is static, then Static (S3) is recommended.
Fill in the fields and click "Save" to continue.
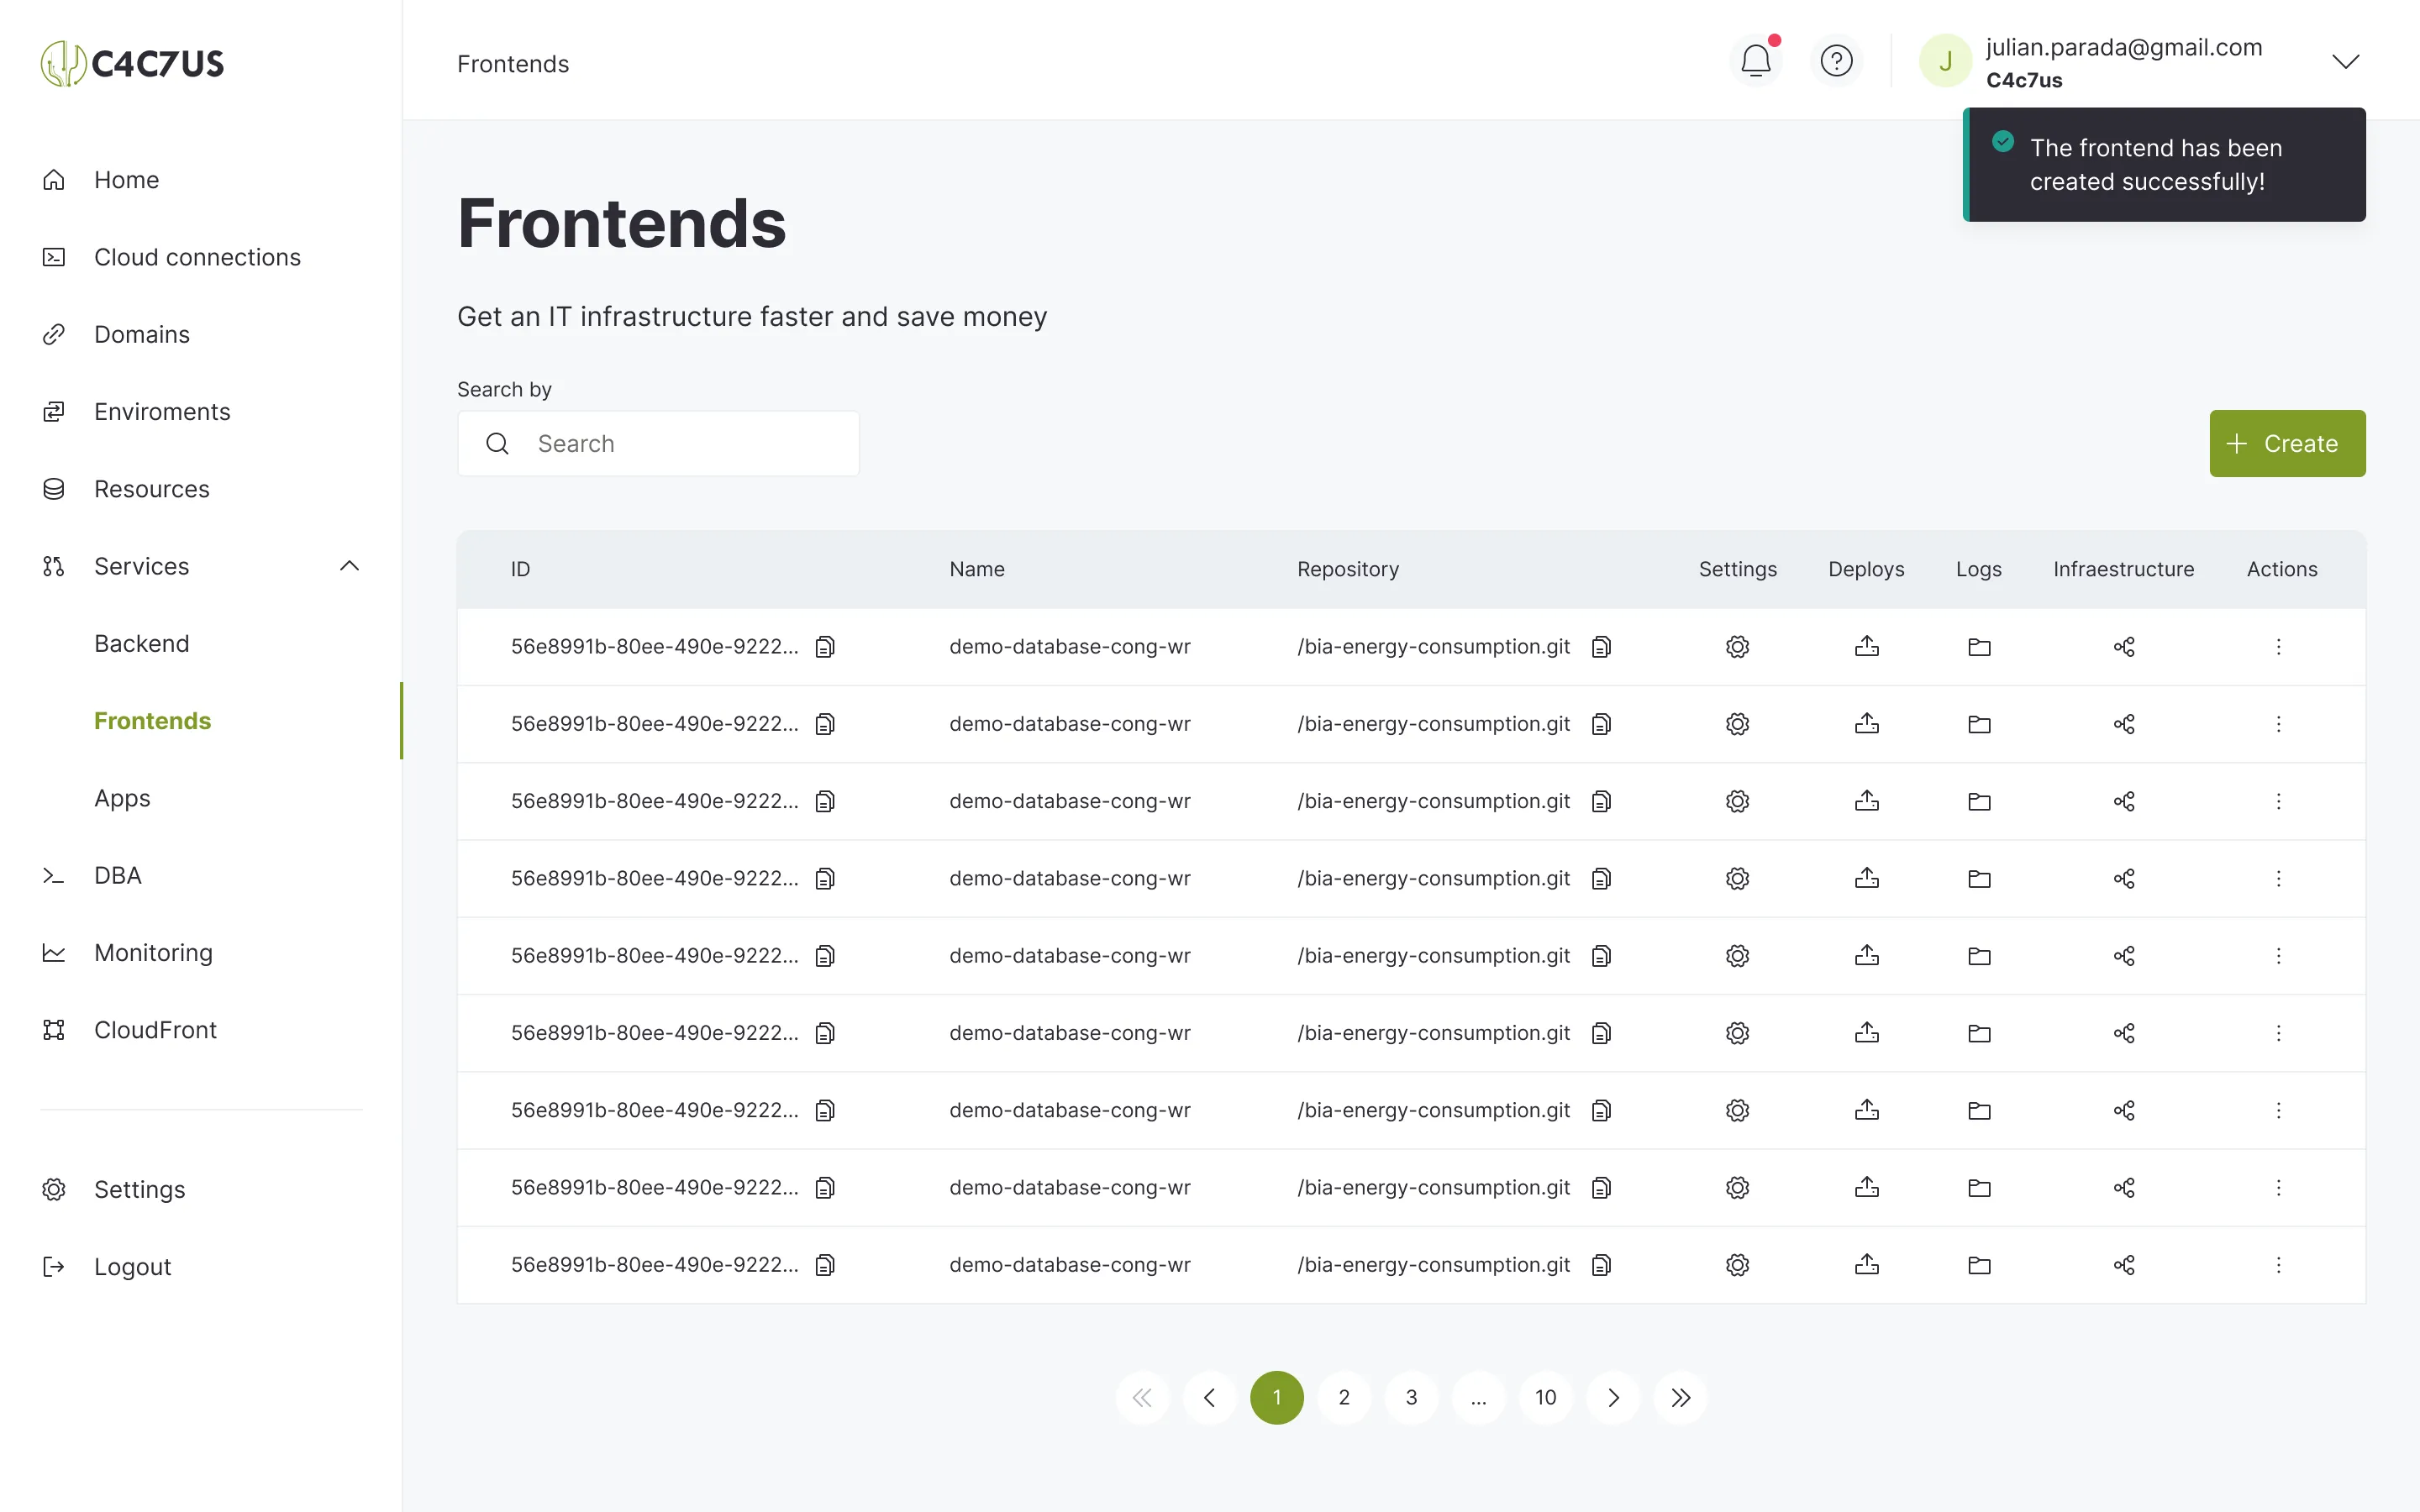
The list of created services will be displayed, where you can validate the successful creation of the record.
Adjusting Settings Related to Possible Deployment Environments
Now click on the "Environments" button located in the created record.
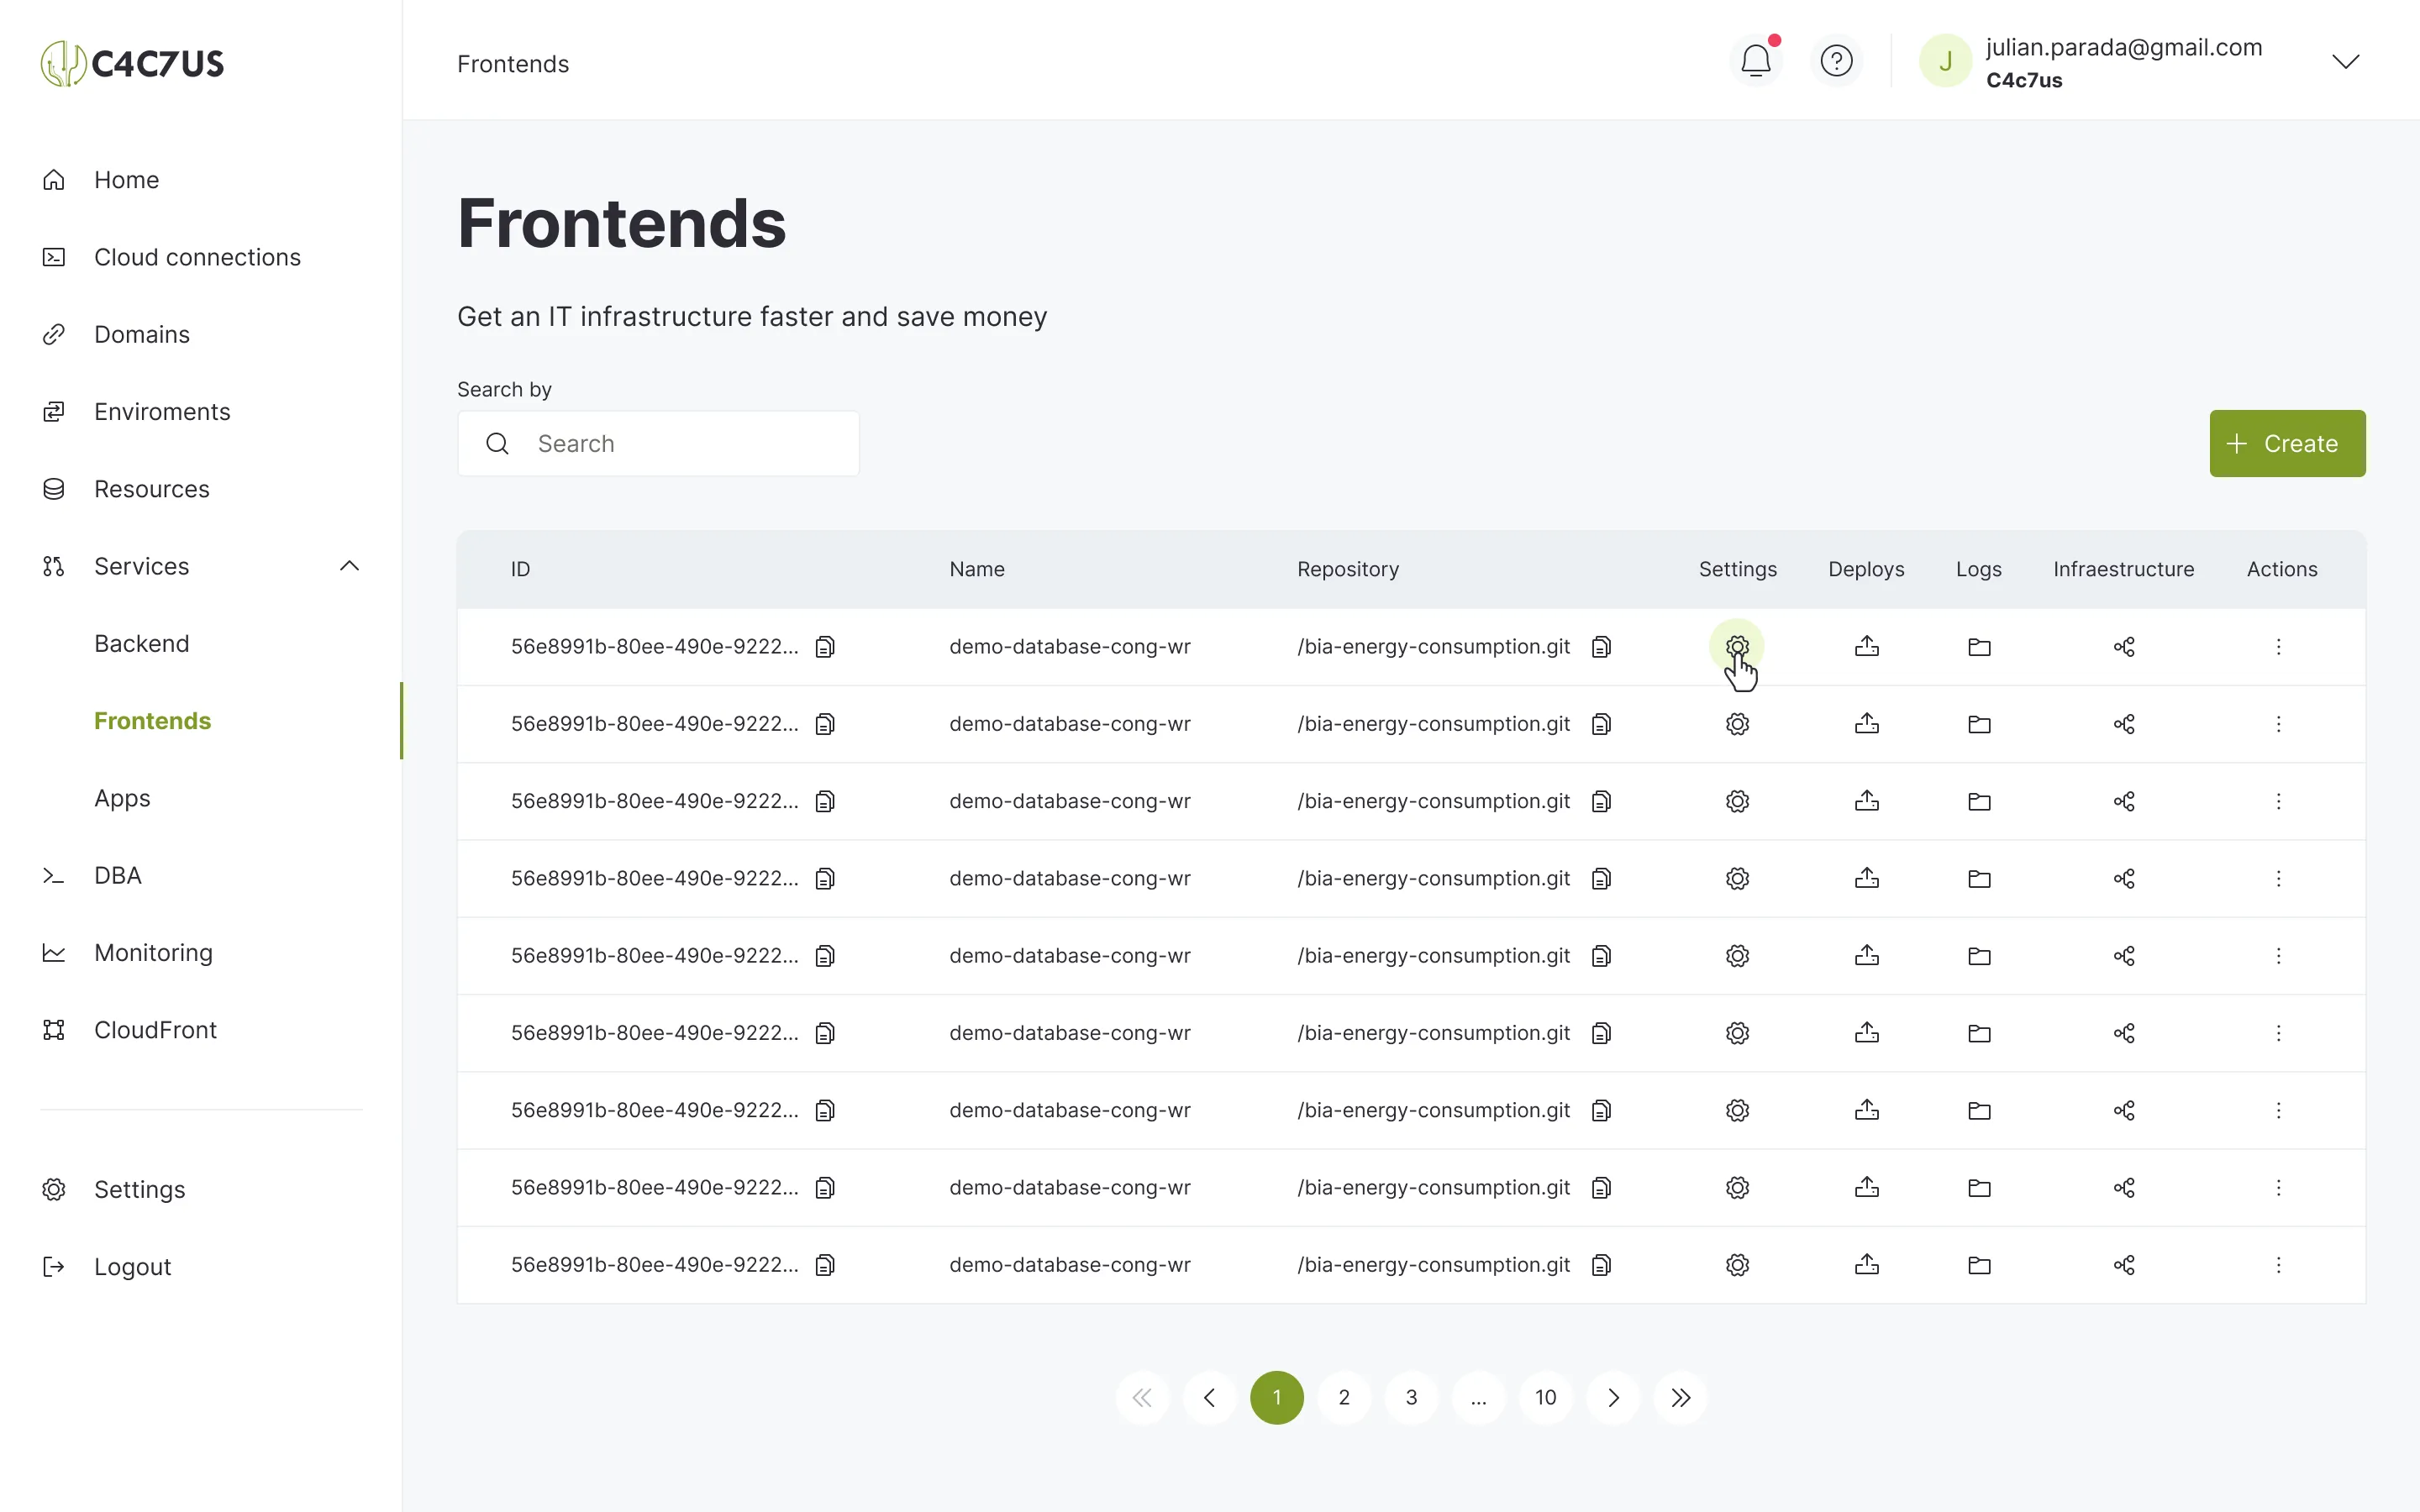
Once you have created it, simply click on the 'Settings' button located in the table to access the configuration options and make adjustments.
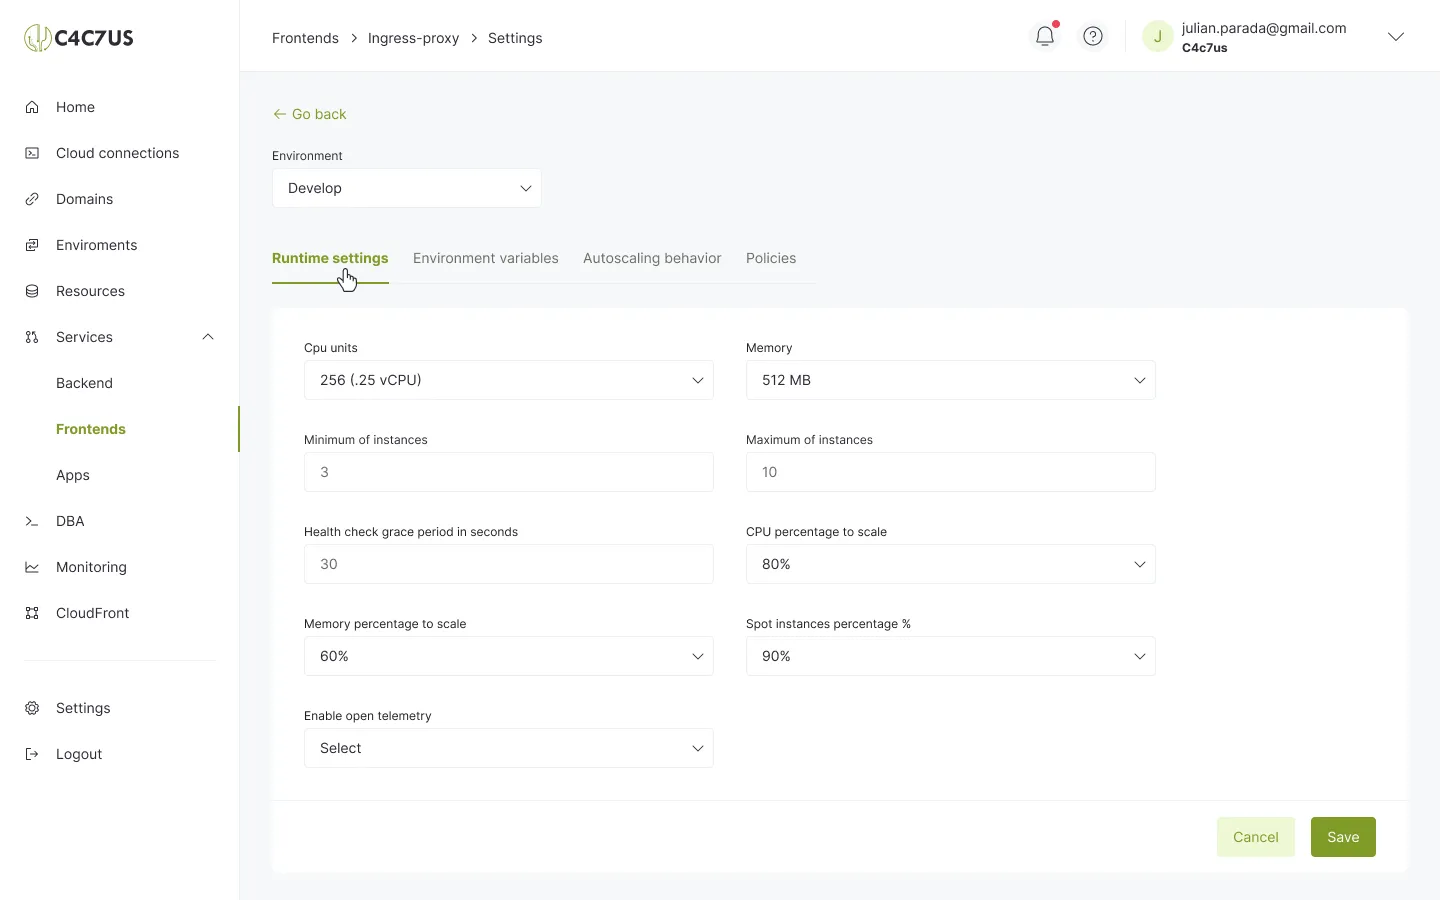
Now we can see the default configuration offered for "Runtime settings", which is adjustable and customizable to meet your needs.
The configuration parameters are as follows:
- Cpu units: Here we can assign the number of CPU units that will be allocated to the service. This can be useful to adjust performance based on the processing intensity of our application.
- Memory: Here we can set the amount of memory allocated to the service. Depending on the needs of our application, we can increase or decrease the amount of memory allocated to ensure optimal performance.
- Minimum and maximum of instances: We can specify the minimum and maximum number of service instances we want to run simultaneously. This allows us to control the horizontal scalability of the service and adapt it to the expected load.
- Health check grace period in seconds: This parameter is configured in the number of seconds to determine the maximum waiting time to get a response from the endpoint configured as a health check.
- CPU percentage to scale: We configure the CPU usage percentage to control the performance of the instances. If that percentage is reached, and the configuration allows it, a new instance is started to distribute the workload and avoid overload.
- Memory percentage to scale: We configure this parameter to control the performance of the instances. If that percentage is reached, and the configuration allows it, a new instance is started.
- Spot instance percentage: We configure this parameter to determine the percentage of service instances that will be spot type, remembering that a spot instance is a cheaper but more unstable instance.
- Enable OpenTelemetry: This will allow the use of OpenTelemetry.
Now, customize your settings in Runtime settings and, to finish, save the changes by clicking on 'Save'.
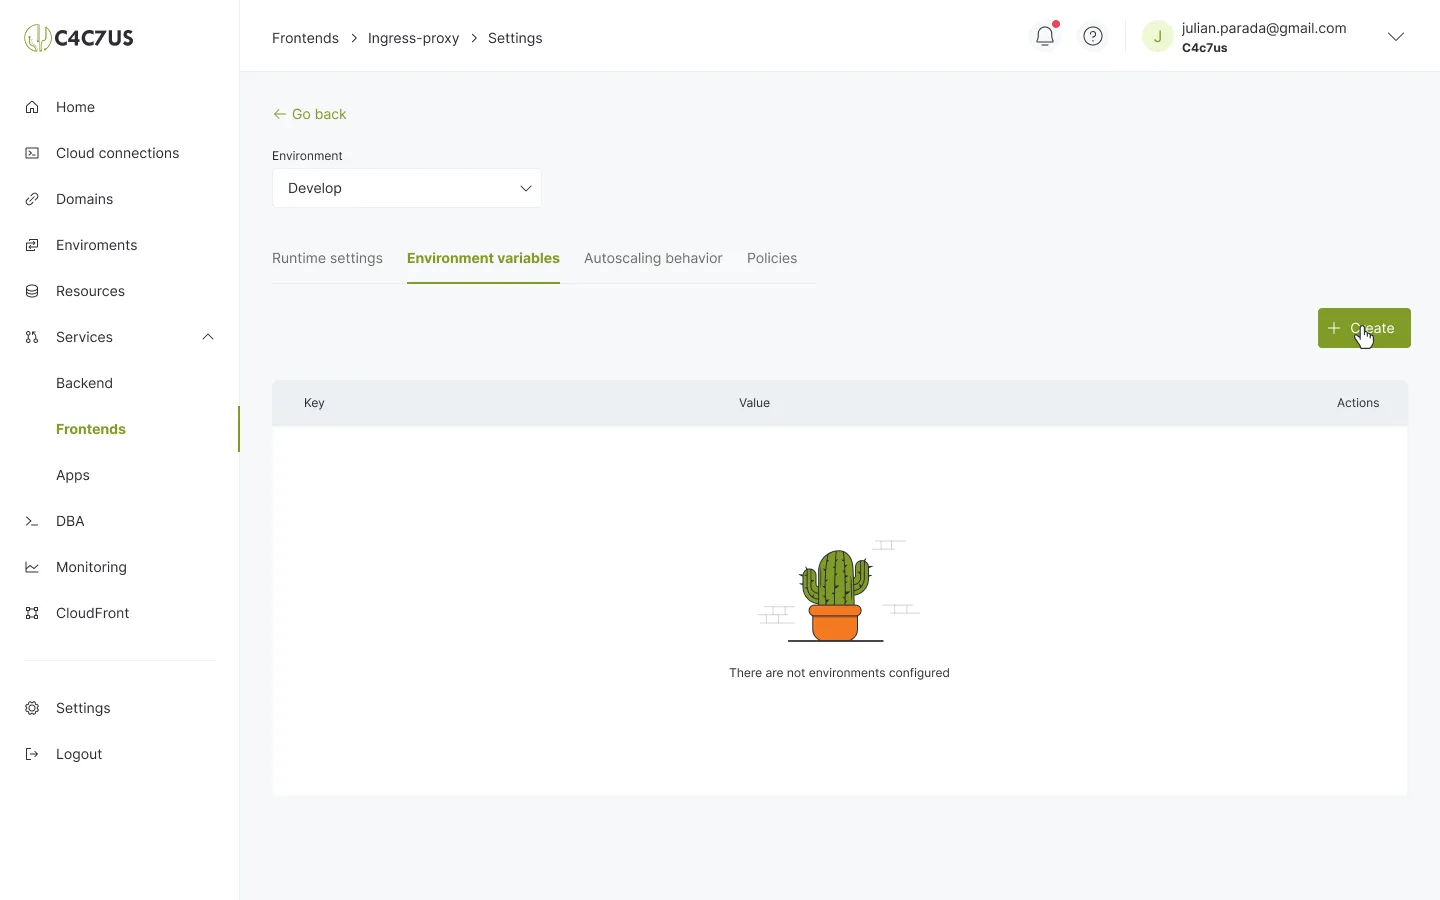
To configure the environment variables, select the "Save" option.
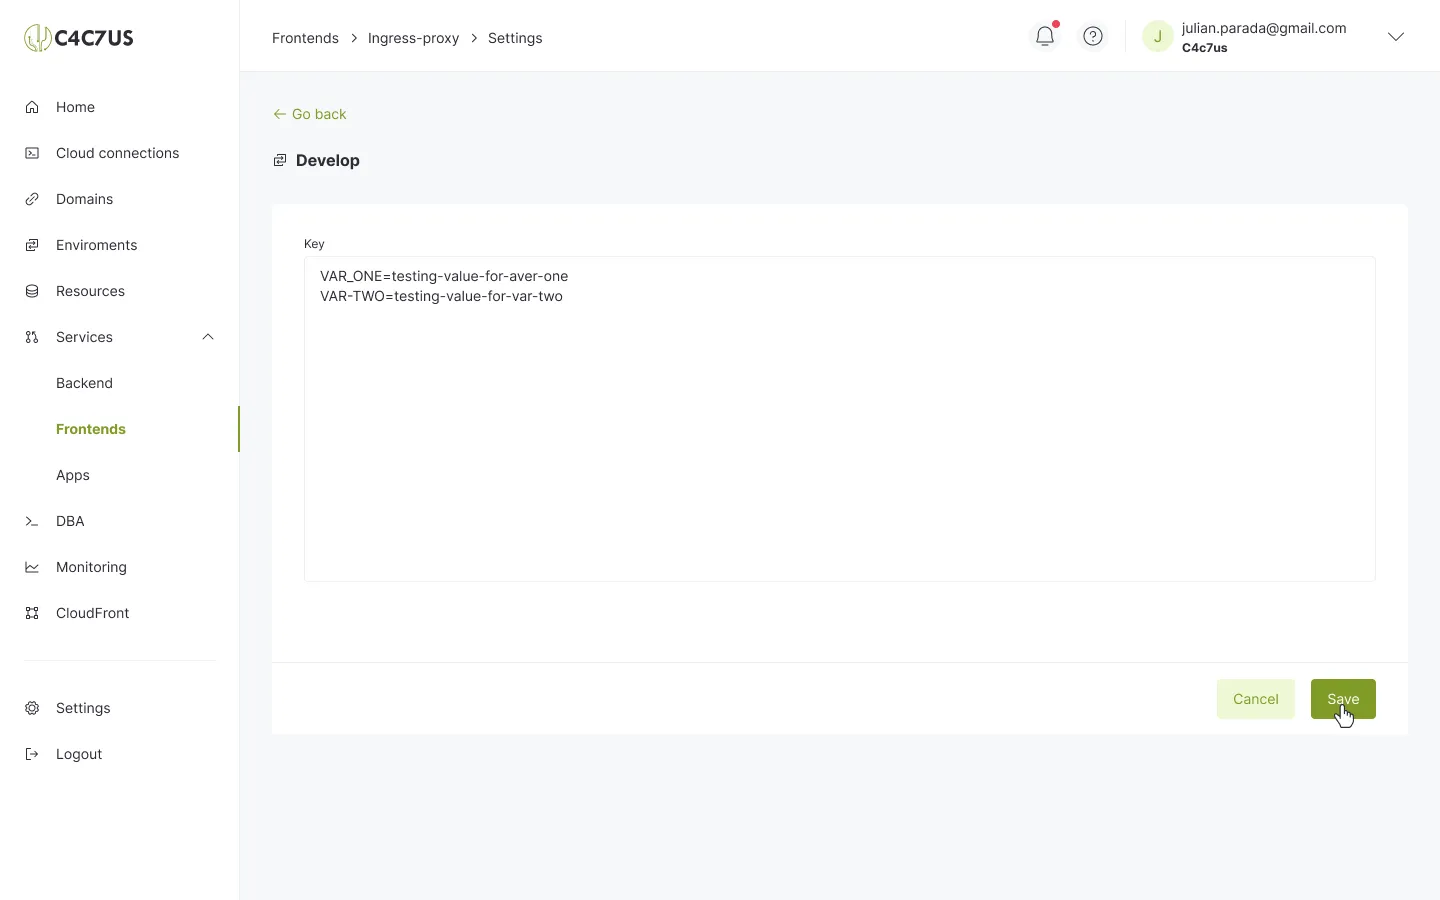
Enter the name of the variable and its corresponding value.
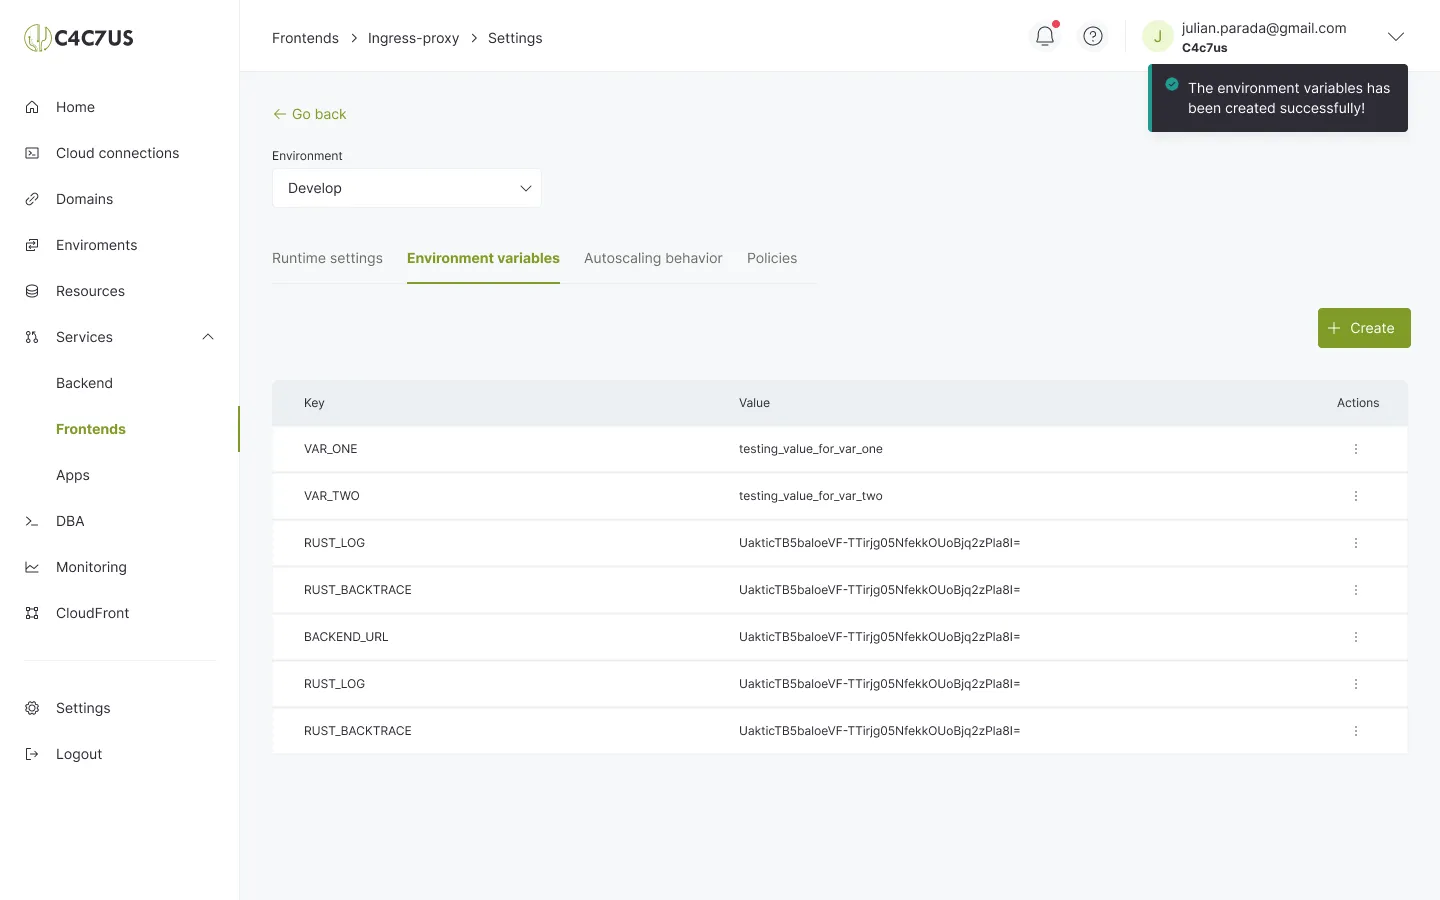
Verify that it was created successfully.
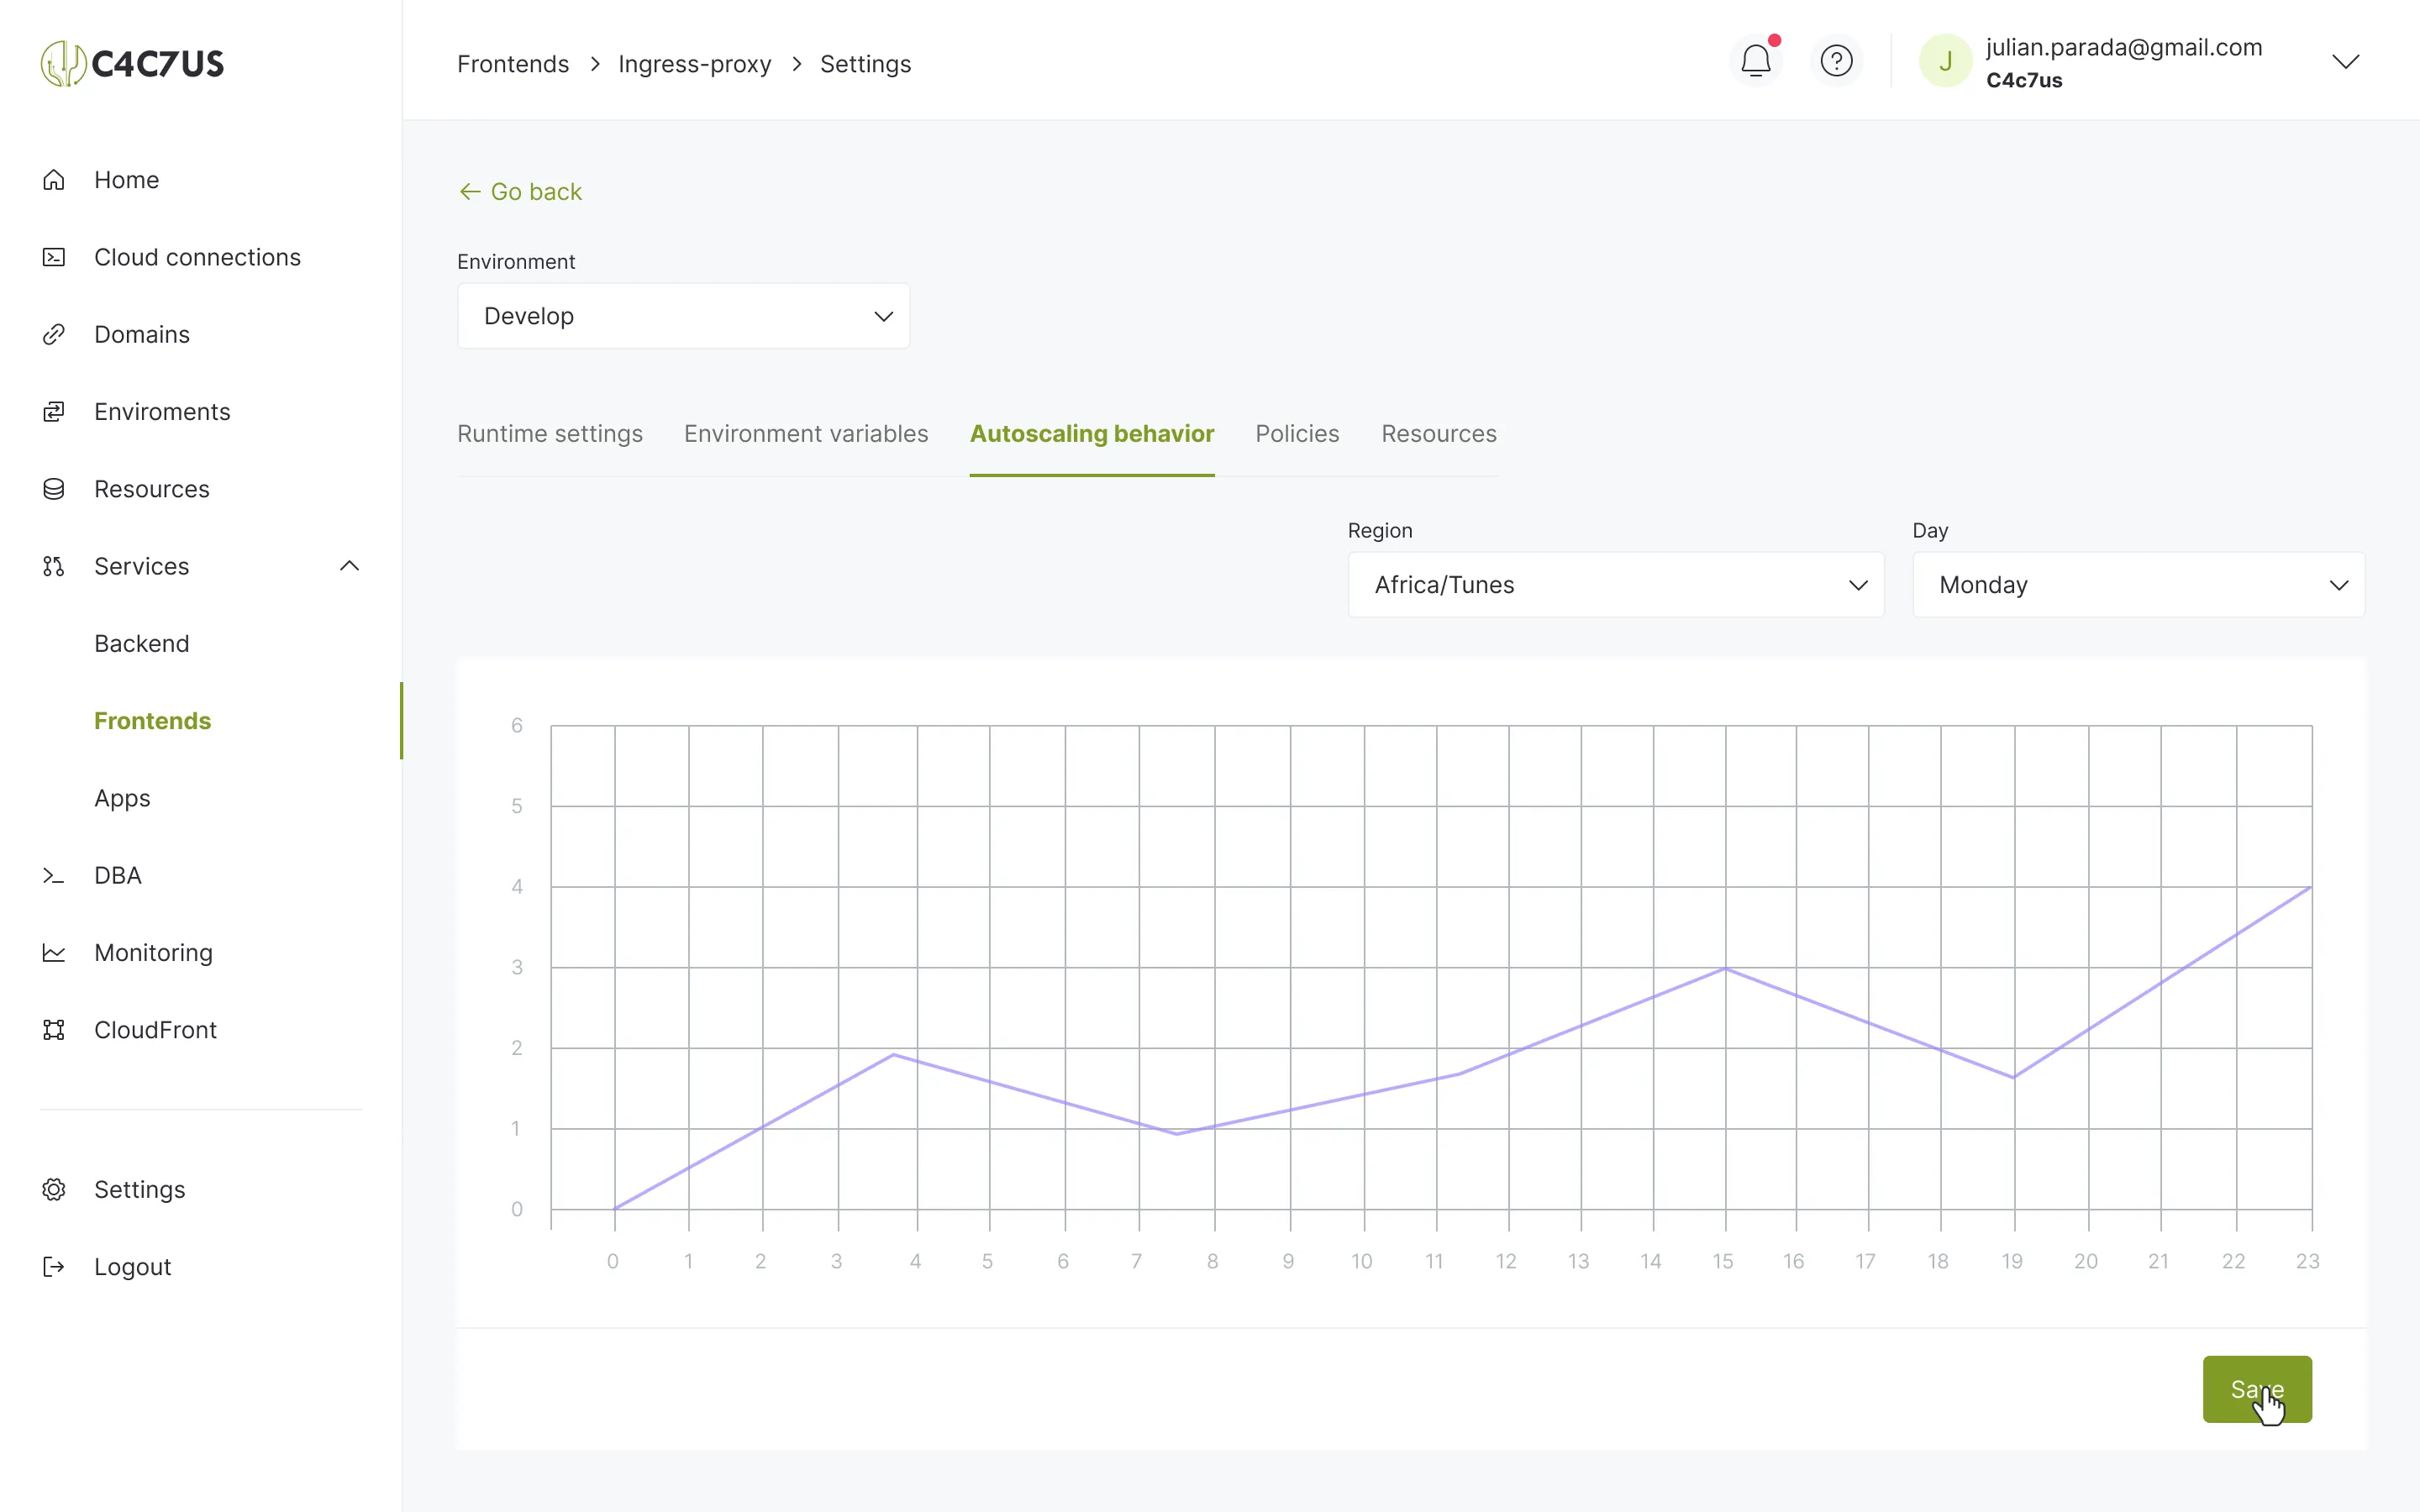
To establish a configuration for "Autoscaling behavior", select your preferences and click the "Save" button.
You can also configure how the service adjusts based on demand and workload in the environment.
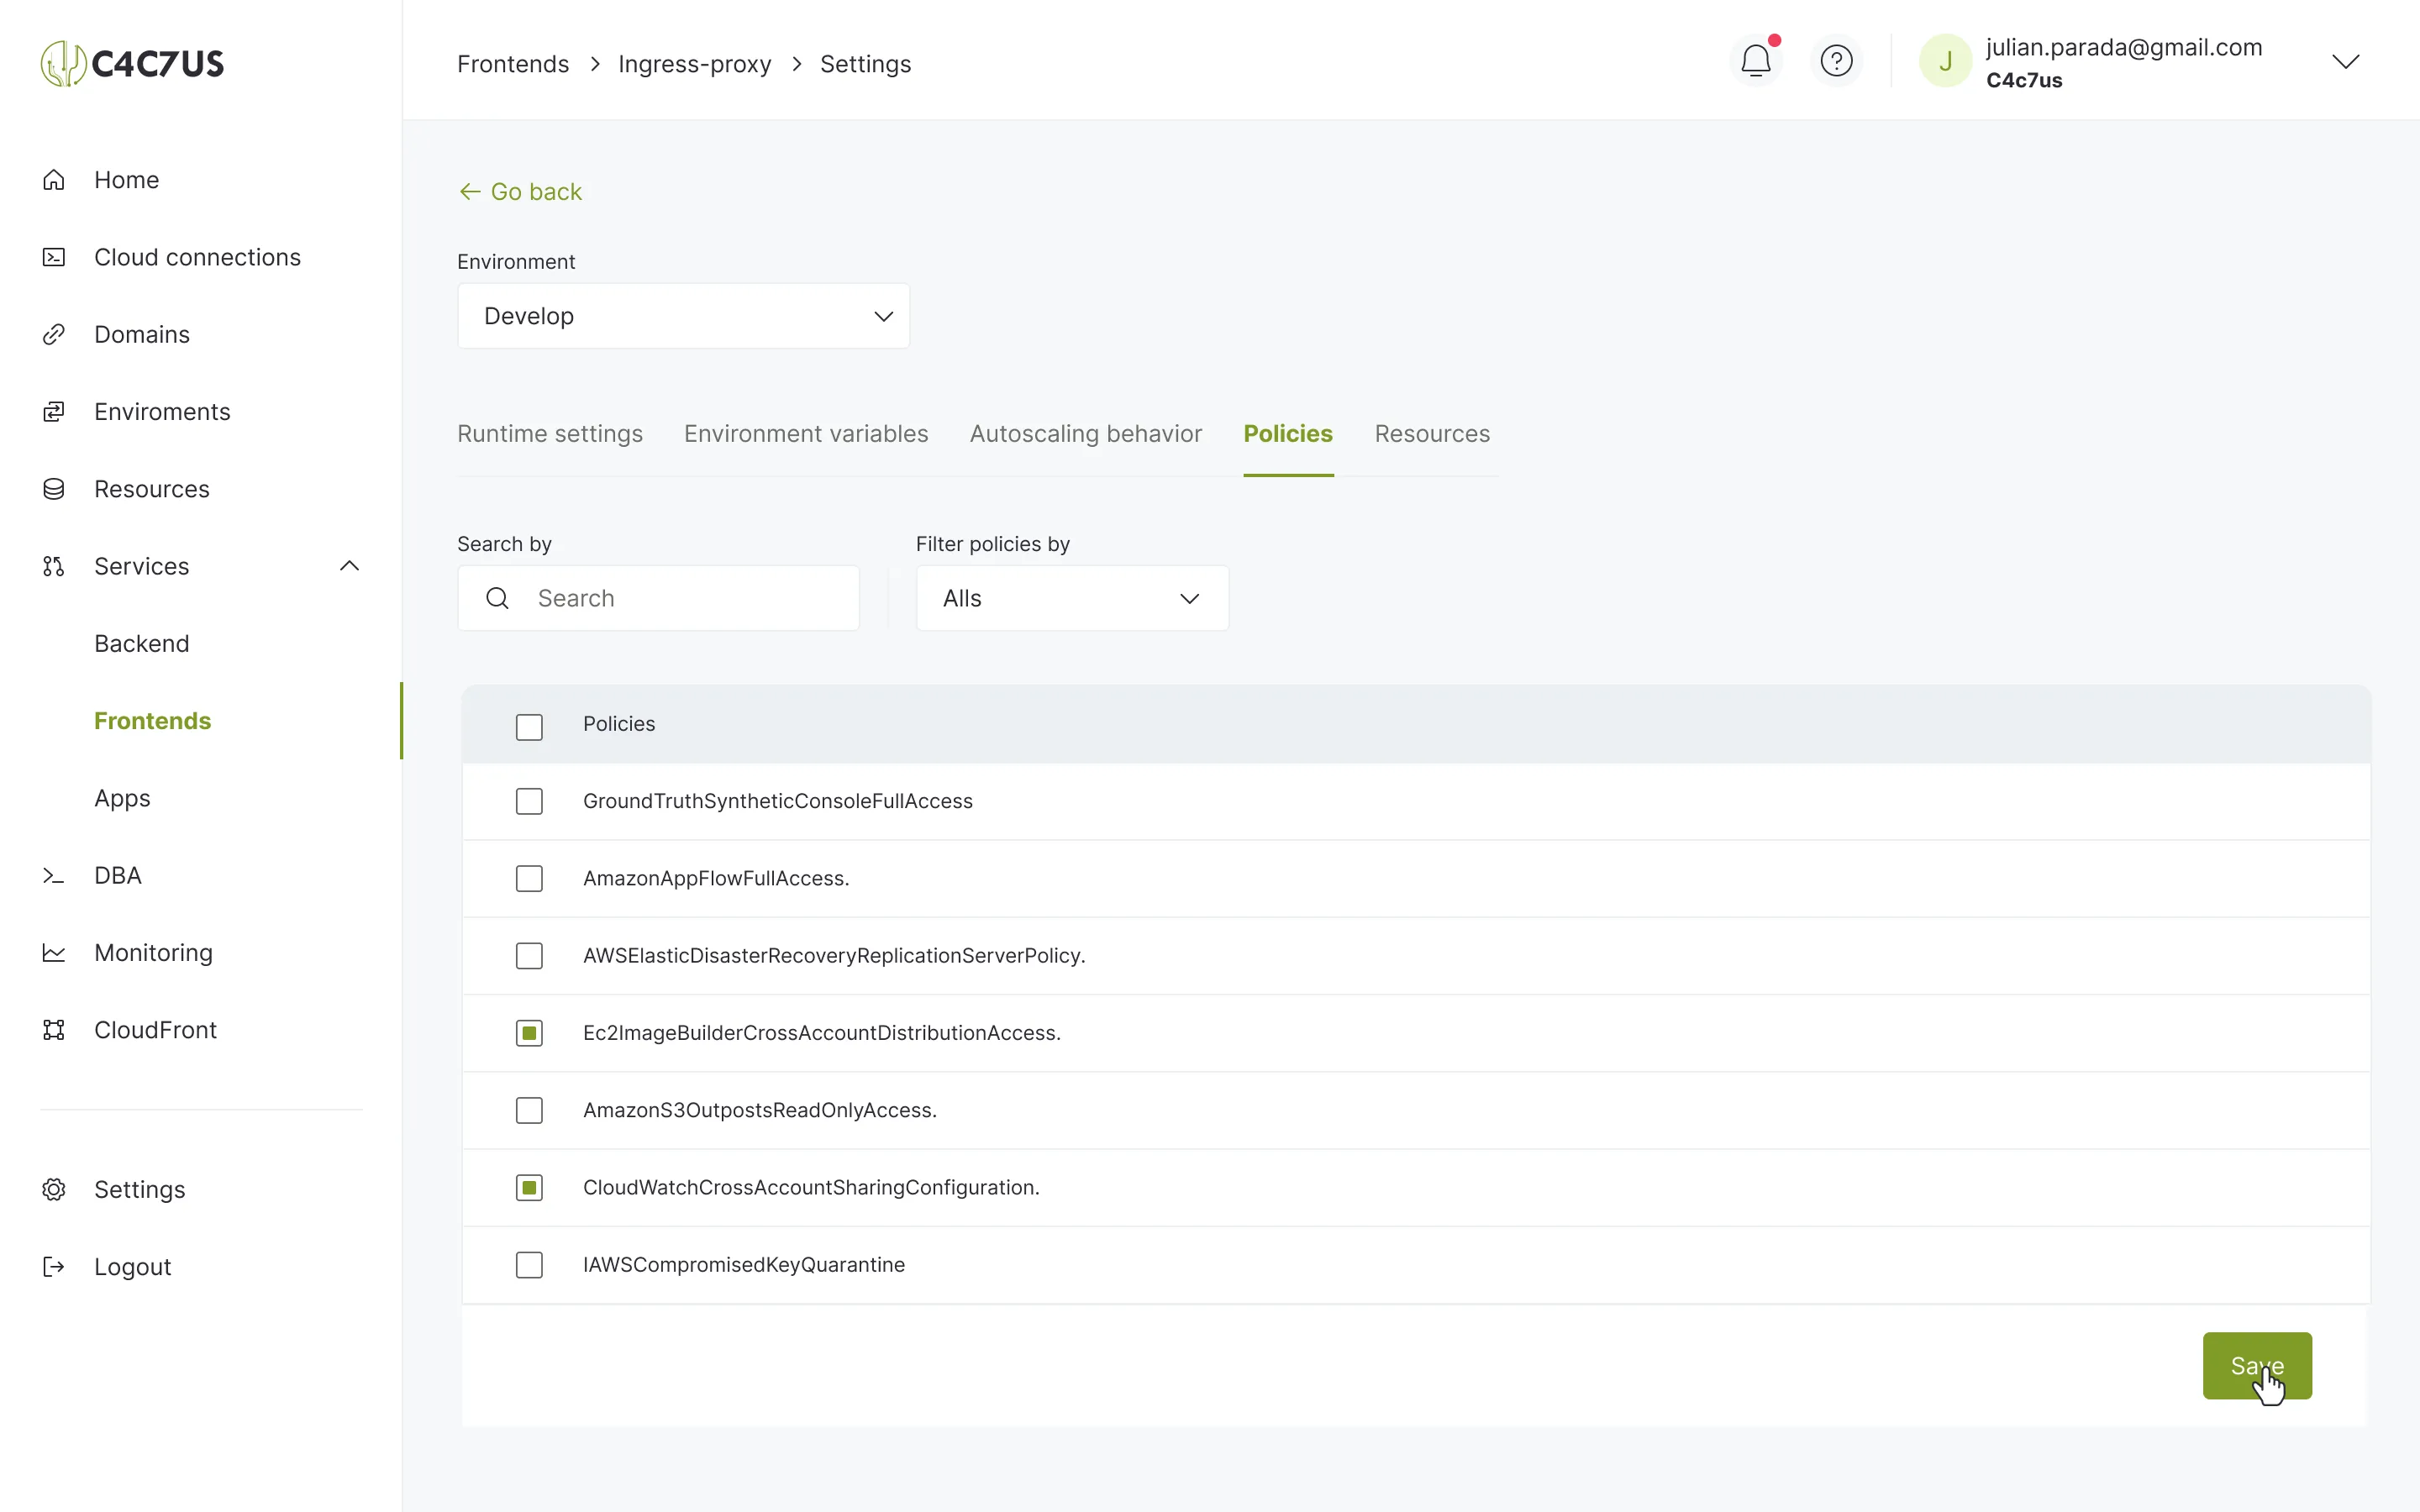
Configure the AWS policies we want to associate with our service and click on "Save" to save.
Deploying a Frontend Service Using the C4c7us Console
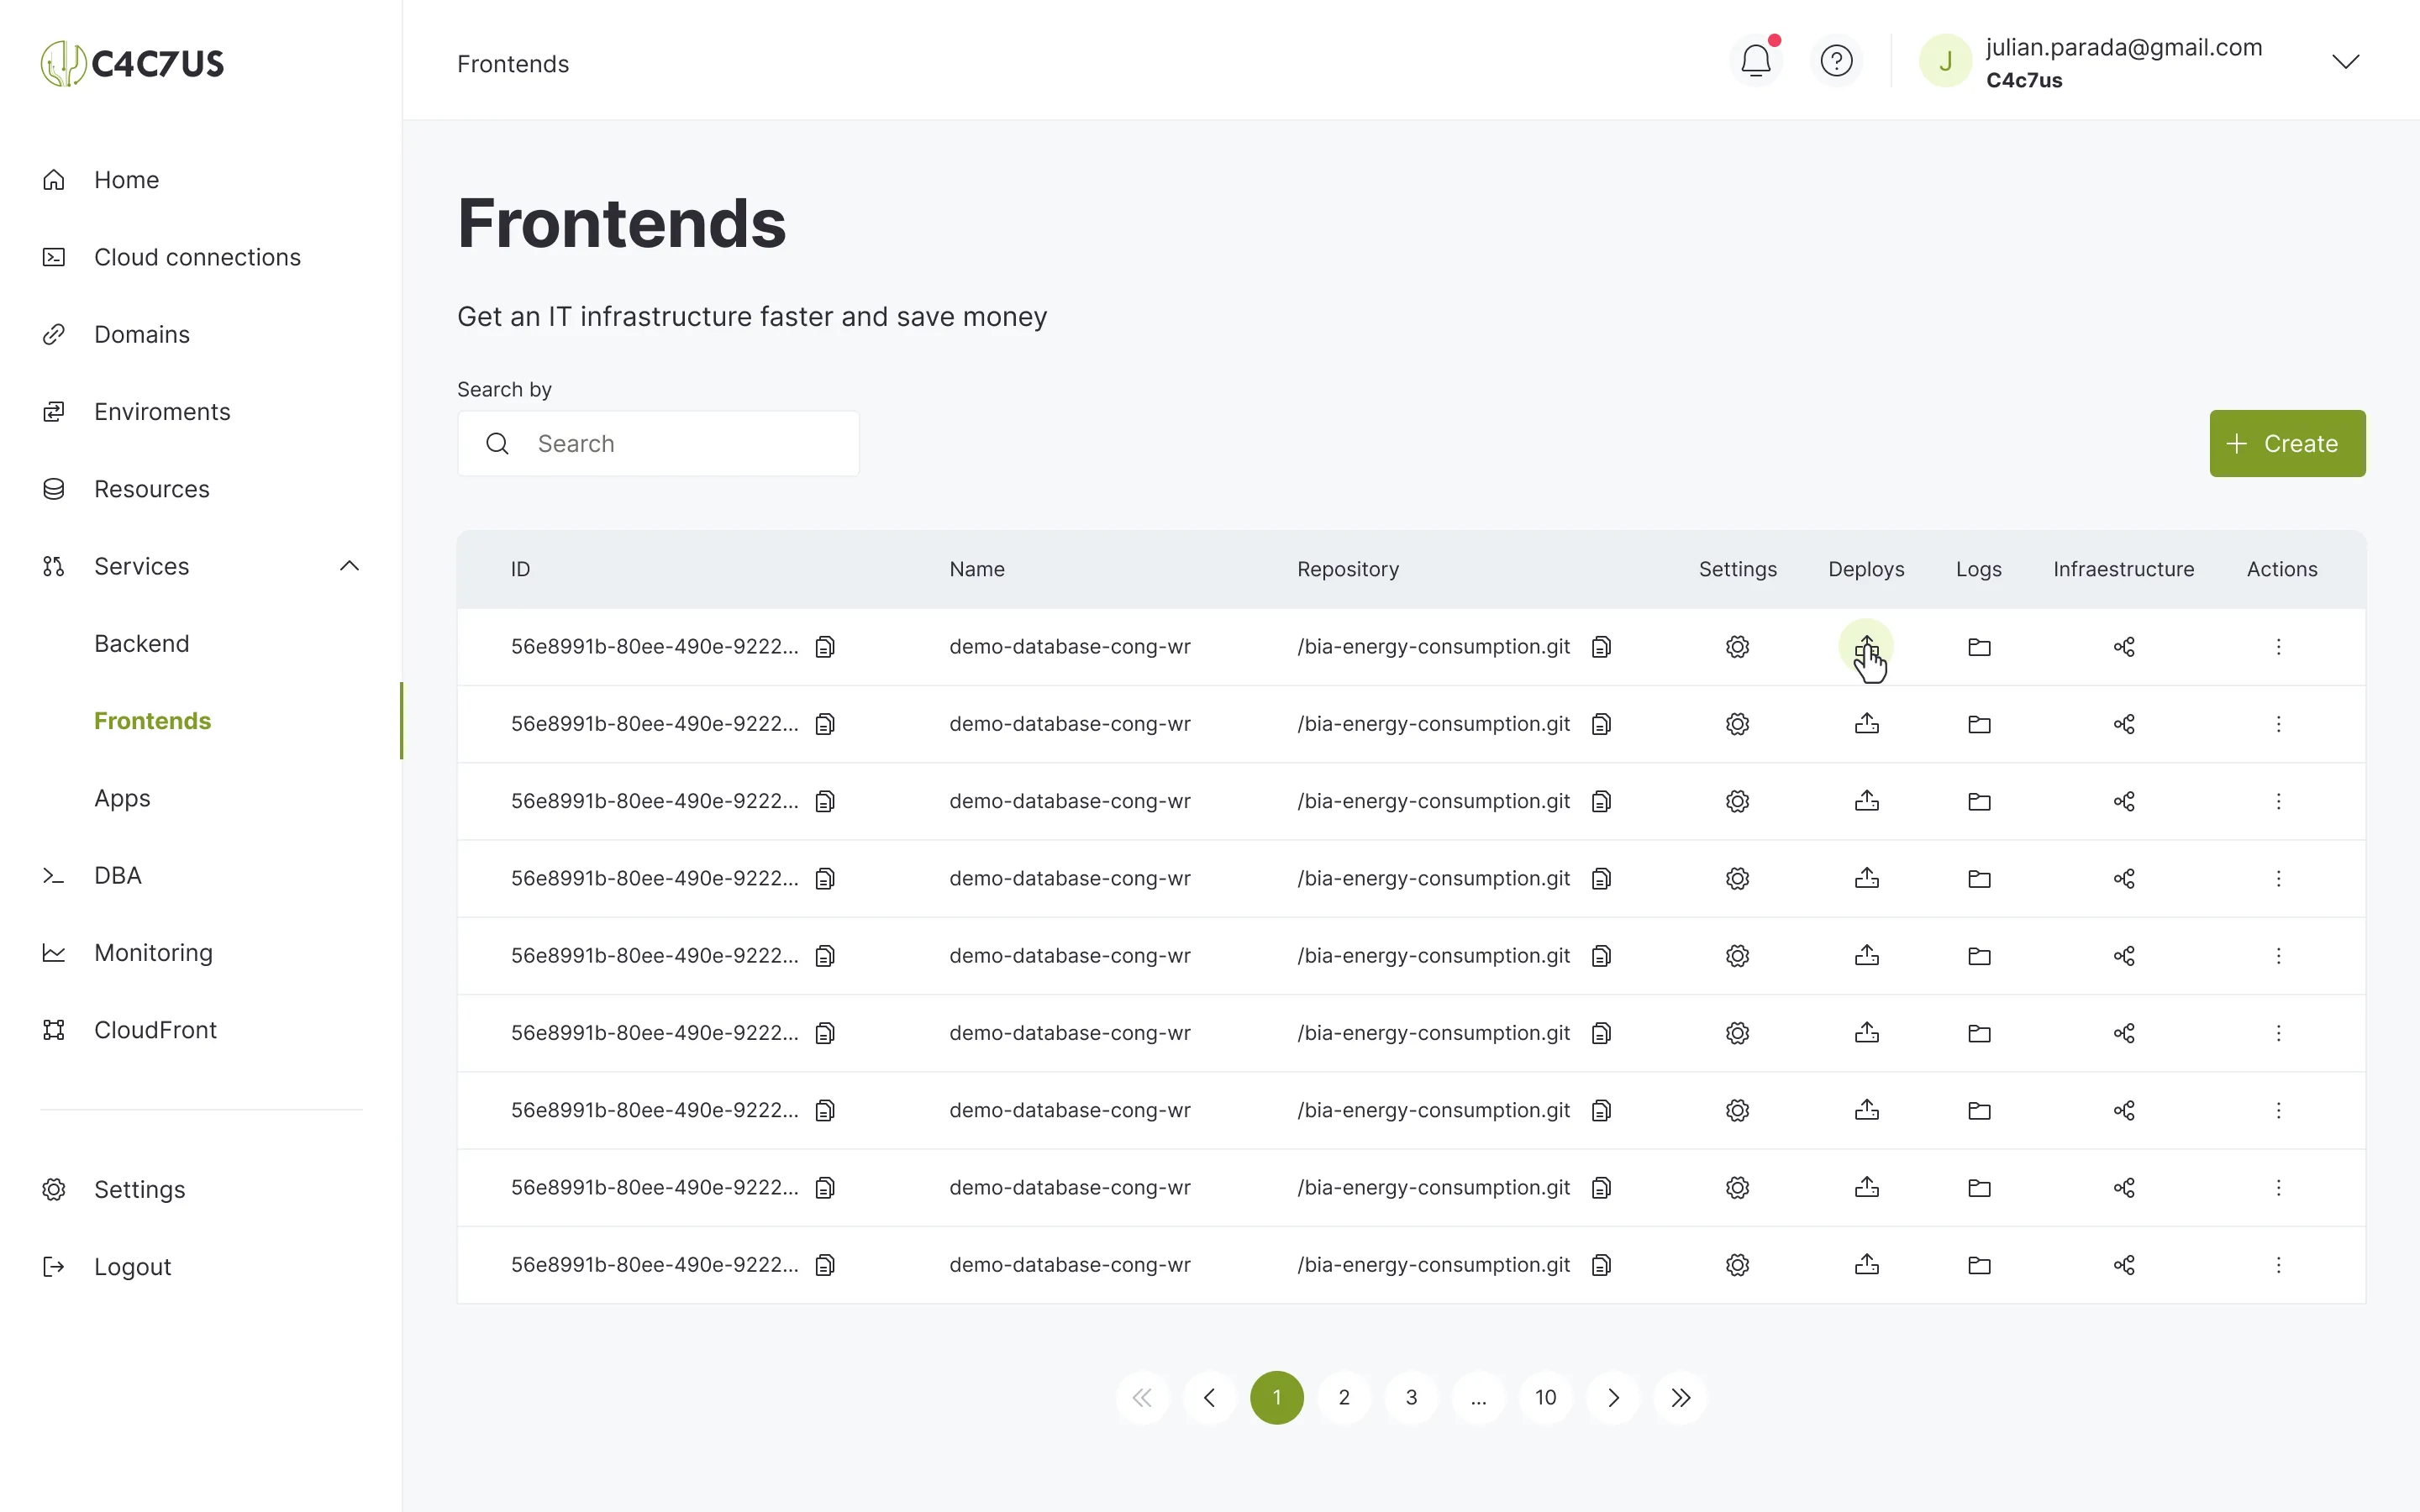
With the previous configuration done, we proceed to create a deployment of our frontend service. To do this, we go to the "Deploys" button in our record.
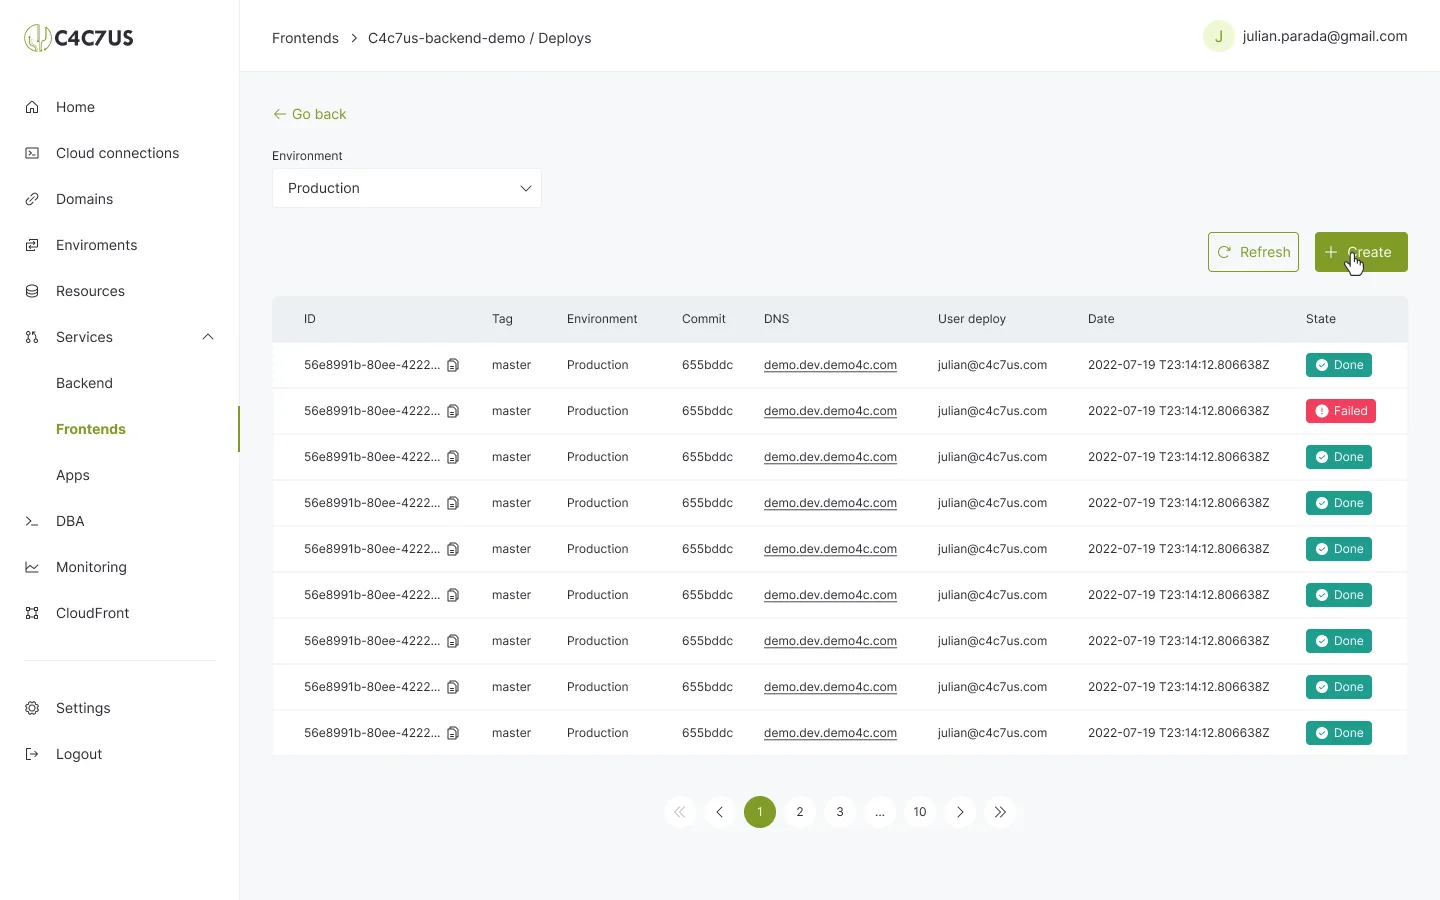
On this screen, you can access the deployments that have been executed. To launch a new one, click on "Create".
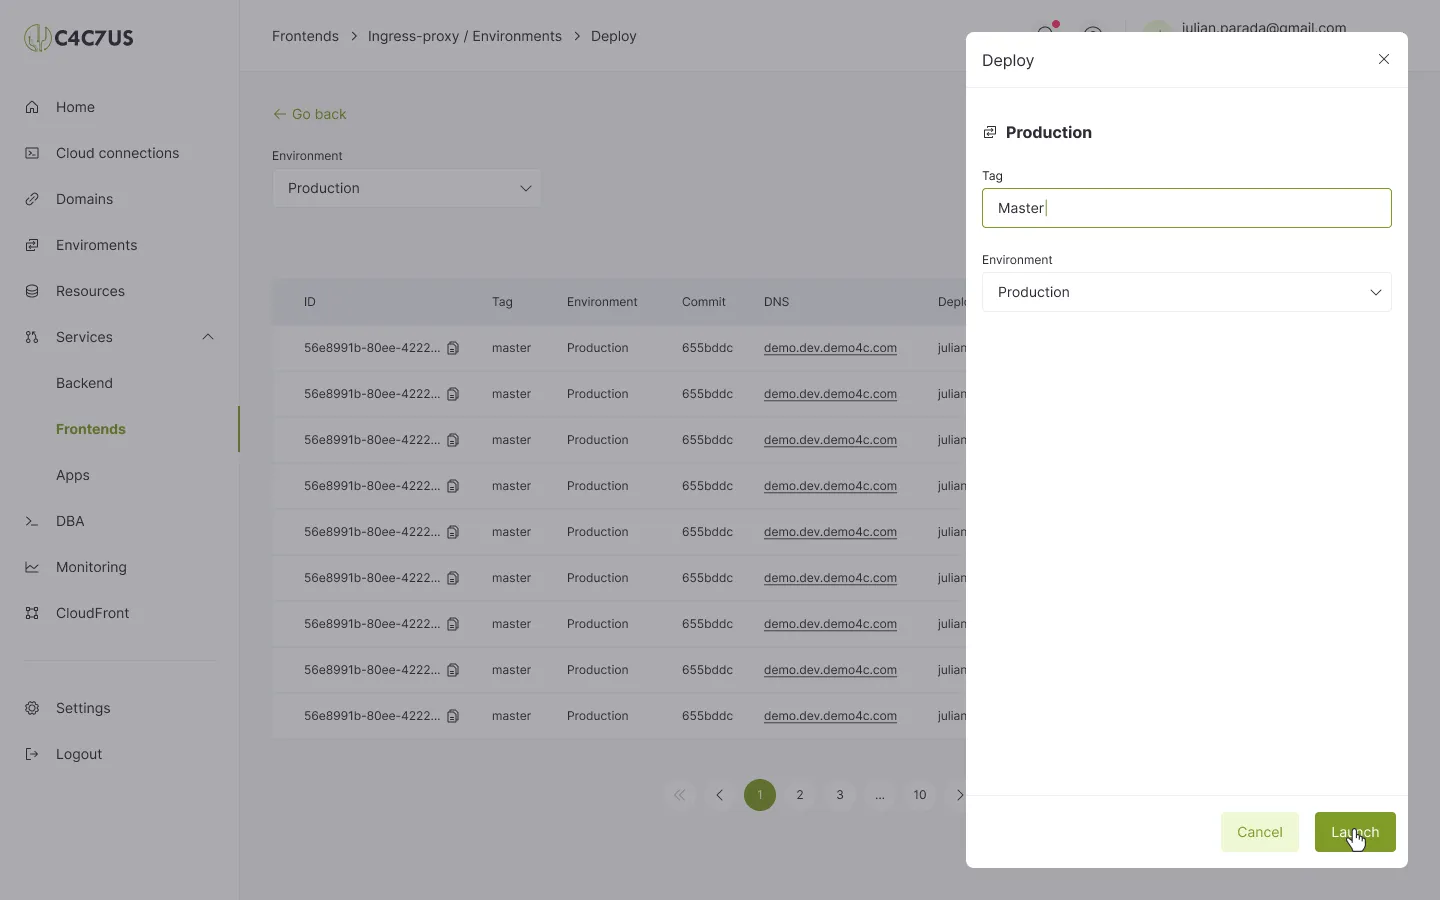
To perform the deployment, you must be aware of the name of the branch, tag, or commit from which you want to deploy. You must also select the type of infrastructure that will be used to host and run your web application (Infrastructure refers to the combination of resources and services provided by AWS).
If you select 'Principal Infrastructure', the deployment will be reflected on the domain assigned to the service. On the other hand, if you choose another option, infrastructure associated with a specific tag that could be removed in the future will be created.
Fill in the fields and click 'Launch' to continue.
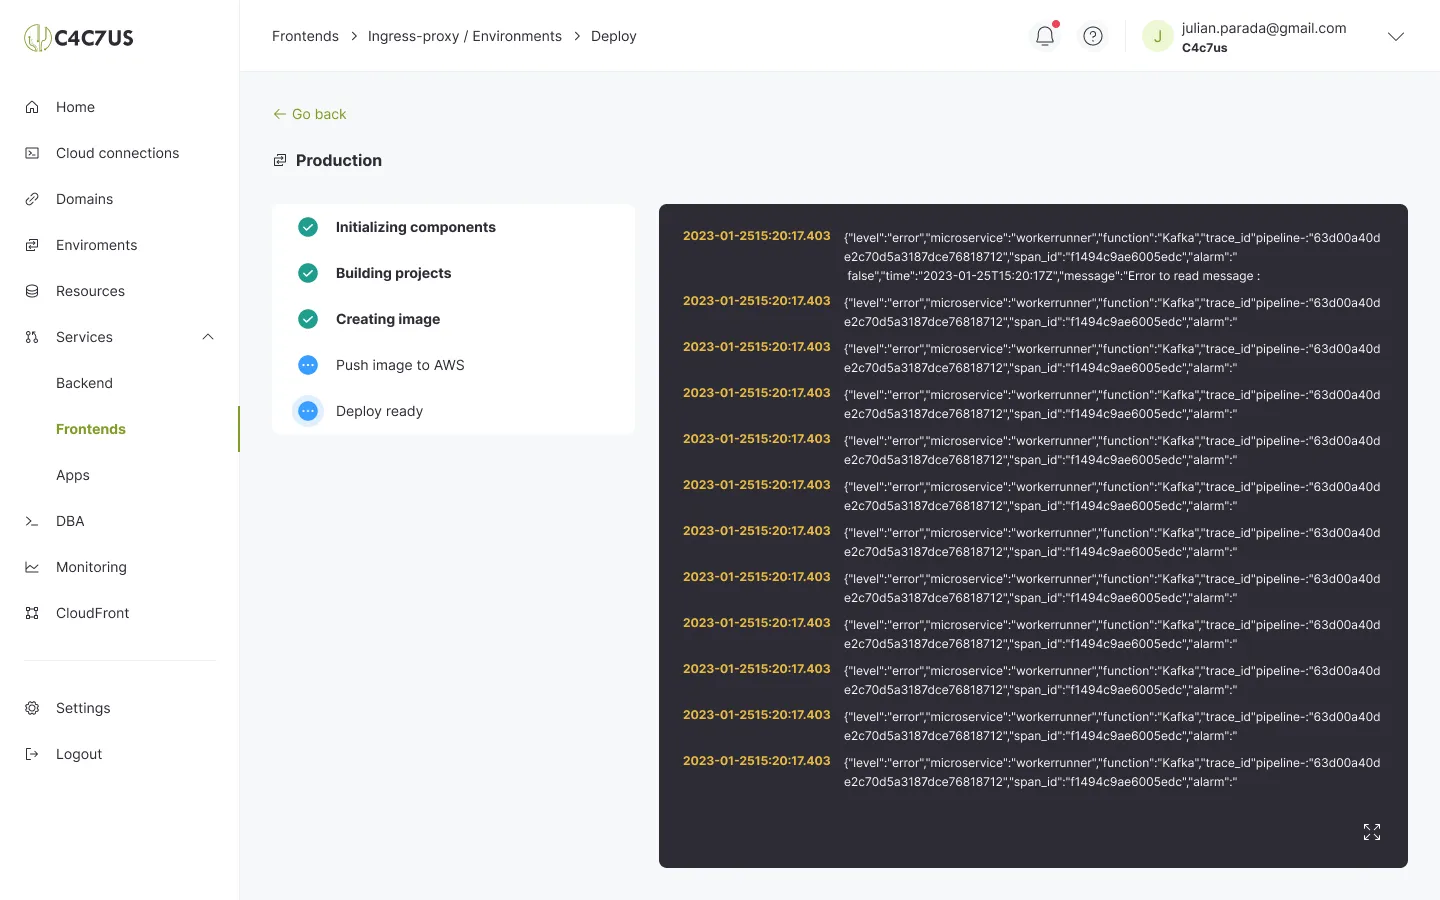
After initiating the launch, we will get the following view, where a series of deployment states can be appreciated:
- Initializing components: Validates that the commit, tag, or branch and other components related to the deployment exist.
- Building projects: This state shows the result of the project build process to be deployed.
- Creating image: At this point, the images to be launched in your cloud provider are generated.
- Push image to AWS: The images created earlier from the project and branch (tag or commit) are sent to your cloud provider.
- Deploy ready: Here the state of the final deployment process will be reflected, if it is successful depending directly on whether the instances of the previous deployment are finished.
We just have to wait for it to be successful.
Upon completion of the deployment, we will return to the previous window, where all the deployments made are listed.
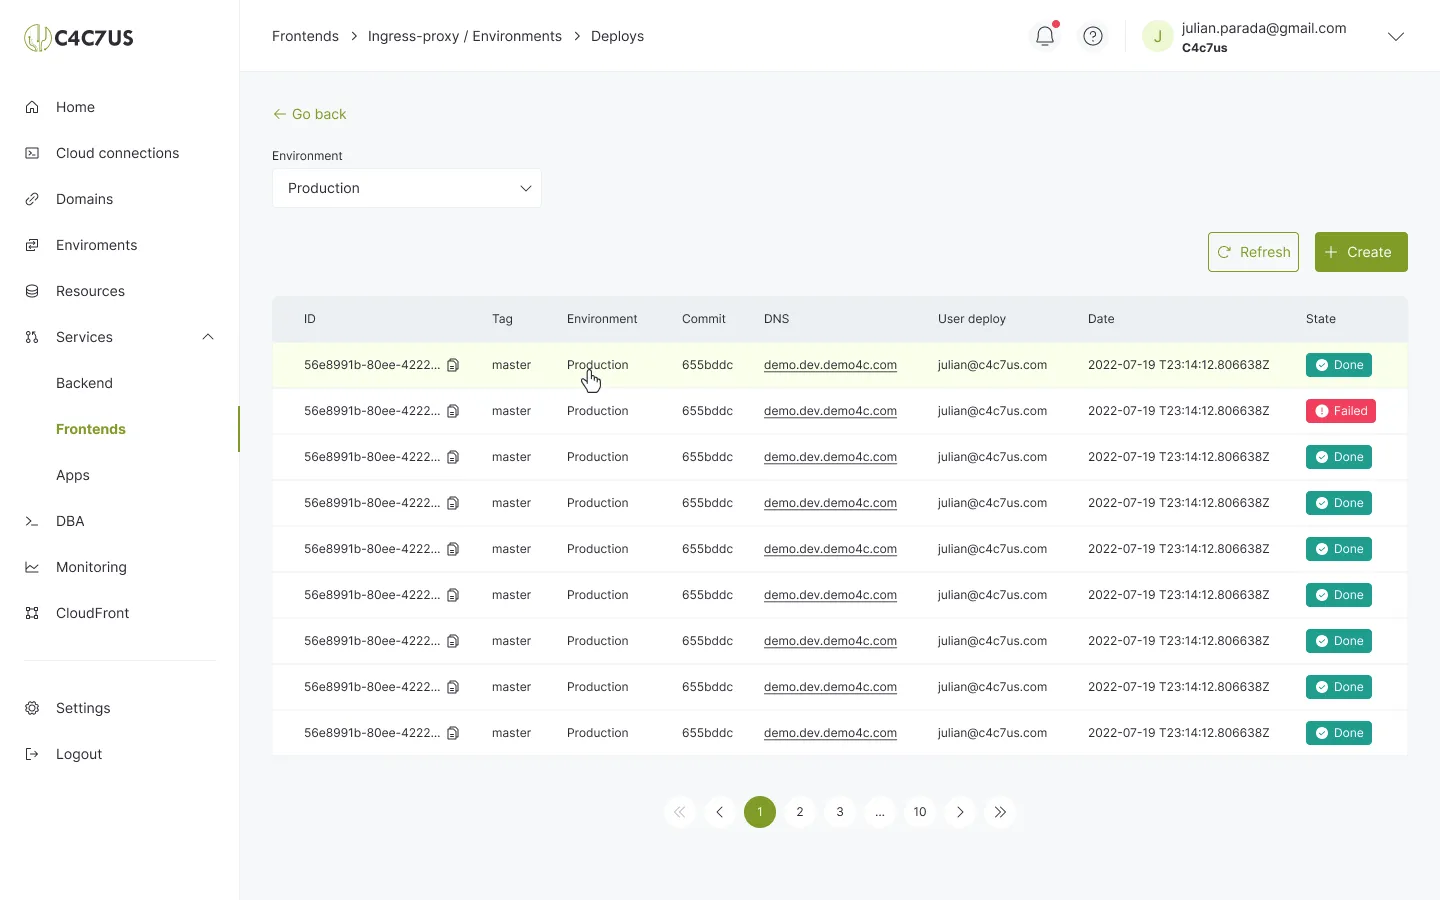
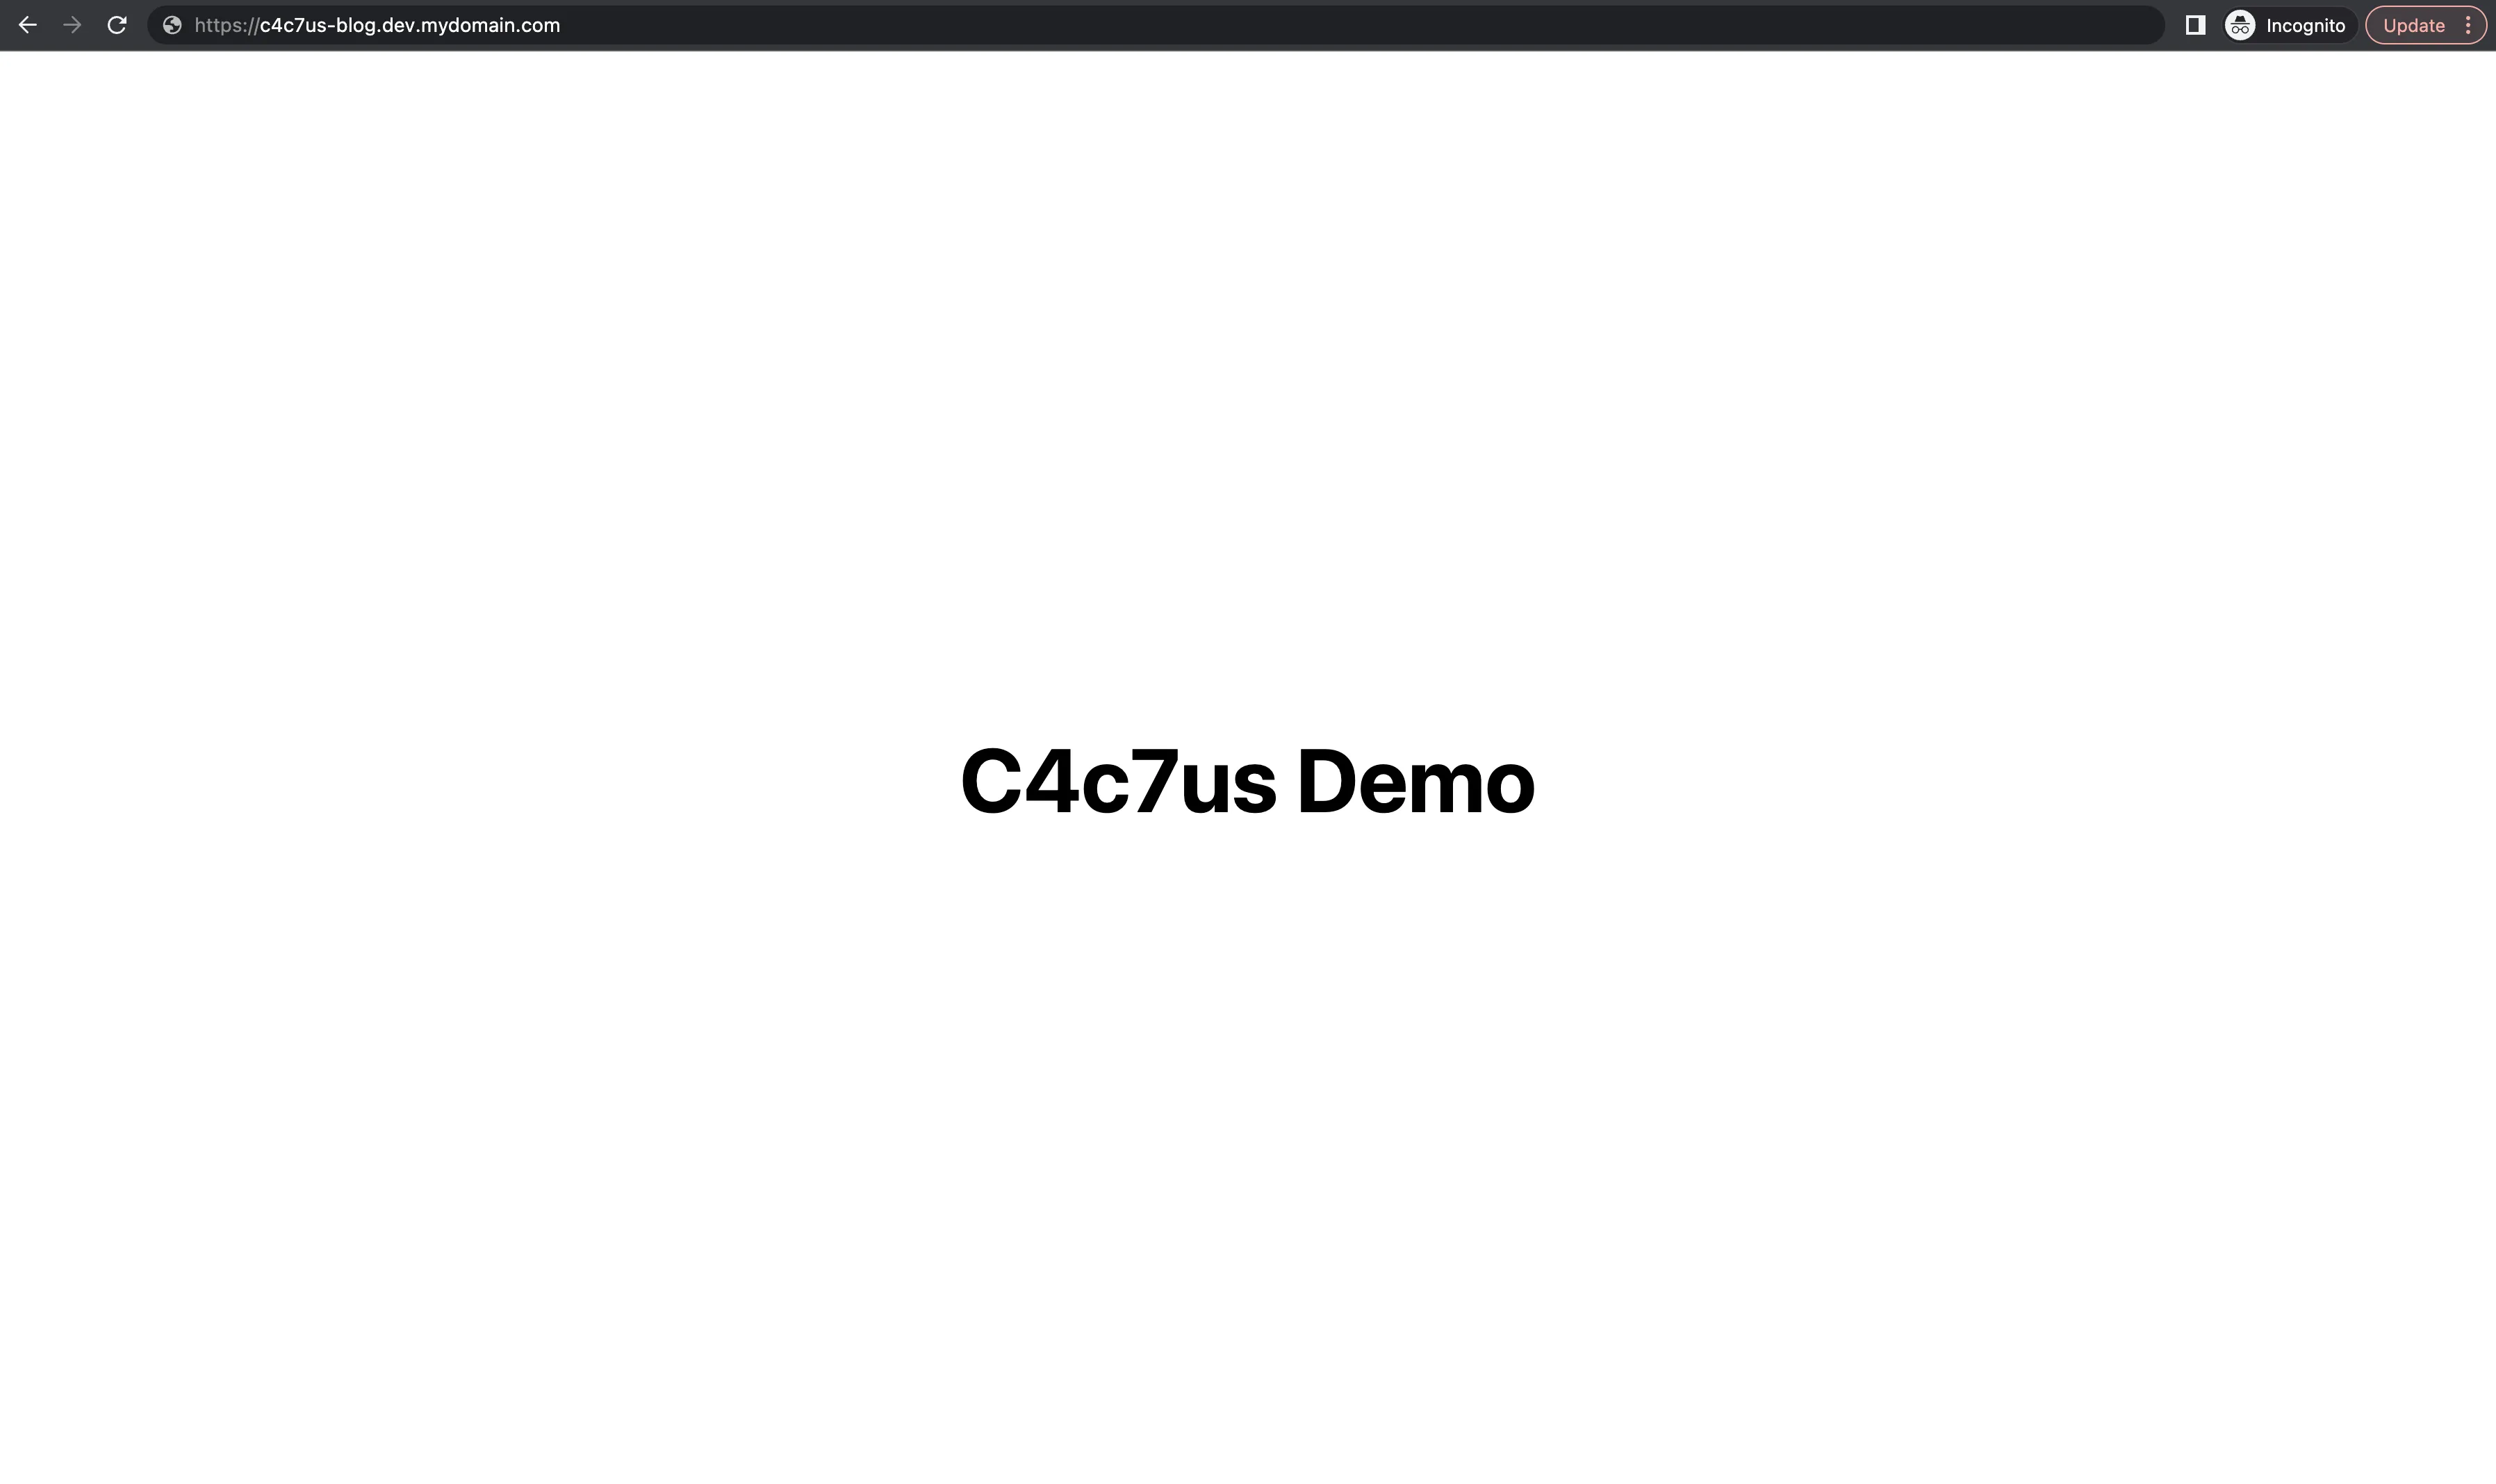
There we can take the DNS where the deployment was made and later navigate to it.
This way, we can validate the successful deployment of our first frontend service.
Throughout this article, we have progressed through the deployment process, highlighting the features and tools offered by the C4c7us console to facilitate this process. I hope this guide has provided you with the confidence and knowledge necessary to take your web application to the next level using this platform.
Remember that deploying a frontend repository is just the beginning. Keep exploring C4c7us's capabilities and make the most of all the tools and services it offers to improve and grow your web applications.